

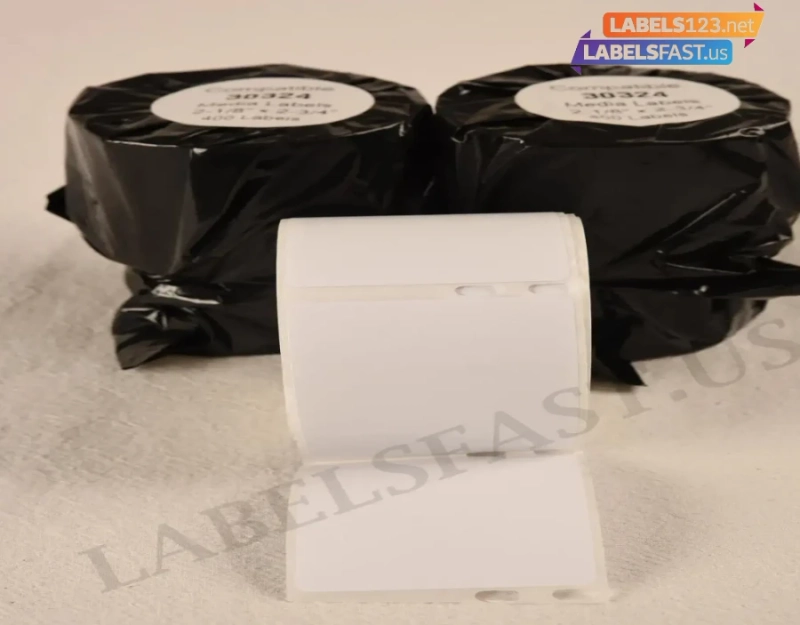
Dymo 30324 labels are high-quality labels at a very low cost. These labels are rectangular sized with the measurement of 2-⅛” x 2-¾”. The best part is the varied usage of the labels. They are used in many useful projects as well as for labeling CDs, VHS tapes, DVDs, diskettes and zip disks, and other office boxes. The Dymo 30324 labels are usually used for daily labeling requirements as their white background helps printed text stand out giving clear, crisp printed text.
The biggest advantage of using Dymo 30324 labels is that they are compatible with a series of Dymo Label Writer printers like Dymo Label Writer 450, 450 Turbo, 450 Twin Turbo, 450 Duo, and 4XL.
Here, in this post, we will discuss the steps for using Dymo LabelWriter 450 printer for printing Dymo 30324 labels because it is commonly used.
Download Dymo Connect
Dymo Connect is the software used by LabelWriter 450 printer food customizing and printing the labels. You will find the software on the official website of Dymo. You will be allowed to download it after selecting your location.
The software is a bit different for Mac and Windows. So, you should check before downloading.
Connect Dymo LabelWriter 450
Without connecting your printer to electric power, you cannot start printing. For connecting the printer to the power plug, you will need a power cord, power adapter, and USB cable. You will get these things with the Dymo LabelWriter 450.
You should plug the power cord into the power adapter and the other end of the power adapter into the printer and the power cord into a power outlet. To connect the printer to your computer, use a USB cable. You should connect the other end of the USB cable after the complete installation of Dymo software.
Load the labels
At this step, you need the Dymo 30324 labels. You need to load these labels on the printer for printing.
To load, you should open the printer. You will find a label roll spindle in the lid. You should remove the spindle by lifting it. Then, you should remove the spindle guide by pulling it off the spindle spool. Next, you should add the label roll to the spindle. This will help the labels to feed from underneath. Next, you should push the spindle guide inside until it touches the side of the label roll, making sure there is no gap. You should complete the loading process by placing the spindle back into the slot. Remove the sticky tape before loading the labels.
Design or customize the labels
The Dymo 30324 labels are versatile. You can use them as you like for your business.
With the help of different software on your system, you should design or customize the labels without forgetting the important elements. One of the important elements is barcode if you are using the labels for shipping purposes and not general labeling of the boxes.
Print the labels
For printing your Dymo 30324 labels, you can simply click on “Print” or the Setting icon next to “Print”.
Simply clicking on the ‘Print” will print the labels exactly as you have designed them but the Setting icon will give you additional printing features.
Dymo 30324 label printing using Dymo LabelWriter 450 printer is easy. You just have to be a bit careful.
0