

To reduce the risk of injury or damage to property, adhere to the following safety guidelines:
Turn off the power at the circuit breaker box before you begin.Ensure that the installation site is free of obstructions of any kind.Select an outlet box on the UL list that is marked as "Acceptable for Fan Support".Inspect the electrical connections to ensure that they are compliant with any applicable local laws and the National Electrical Code.Additional caution, safety, and warning details can be found in the product's user manual.TOOLS RECOMMENDED FOR INSTALLING A CEILING FAN
With the right size, style, and finish, you've found the greatest ceiling fan in Eltham and can't wait to kick back and enjoy the gentle breeze. As you get ready to install the new ceiling fan, here are some essentials to have in your toolkit. Having the right tools on hand while installing a ceiling fan makes the project safer and gets done faster.
Here are the tools you'll need for a successful ceiling fan installation:
In addition to the set screw that enables the twist width to be altered by moving one of the two jaws right or left, a crescent wrench also has the name "adjustable wrench." Use a crescent wrench to tighten a support brace or any other fasteners.
Cordless drill with an extended bit for drilling holes in various materials. Use a cordless drill to attach the junction box or utility box to the ceiling joists.
When a voltage tester is used to check for the existence of electricity in a fixture, it's called a test light because it has two leads. Check to see if electricity flows through the wires while installing a ceiling fan using a voltage tester on the ground and the hot wire.
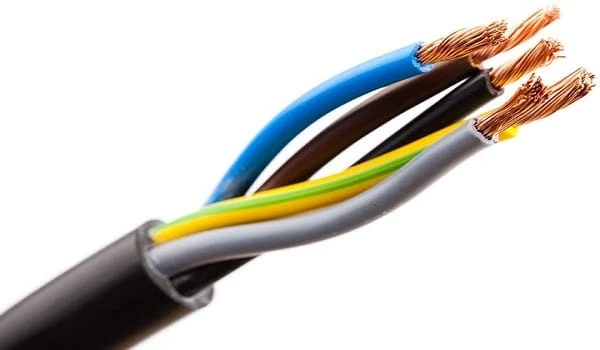
Straight Pliers: Straight pliers are cut by indenting and wriggling the ends of a piece of wire, while wire cutters do the exact opposite. To remove the insulation off the backs of cables, wire strippers are equipment that does this. Hand tool makers frequently bundle wire cutters and strippers together for sale. These tools are used during the downrod assembly to install a ceiling fan to cut and strip the wires.
Pliers – Firmly hold an object. When installing the download, use pliers to tighten the set screws and lock the nut on the rod.
To turn or drive screws, you'll need a screwdriver. Screwdrivers with flat heads and Philips's charges are the most popular. Ensure to secure the motor housing and blade screws with a screwdriver to prevent any wobbling or shake. Some brands include a screwdriver in the box.
When it comes to electrical wires and other conductor materials, an electrician's tape, also referred to as insulating tape, comes in handy. Electrical tape, which is both pressure-sensitive and flexible, provides effective insulation for a long time. Electrical tape should be used to insulate any wire connections.A ladder is required to reach the mounting bracket, hang the motor assembly, and connect the ceiling fan's wiring. If your ceiling is at least nine feet high, use a 5-foot stepladder. If your ceiling is 12 feet or higher, you'll need an 8-foot stepladder. A 15-foot or higher ceiling calls for an 11-foot stepladder.
Keep dust and other debris from getting into your lungs while you're working on the ceiling fan.
Wear safety glasses to protect your eyes from flying debris and hazardous objects during the installation process.