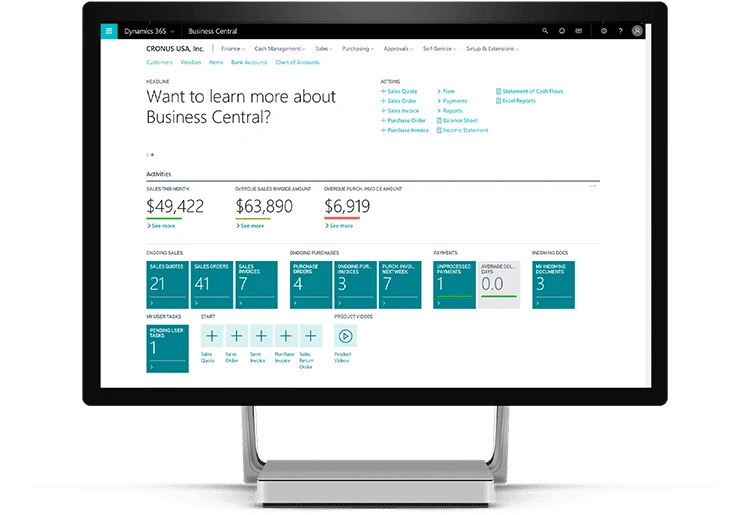
A SharePoint connector simplifies data sharing, by connecting Dynamics 365 Business Central and SharePoint Document Library. By integrating data, information can be managed within Dynamics system as well as from SharePoint. This integration process allows users to perform activities such as,
Uploading / downloading a documentGenerating documentConverting word document as a pdf fileBrowsing on SharePointE-signingFile sharingFolder mappingThe following procedure helps to integrate SharePoint and Dynamics 365 Business Central using AppSource.
STEP 1: Login to the Azure active directory using Dynamics 365 Business central credentials. From the left side pane, choose app registration and click new registration
[caption class="snax-figure" align="aligncenter" width="1140"][/caption]
STEP 2: Provide the connection name and select the application access as “accounts in the organization directory only”
[caption class="snax-figure" align="aligncenter" width="1140"][/caption]
STEP 3: Choose the redirect URI as web and provide the url as “https://businesscentral.dynamics.com/Production?page=70319501”
Note: If the sandbox environment need to be connected to the SharePoint provide “https://businesscentral.dynamics.com/Production?page=70319501”
[caption class="snax-figure" align="aligncenter" width="1140"][/caption]
STEP 4: Now choose API permissions to grant access to the application. On redirecting to the page choose add a permission
[caption class="snax-figure" align="aligncenter" width="1140"][/caption][caption class="snax-figure" align="aligncenter" width="1140"][/caption]
STEP 5: Now, choose SharePoint tile to grant permission. Select the delegate and application permission to provide read/write/manage permissions. Click on add permission to save
Note: Provide the delegate and application permissions for Dynamics 365 Business central
[caption class="snax-figure" align="aligncenter" width="1140"][/caption][caption class="snax-figure" align="aligncenter" width="1140"][/caption][caption class="snax-figure" align="aligncenter" width="1140"][/caption]
STEP 6: On adding permission, select “grant admin consent”
[caption class="snax-figure" align="aligncenter" width="1140"][/caption]
STEP 7: Now, add client secret for the application. Choose certificate and secrets tab and click new client secret
[caption class="snax-figure" align="aligncenter" width="1140"][/caption]
STEP 8: Add client secret name and choose the expiry date for the code. Click add
[caption class="snax-figure" align="aligncenter" width="1140"][/caption]
STEP 9: Copy the value of the secret code. Also copy client id of the application
Note: The value of the secret code should be copied within a minute on creating.
[caption class="snax-figure" align="aligncenter" width="1140"][/caption]
[caption class="snax-figure" align="aligncenter" width="1140"][/caption]
STEP 10: Login to the Dynamics 365 Business central environment and search for SharePoint setup
[caption class="snax-figure" align="aligncenter" width="1140"][/caption]
STEP 11: Provide the following details,
Base URL: Provide the SharePoint URL for connection
Client id: Provide the client id of the application
Client secret: Provide the secret code of the application
Callback URI: Provide the redirect URI provided in application
[caption class="snax-figure" align="aligncenter" width="1140"][/caption]
STEP 12: On providing the details, click on connect. On clicking, the authentication pop window is redirected. Now SharePoint is connected to Dynamics 365 Business central
[caption class="snax-figure" align="aligncenter" width="1140"][/caption][caption class="snax-figure" align="aligncenter" width="1140"][/caption]
STEP 13: The folder and integration can be changed if required
[caption class="snax-figure" align="aligncenter" width="1140"][/caption]
STEP 14: Click on table mapping in the setup and opt the table that is to be connected with the SharePoint
[caption class="snax-figure" align="aligncenter" width="1140"][/caption]
[caption class="snax-figure" align="aligncenter" width="1140"][/caption]
STEP 15: Look for the table that is mapped with SharePoint. Open the record to view the SharePoint connection in the factbox area of the table. On uploading the attachment in Business central, the document or attachments can be viewed in the SharePoint
[caption class="snax-figure" align="aligncenter" width="1140"][/caption][caption class="snax-figure" align="aligncenter" width="1140"][/caption]
Originally published at http://blog.congruentsoft.com on August 18, 2021


Sign in to leave a comment.