

Congratulations if you got your Cricut Explore Air 2 machine. It’s one of the excellent machines from Cricut that can give you incredible results. It’s easy to connect with your computer or mobile device. Plus, it opens up many ways for you to design anything. But before you get started with your brand new Explore Air 2 machine, you’ve got to set it up on your computer. How will you do that? If you’re a newbie, we are here to help you with this. So, read the blog till the end and learn the Cricut Explore Air 2 setup on computer.
What is a Cricut Explore Air 2 Machine?
The Cricut Explore Air 2 is an amazing line-up from Cricut. This machine gives you the opportunity to cut over 100 materials, including paper, cardboard, leather, etc. This machine is among the most desired Cricut products, and people are relying on this machine day by day.
https://cricut.com/dw/image/v2/BHBM_PRD/on/demandware.static/-/Sites-cricut-master-catalog/default/dw87f081ef/images//2/0/2006519-6_7.jpg?sw=999&q=65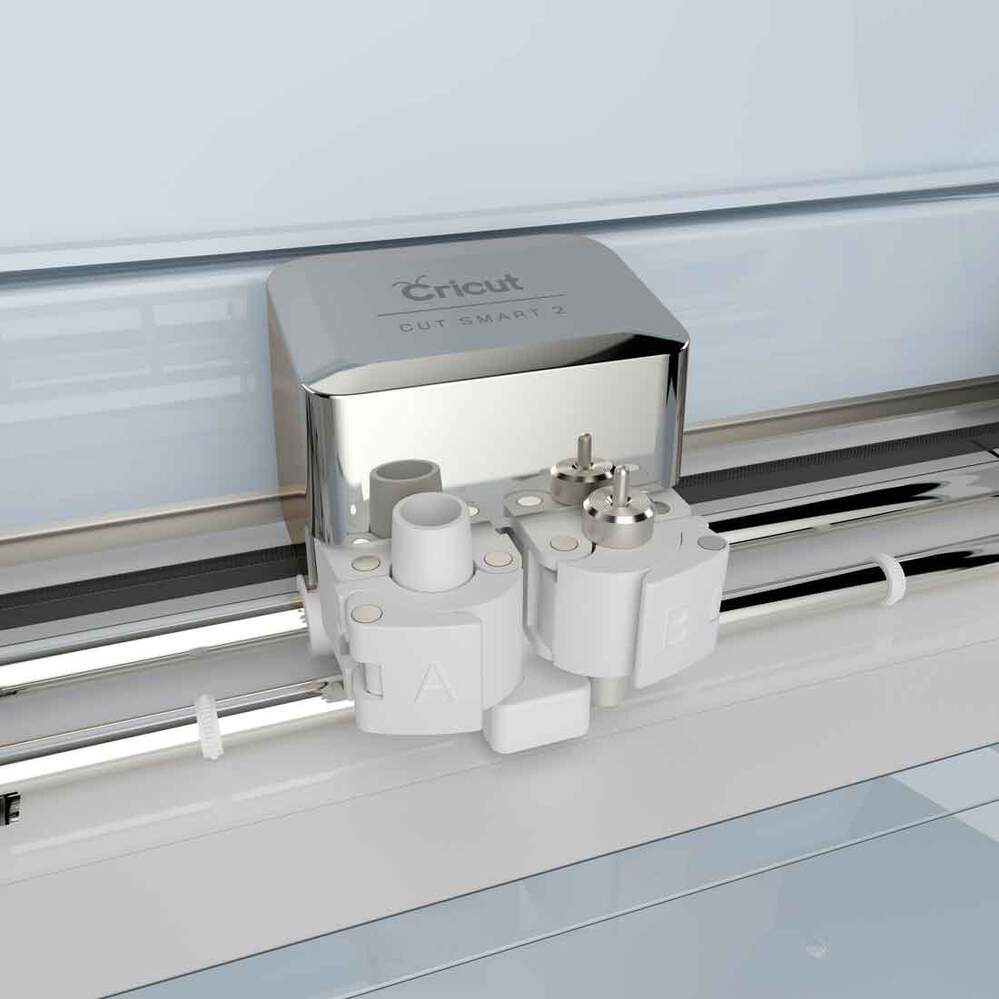
Moreover, its automatic settings function lets you manage 80 different types of fabrics.
So, if you’re someone who likes to enjoy crafting, Explore Air 2 would be an ideal choice. Additionally, this machine also creates the most complicated designs into simpler ones. The precision and accuracy are remarkable. Let’s see the Cricut Explore Air 2 setup on computer.
https://cricut.com/dw/image/v2/BHBM_PRD/on/demandware.static/-/Sites-cricut-master-catalog/default/dwd8324921/images//2/0/2006519-7_7.jpg?sw=999&q=65
How to Download Cricut Design Space on Windows?
Design Space is a software program from Cricut that allows you to design and create different projects. After that, you need to install the Design Space software on your computer. Let’s walk through the steps involved in this.
Open an internet browser on your computer and browse cricut.com/setup.Then, tap on the Download to get the Cricut Design Space.https://help.cricut.com/hc/article_attachments/1500005770541
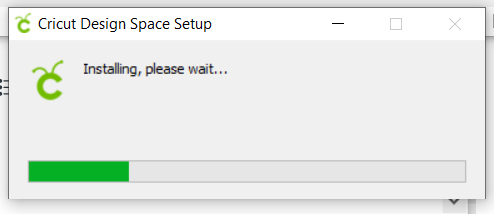
Now, your file will be saved under the Downloads folder.After that, navigate to the folder and double-click on the file to open it.Then, a prompt will appear on your screen, asking you to choose an appropriate option.Next, an installation window will appear.Then, allow the installation to complete, and then sign in with your Cricut ID and password.Now, the Design Space icon will appear on your screen.Right-click on the icon and choose Pin to Taskbar to pin that icon to your taskbar.Alternatively, you can directly drag the icon to your taskbar.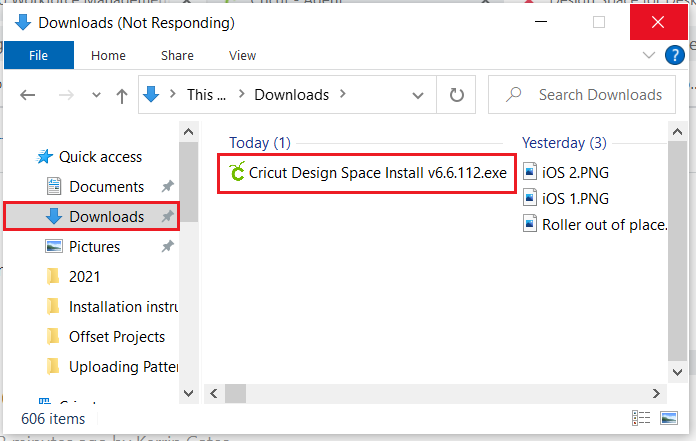
Then, finally, you’ll set your Cricut Explore Air 2 machine on a computer. Once you complete this step, you’re ready to go ahead.
How to Do Cricut Explore Air 2 Setup on Computer?
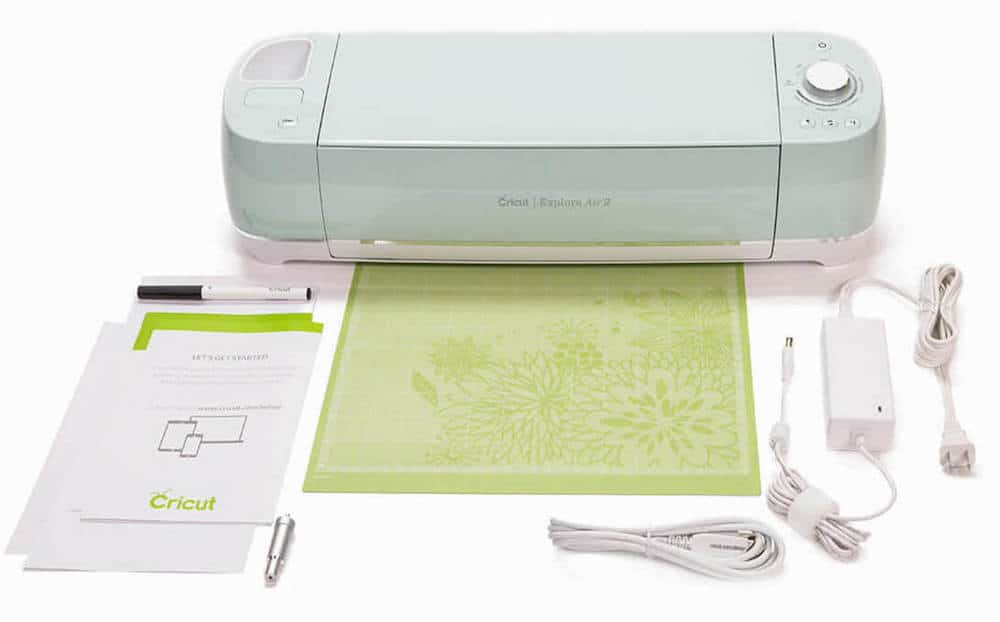
To get started with the setup, unbox your machine and check everything inside. Now, connect it to your computer using any connection option, like Wi-Fi or USB. Then, turn on your computer and Cricut machine.
Well, you’re finally on your way to setting up your Explore Air 2 machine on a computer. Here are the simplified instructions to do this correctly on your computer.
First, unpack your Explore Air 2 machine and take off its protective coverings.Ensure that your Cricut machine box has all the necessary accessories and equipment, like a power cord, cables, manual instructions, etc.Then, connect your Cricut machine to the power source and turn it on.After that, plug your Cricut machine into a USB cable or the Bluetooth connection.Now, head to the cricut.com/setup website on your desktop and follow the on-screen steps.Next, download the Cricut Design Space using the steps mentioned above.Then, register yourself for the Cricut account using your Cricut ID and password.For beginners, tap to create a new account.You can also take a free trial of Cricut Access.
Now, you have completed the Cricut Explore Air 2 setup on computer. After that, you can start a test cut and make your first project. The beginners can create their Cricut account for the first time if they don’t have one. If you don’t know how to create a new account, learn how below.
How to Create a New Cricut Account?
If you’re using the Cricut Design Space for the first time, you’ll have to create a new Design Space account. If you don’t know how to create one, look at our easy steps for this.
On your system, move to an internet browser. Then, search for cricut.com/setup.Then, click on Create a Cricut ID.Now, put your email address in the required area.After that, enter your password into the field.Then, type your full name.Next, select your country and region.Now, proceed with the on-screen steps.Lastly, finish the sign-in process for the Cricut account.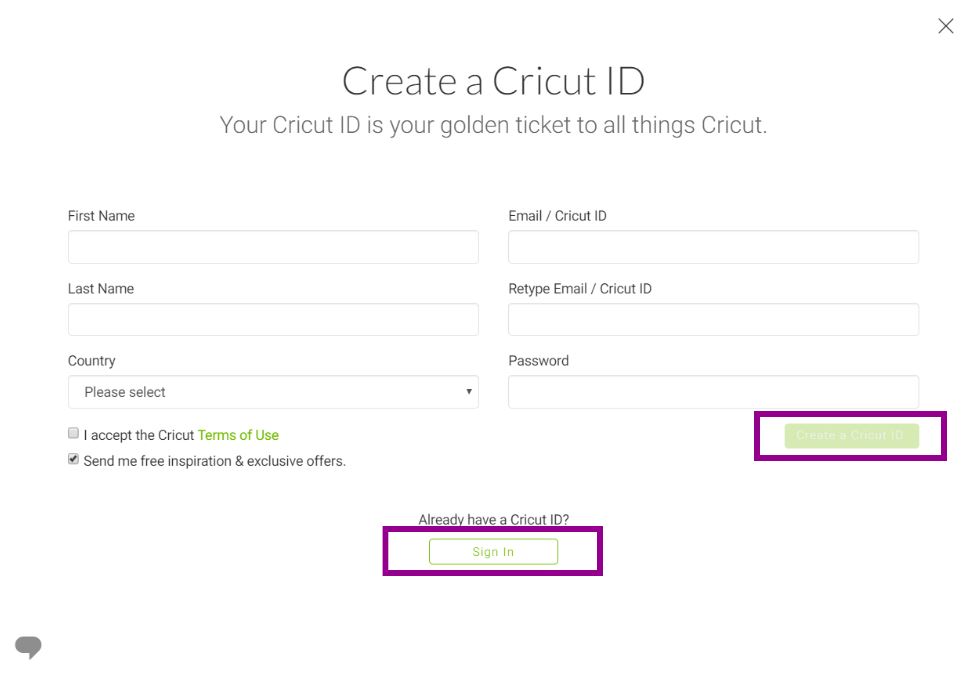
That’s how you’ll complete making your first Cricut Design Space account to make designs.
Conclusion
The Cricut Explore Air 2 setup on computer is so simple, and you can do it in minutes. You just have to follow a few steps to go ahead. Start by unboxing your Cricut machine. Then, connect it to the computer and navigate to Cricut’s website to download and install the software. You can sign in to the Cricut account with your existing Cricut ID, or you can create a new Cricut ID. Once you sign in, you’ll be able to access the Design Space the way you want. To get additional features, you can also opt for Cricut Access, which is a subscription to get premium fonts, images, and pre-made designs.