MAKE A GIF FROM A YOUTUBE VIDEO WITH THESE STEPS
Want to make a GIF from a YouTube video? You have come to the right place. In this article, we will discuss how you can use a YouTube video to create GIFs.
What is a GIF?
Graphics Interchange Format or GIF is a mini video/moving picture that signifies various emotions when you are looking for a perfect reply. There are a lot of services for creating GIFs on platforms like YouTube and more. But what if you want to create a GIF from a YouTube video? Don’t worry, after going through this article, you will be able to do it quickly.
How to Create a GIF from a YouTube Video?
One of the easiest ways with which you can create a GIF from a video is to use the online service gifs.com, and with the help of this service, you will be able to create the GIF from a YouTube video. You need to follow the below-mentioned steps for creating a GIF from a YouTube video.
- Select a video on YouTube whose GIF you want to create.
- In your browser, type gif before the URL of the YouTube video. After doing that, press Enter.
- You will see the selected video getting opened up on the video editing site called gifs.com. You will see, on the timeline, a pink slider which will appear under the GIF. You can select the Start Time for the video. Click on Start Time when you can figure out the place where you want to start.
- Once you have selected the start time, the timeline gets expanded, and you will see a small area of the video clip blue highlighted color. The highlighted color signifies the length of the GIF that is acceptable. You can swiftly move it to that part of which you want the GIF.
- If you are aware of the exact starting and end time of the video of which you want the GIF, you can manually enter it in the boxes of Starting Time and Ending Time.
- If you wish to have some additional content on the GIF, you can choose from the left screen side options. You can find options to add a text and image, crop or blur that clip, add a hue, flip vertically or horizontally and do much more.
- If you want to loop your GIF back and forth, or slow down or speed up your GIF, you can do it with PingPong and Warp accordingly. These are two experimental features that are dedicated to the tasks mentioned above.
- Once your GIF editing work gets completed, press on the button, Create Gif, which you will find on the screen on the upper right corner.
- When you click on the Create GIF button, you will be asked to fill the required details about the created GIF. The details may be GIF Title, Tags, select if the GIF is NSFW, choose if there is a requirement of sound or not. You can also add a watermark and also make the GIF private or public accordingly. Click Next after you have made your choices.
- When you click on next, your GIF will get generated, and you will get redirected to the page from where you can copy the link or share the GIF directly to your social media friends by downloading it on your phone and then sharing it.
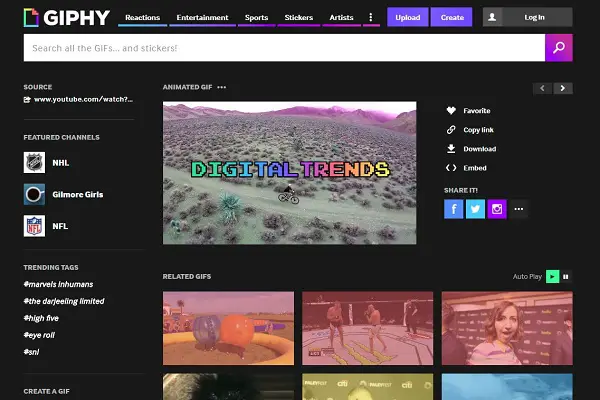
Create GIF from a YouTube Video with Giphy
Giphy is one of the most extensively used GIF creating websites. You can create your GIFs or use for your purpose, the already created GIFs by others. If you want to create a GIF using Giphy, follow the steps mentioned below:
- Select the YouTube video of which you want to create the GIF.
- Copy and paste the URL into GIF Maker of Giphy.
- You will see a new screen appearing. This screen will allow you to set up your GIF’s start time and the total duration. Once you have set the duration and start time, click on the Continue button.
- Once you click on the continue button, you will be moved to the next screen to edit the clip’s particular part of which you want to make the GIF. You can add a caption, filter, draw something, or add a sticker to your GIF.
- Once you are done with the finishing, click on the Continue button to upload.
- As soon as the Add Info option appears, you get the option to change the URL of the source and add Tags for making the GIF appear in the search results.
- If you want, you can make the GIF visible to the public. Although this option is by default turned On, however, if you’re going to make it private, then turn OFF the visibility to the public button.
- When you have finished the process, click on the Upload button to upload it to GIPHY.
- Once your GIF file gets uploaded on Giphy, you will get redirected to the final GIF page from where you can share it with your friends if you would have made the GIF visible to the public. You will find all the sharing options on the right-hand side of your GIF’s screen.
Conclusion
By now, you must have learned successfully about how you can create a GIF from a YouTube video. Both the titles mentioned have easy steps to creating your customized GIFs and sharing them among your friends over social media.
Source-YouTube Video


