


For any healthcare facility looking to add or upgrade their imaging capabilities, ensuring a smooth installation process is crucial.
However, we both know that this can be easier said than done, and mistakes can be costly in more ways than one!
With that being said, we’ve put this medical imaging equipment installation guide together. Of course, it’s important to note that certain makes and models could have specific requirements, so always refer to the guidelines and manual.
Understanding Your Requirements
1. Know your equipment
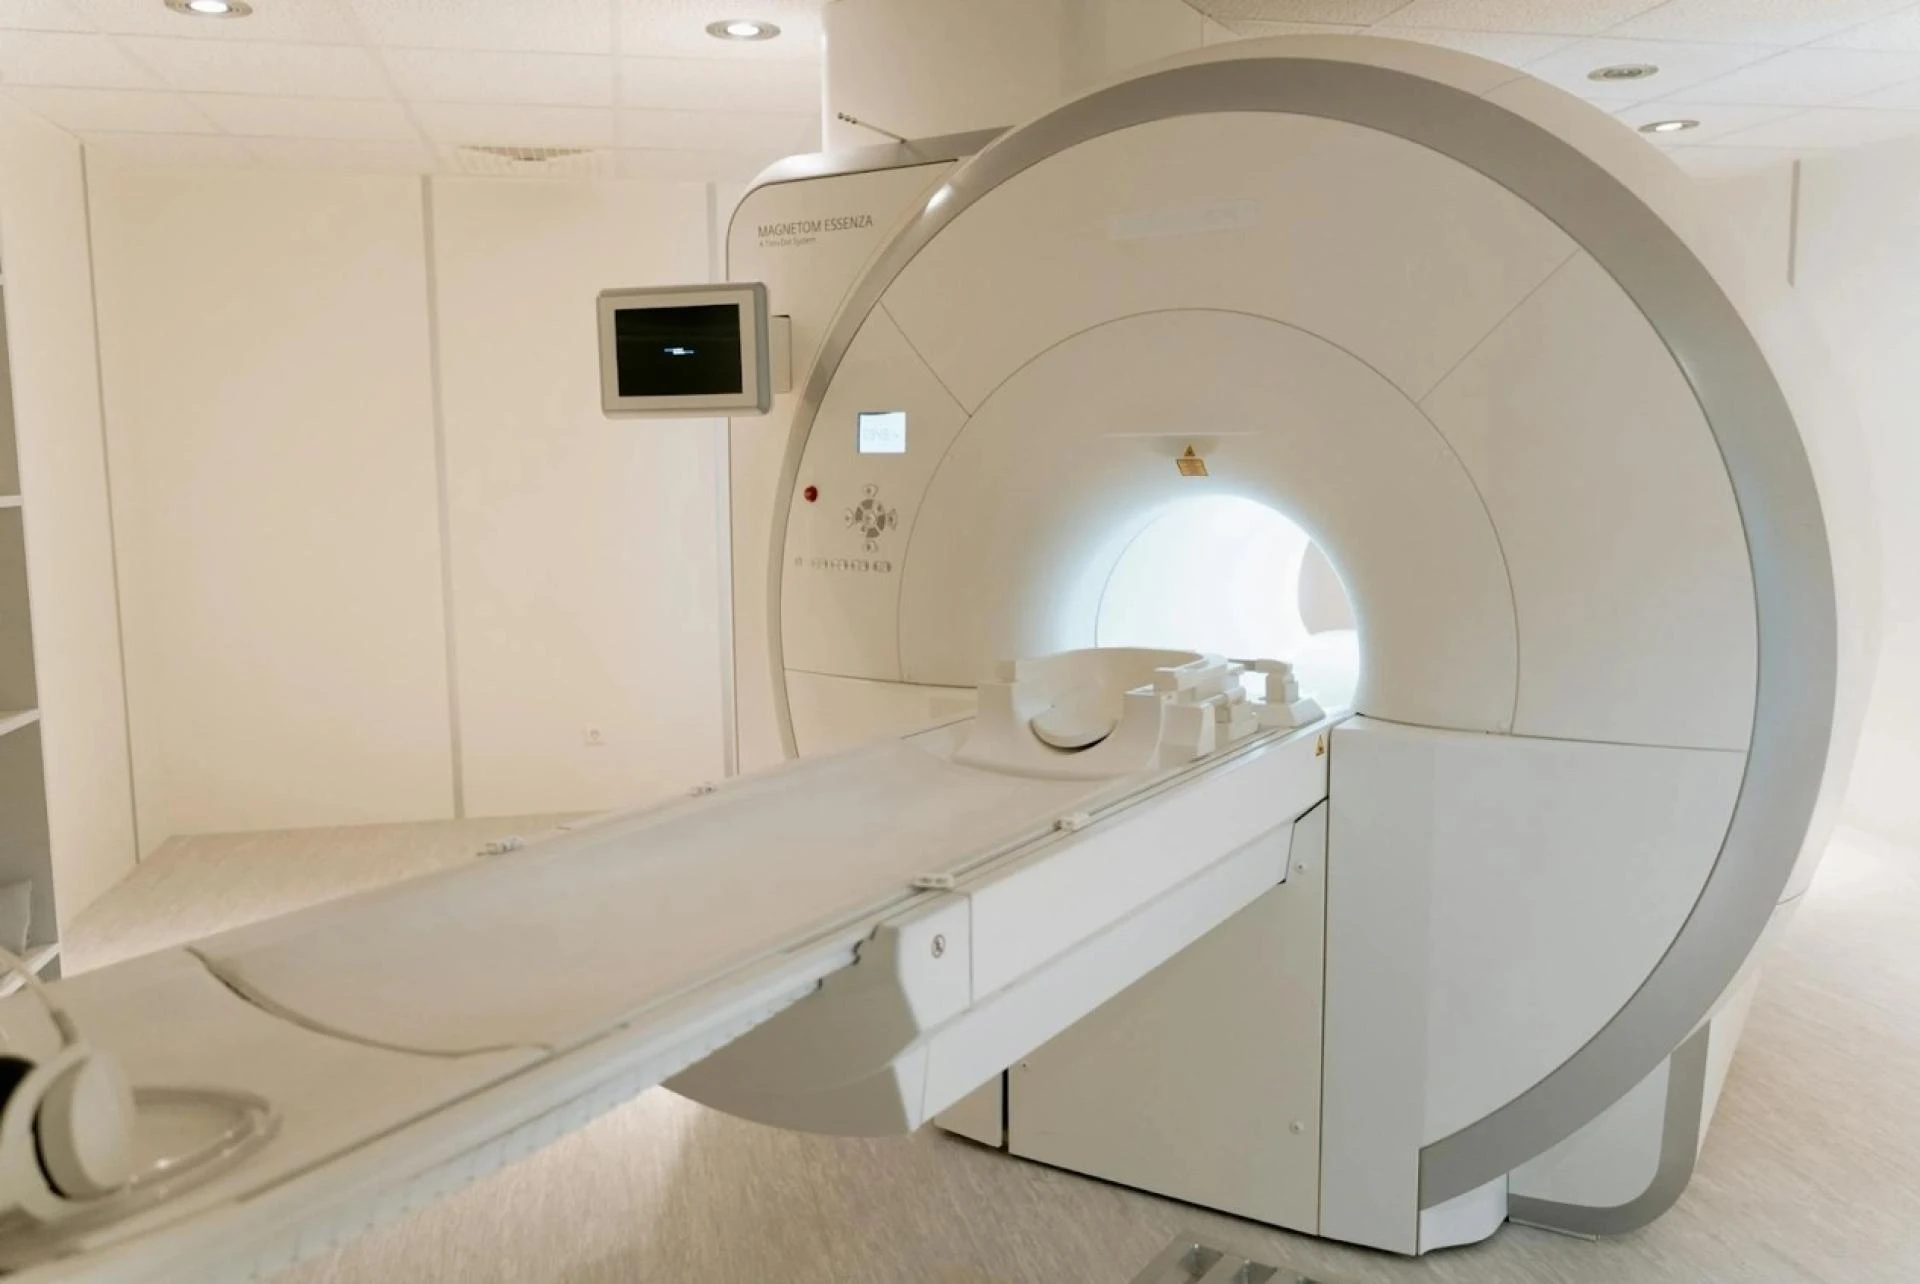
Different types of medical imaging equipment, such as MRI machines, CT scanners, and X-ray machines, have unique requirements, so this is a logical place to start.
· MRI Machines - Require a specialized room with shielding to prevent magnetic interference.
· CT Scanners - Need precise calibration and adequate space for the gantry and patient table.
· X-Ray Machines - Require lead-lined walls to protect against radiation.
2. Prepare the room
Proper room preparation is critical when installing any type of medical equipment. This involves ensuring the room meets all technical specifications, including:
· Size and dimensions - Verify that the room is large enough to accommodate the equipment and provide sufficient space for operation and maintenance.
· Structural integrity - Ensure the floor can support the weight of the equipment.
· Power supply - Check if the room has the necessary electrical capacity and outlets.
· Cooling and ventilation - Ensure adequate HVAC systems are in place to manage the heat generated by the equipment.
· Radiation protection - For devices like X-ray machines, ensure the room has appropriate shielding to prevent radiation exposure.
Pre-Installation Steps
1. Carry out a site assessment
Conduct a thorough site assessment with the equipment provider. This is important because you’ll be able to identify any possible challenges so there are no surprises on the day!
2. Develop an installation plan
Develop a detailed installation plan. This plan should include:
Timeline- Establish a realistic timeline for each phase of the installation.
Team roles- Assign specific roles and responsibilities to your team members.
Contingency plans- Prepare for possible delays or issues by having backup plans in place.
3. Obtain permits (if needed)
It goes without saying that you’ll need to comply with all local, state, and federal regulations. This may mean needing to obtain certain permits.
Examples of permits you may need
· Building Permit - Needed for any structural changes to your facility, such as reinforcing floors for heavy equipment or installing lead-lined walls for radiation protection.
· Electrical Permit - Required for modifications to your facility’s electrical system to support the new equipment’s power needs.
· Plumbing Permit - If the installation involves changes to the plumbing, such as adding a cooling system for the equipment.
· Health Department Permit - Some jurisdictions require a permit from the local health department to ensure that the installation complies with health and safety regulations.
· Radiation Safety Permit - For equipment that emits radiation, you might need a specific permit ensuring that all safety standards are met and that proper shielding is in place.
· Environmental Permit - In some cases, an environmental permit may be required if the equipment or its installation has the potential to impact the environment.
4. Train your staff
Prepare your staff for the new equipment by training them on operating the new machine, maintenance requirements, and safety procedures.
When staff have received adequate training, they can then ensure operational errors are prevented and the machine lasts for as long as possible.
Installation Day
1. Logistics and coordination
On the day of installation, logistics are key. Coordinate with the installation team to ensure that everything goes smoothly.
· Ensure that the equipment is delivered on time and inspect it for any damage.
· Have a clear point of contact for the installation team and ensure they have access to the site.
· Confirm that all necessary utilities (electricity, water, etc.) are functioning correctly.
Step-by-step installation
1. Initial inspection - The installation team should perform a thorough inspection of the equipment and the installation site.
2. Positioning - Carefully position the equipment in the designated area, ensuring it is level and secure.
3. Connection - Connect the equipment to the power supply, network, and other necessary systems.
4. Calibration - Perform initial calibration and testing to ensure the equipment functions correctly.
5. Final checks - Conduct a final inspection to verify that everything is installed according to specifications.
Post-Installation
1. Testing and validation
Once the installation is complete, conduct rigorous testing and validation. This can be split into three sections.
A. Operational Tests - Ensure the equipment operates as expected under various conditions.
B. Safety Tests - Verify that all safety features are functional and meet regulatory standards.
C. Quality Assurance - Perform quality assurance tests to confirm the accuracy and reliability of the imaging results.
2. Documentation and compliance
Keep detailed records of the installation process. This includes installation reports, which document each step of the installation, as well as ensuring all regulatory compliance certificates are obtained and filed.
We also recommend that you establish a regular maintenance schedule to keep the equipment in optimal condition.
3. Ongoing support and maintenance
Maintain a strong relationship with the equipment provider for ongoing support. Ensure you have access to technical support for troubleshooting and repairs.
Provide continuous training for your staff to keep them updated on best practices and new features.
Creating a Safe and Efficient Imaging Environment
A well-planned and executed installation of medical imaging equipment enhances the quality of care provided to patients. Consider partnering with a medical equipment provider who offers advanced consultancy services so that they can advise you through the entire process, from choosing financing to installation and aftercare.