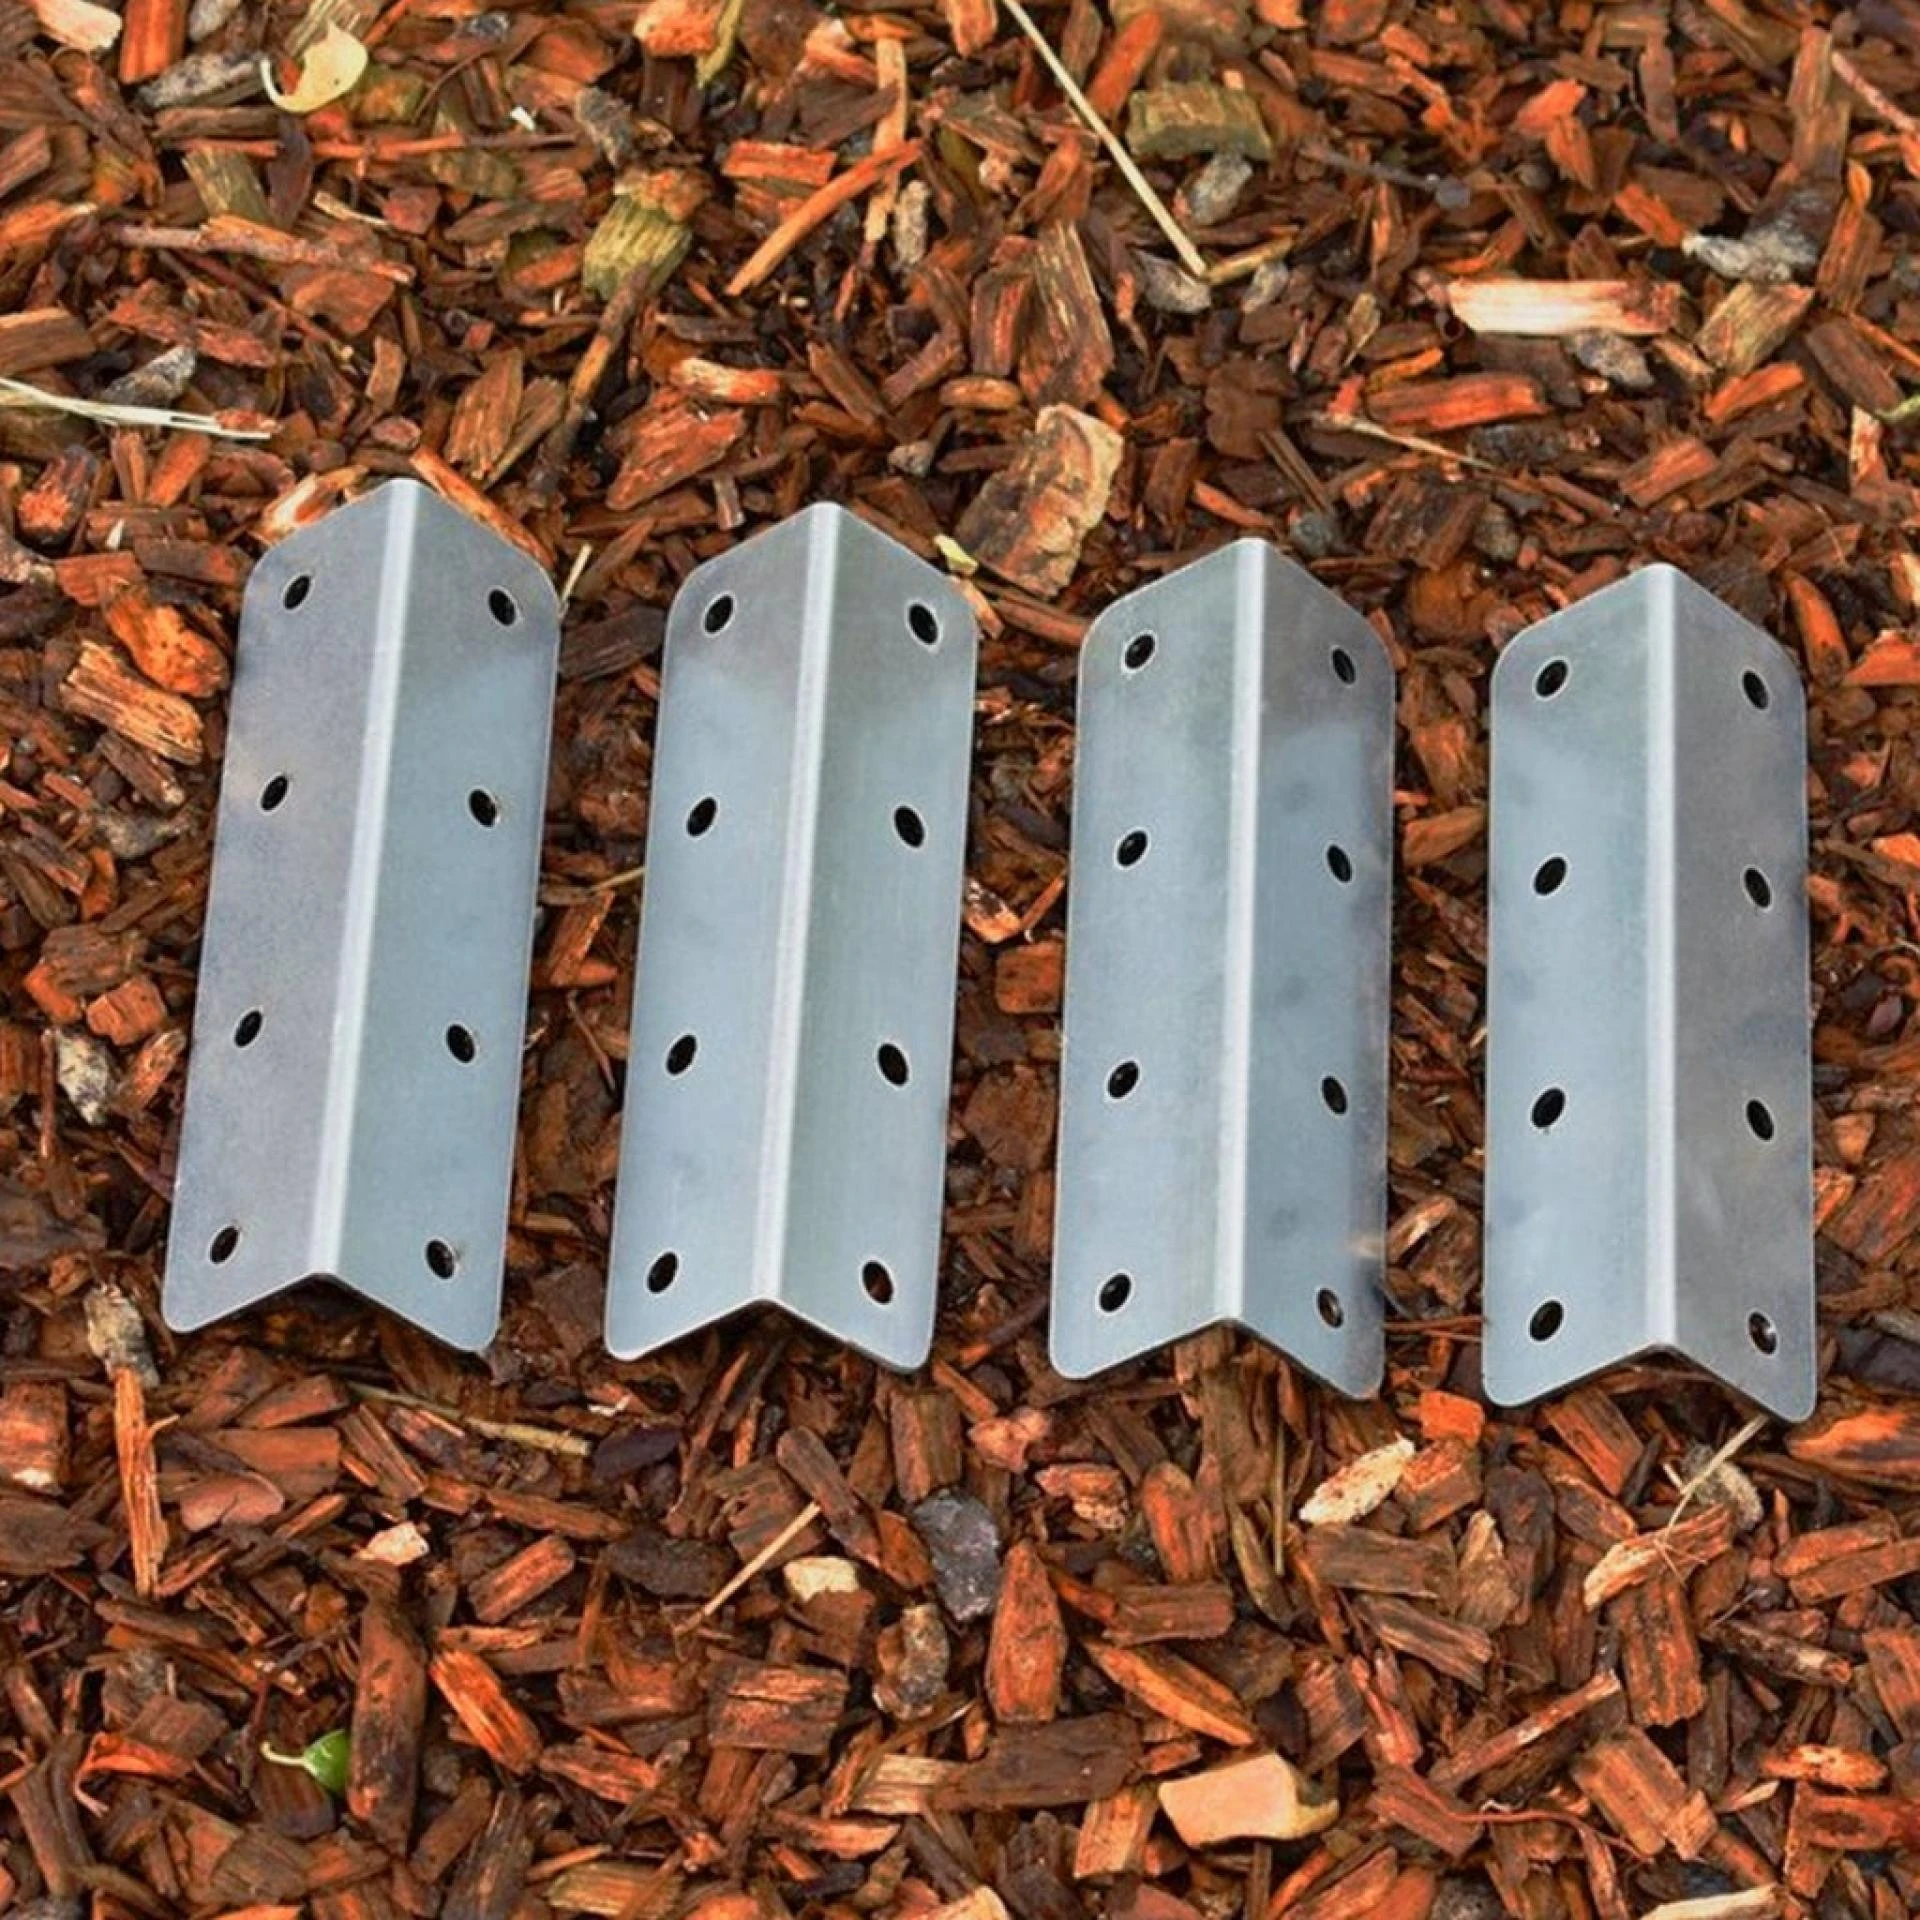
The threaded rod is much cheaper and then just has some nuts and it's you know hold dropped free cheap I mean most people would have a drill I imagine to get that done other than that you could just use a normal saw and a hacksaw for the rest of it you don't really need any fancy tools and now Metal Corner Brackets I'm just lengthening the leg hasn’t got enough there do it a bit more I found that once of adjusted these wants to get it right each time I set the table up I really only have to do fairly small adjustments the ground is a little uneven in my backyard and so I have to adjust it pretty much every time but once it's stable it's it's pretty good you can see there it's still moving around a little bit once I bang them a little bit so the ground just compressed under the foot a little bit so just wander down a little bit more and then it's rock-solid. Large metal corner brackets, Metal corner brackets for wood, Heavy-duty metal corner brackets, Long metal corner brackets, Metal corner brackets Screwfix, Decorative metal corner brackets, Corner brace brackets, L brackets.
Outdoor screws Screwfix, Railway sleeper brackets, Screwfix railway sleeper brackets, Railway sleeper brackets b&q. And I tested the stability by putting a spirit level a long spirit level on top and I pushed down quite hard on it and it didn't move at all and it used to buckle in the middle when I push down hard thank you for watching cheapskate and I hope you enjoyed the Corner Brackets just starting out into welding or maybe you haven't quite dipped your foot in the welding pond and you're trying to decide if welding is for you well today we've got some tips and Outdoor Screws tricks whenever you're working in the metal shop you always need clamps so today we've got some DIY budget-friendly tips so let's get going so not long ago guys I built this fixture table.


Sign in to leave a comment.