
When your rivet tool stops working mid-job, the fix is usually simpler than you think. The most common causes include worn or mismatched mandrels, a blocked nosepiece, insufficient jaw grip, or a damaged pull mechanism. Identifying the exact failure point takes less than five minutes — and in most cases, you can get back to work without needing a replacement tool.
Whether you're a plumber, sheet metal worker, HVAC technician, or general contractor, a riveter that won't set properly is one of those frustrations that can bring an entire job to a halt. This guide walks you through every likely cause and its fix — in order of how frequently they occur on the job.
Why Your Rivet Tool Is Failing to Set Rivets
Before pulling the tool apart, observe what's actually happening. Is the rivet spinning but not deforming? Is the mandrel not snapping? Is the rivet body collapsing on the wrong side? Each symptom points to a different problem.
Here's a quick symptom-to-cause reference:
| Symptom | Most Likely Cause
|
|---|---|
| Mandrel won't snap | Worn jaws or weak jaw spring |
| Rivet spins freely in hole | Wrong rivet size for hole diameter |
| Rivet body collapses on wrong side | Incorrect rivet length for material thickness |
| Tool won't grip the mandrel | Blocked or worn nosepiece |
| Handle is stiff or won't return | Broken return spring or misaligned mechanism |
| Partial setting only | Insufficient handle stroke or operator technique |
Step-by-Step Troubleshooting Guide
Step 1: Check the Nosepiece First
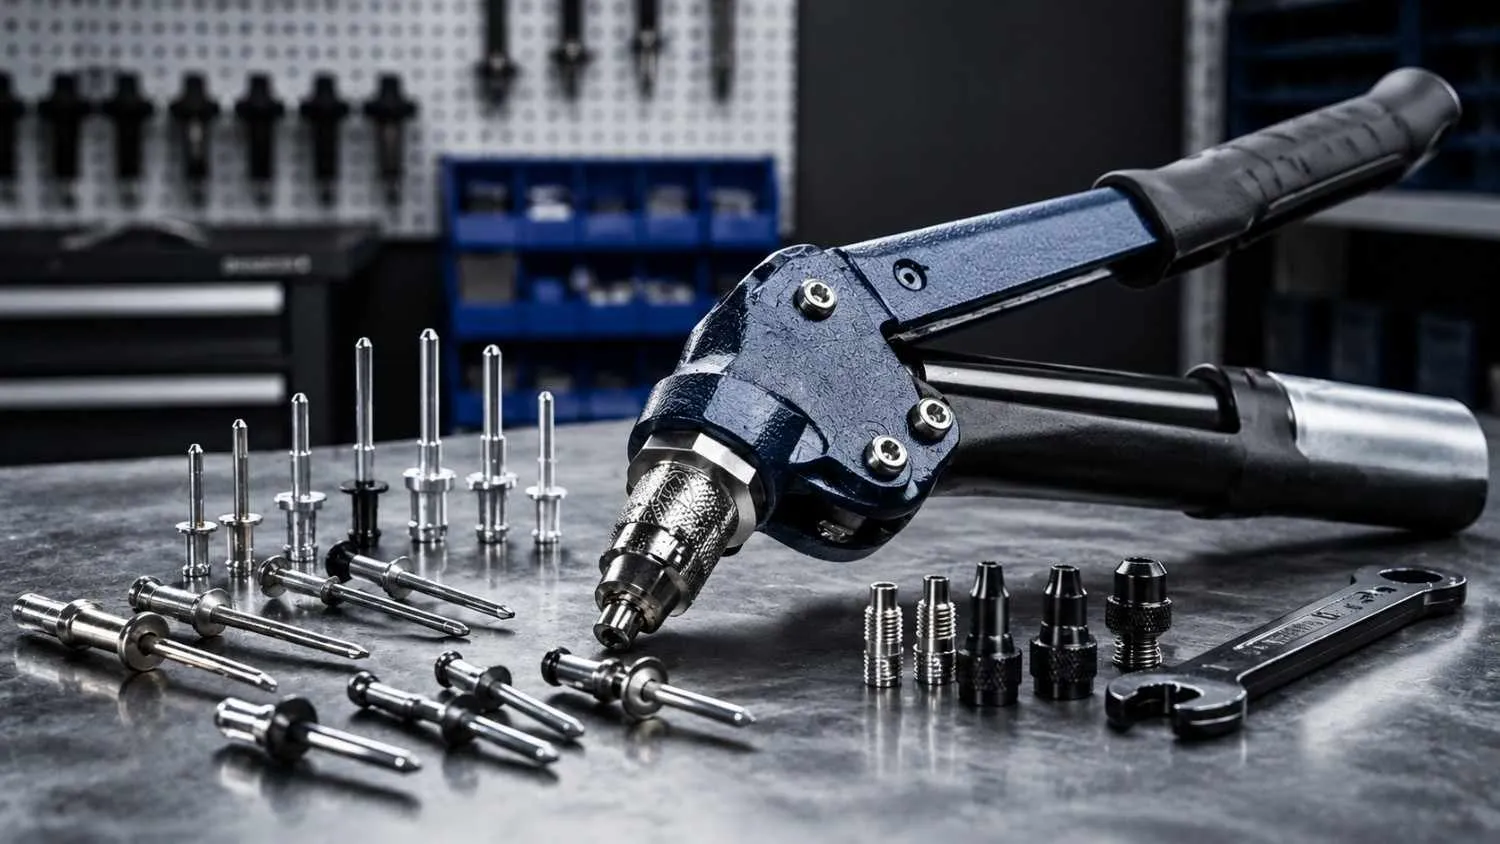
The nosepiece is the part that grips the rivet mandrel and guides the rivet into place. It's also the most common failure point on a hand riveter.
Remove the nosepiece by unscrewing it from the tool body. Look for:
- Mandrel debris or metal shavings packed inside
- Visible cracks or deformation
- A worn bore that no longer matches your rivet diameter
Clear any debris with a small pick or compressed air. If the bore is worn or cracked, replace the nosepiece — this is a standard consumable part available separately as a riveter accessory.
Step 2: Inspect the Jaws
The jaws (also called collets) are the gripping teeth inside the tool that pull the mandrel. Over time, they wear flat and lose their bite.
Signs of worn jaws:
- The mandrel slips rather than pulling back cleanly
- The rivet sets partially but the mandrel doesn't snap
- You can see flat or rounded edges on the jaw teeth under magnification
Jaw sets are inexpensive and tool-specific. Replacing them restores full gripping force without needing a new tool. Always match the jaw set to your tool model and rivet diameter range.
Step 3: Confirm You're Using the Right Rivet Size
This is where a lot of tradespeople lose time. Using the wrong rivet diameter or grip range is one of the leading causes of poor setting — and it has nothing to do with the tool itself.
Check two things:
- Diameter: The rivet should fit snugly in the drilled hole — not loose, not forced. A loose fit means the rivet spins before setting.
- Grip range: Every blind rivet has a grip range stamped on the box. This tells you the total thickness of material it's designed to clamp. If your material stack is outside that range, the rivet won't set correctly regardless of technique.
Step 4: Lubricate the Mechanism
A stiff handle or slow return spring is often nothing more than a dry mechanism. Metal-on-metal friction builds up over time, especially on tools used in dusty or humid environments — both common conditions on Malaysian worksites.
Apply a light machine oil or general-purpose lubricant to the moving parts: the jaw assembly, the pull rod, and the return spring housing. Work the handle several times to distribute the oil. Avoid over-lubricating — excess oil attracts grit and causes its own problems.
Step 5: Check the Return Spring
If the handle moves forward after each stroke but doesn't snap back, the return spring may be weakened or broken. This is a common issue on older tools or those that have seen heavy-duty use.
Disassemble the tool body and visually inspect the spring. A broken spring will be obvious — a weakened one may look intact but won't provide enough resistance. Replace with a manufacturer-matched spring. Generic springs often have the wrong tension rating and can cause new problems.
Step 6: Evaluate Your Technique
Even a perfectly maintained rivet tool won't set correctly if the operator technique is off. This comes up more often than people admit.
Common technique errors:
- Not pressing the tool firmly against the surface before squeezing — this causes the rivet to pull at an angle
- Short strokes that don't complete the pull — use a full, deliberate squeeze until the mandrel snaps
- Working too fast without fully inserting the rivet into the nosepiece before each pull
On pneumatic or battery-powered rivet tools, also check that air pressure or battery voltage is within the manufacturer's specified operating range. Low pressure is a frequent but overlooked cause of incomplete setting.
When to Repair vs. Replace Your Rivet Tool
Most rivet tool issues are solved by replacing consumable parts — nosepieces, jaws, and springs. These components are designed to wear and are far cheaper than a new tool.
Consider replacing the tool body itself only if:
- The pull rod is bent or cracked
- The tool body housing is damaged and no longer holds alignment
- Replacement parts are no longer available for your model
- Total repair cost exceeds 60–70% of a new tool's price
Rivet tool repair starts with the accessory kit. Keeping a small stock of the correct nosepieces, jaw sets, and springs means you can fix most issues on-site without waiting for a service centre.
Preventive Maintenance That Keeps Your Riveter Running
A few minutes of maintenance after each job can prevent most of the problems above from developing in the first place.
- Clear mandrel debris from the nosepiece after every session
- Lightly oil the jaw assembly and pull rod weekly on high-use tools
- Store the tool in a dry location — humidity accelerates jaw wear and causes spring corrosion
- Replace nosepieces proactively when you switch rivet diameter ranges frequently
- Never force a rivet that doesn't fit — it damages both the workpiece and the nosepiece bore
For tradespeople working across multiple job sites, carrying a small accessory kit in your tool bag is the difference between a two-minute fix and a half-day delay.
Getting the Right Replacement Parts
Not all riveter accessories are interchangeable. Always match replacement parts to your tool's brand and model number. Using mismatched parts — especially jaw sets — can damage the pull rod or cause inconsistent setting force.
If you're unsure which parts to source, Chee Fatt carries a wide range of riveter accessories suited to both hand and pneumatic riveters used across industries in Malaysia. Having the right parts on hand means you're never more than a few minutes away from getting back to full working capacity.
Frequently Asked Questions
Why does my rivet tool keep slipping on the mandrel?
This is almost always caused by worn jaws that have lost their gripping teeth. Replace the jaw set with one matched to your tool model and rivet diameter range. Debris packed around the jaws can cause the same symptom — clean the nosepiece and jaw area before replacing parts.
How do I know if I'm using the wrong rivet size?
Check the rivet's grip range against your material thickness — if the stack falls outside that range, the rivet won't set flush. Also confirm the rivet diameter matches your drilled hole. A rivet that spins freely in the hole is always undersized for that application.
Can I fix a stiff rivet tool handle without disassembling the tool?
In most cases, yes. Apply a light machine oil around the nosepiece collar and work the handle repeatedly to draw oil into the mechanism. If stiffness persists after lubrication, the return spring may need replacement — which does require partial disassembly of the tool body.
What is the most common part to replace on a hand riveter?
The nosepiece is the highest-wear component on any hand riveter. It contacts the rivet on every pull and wears down from friction and impact. Jaw sets are a close second. Both are inexpensive consumables and should be treated as regular maintenance items rather than emergency replacements.
How do I prevent rivet tool problems on-site?
Keep a small accessory kit in your tool bag with a spare nosepiece, jaw set, and return spring. Clean mandrel debris after each session and lightly oil the mechanism weekly. Using the correct rivet size every time — rather than forcing a near-fit — eliminates most premature wear.
When should I replace my rivet tool instead of repairing it?
Replace the tool if the pull rod is bent, the housing is cracked, or the total cost of parts exceeds roughly 60–70% of a new tool's price. In most other cases, targeted rivet tool repair through consumable part replacement is more cost-effective and restores full performance.

























Sign in to leave a comment.