There’s nothing quite like the anticipation of firing up a backyard BBQ when friends and family are on the way. But if you’ve ever tried to get a grill going under pressure, you’ll know it can feel like a race against time. A large charcoal BBQ can look intimidating to set up quickly, but the right steps and some smart preparation can get you cooking in minutes rather than hours. Whether you’ve invested in a diy bbq kit or you’re upgrading from a small portable grill, this guide will walk you through everything you need to know to get that first sizzle fast.
Why a Large BBQ is Worth It
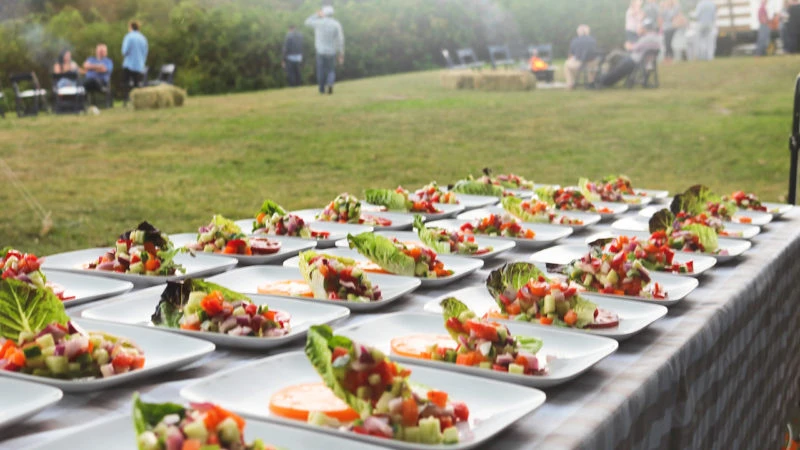
Cooking on a bigger setup offers a different experience compared to small patio grills. A large charcoal BBQ holds more fuel, retains heat for longer, and provides ample cooking space for different foods at the same time. That means you can do burgers on one side, slow cook ribs on the other, and still have room for corn on the cob or skewers.
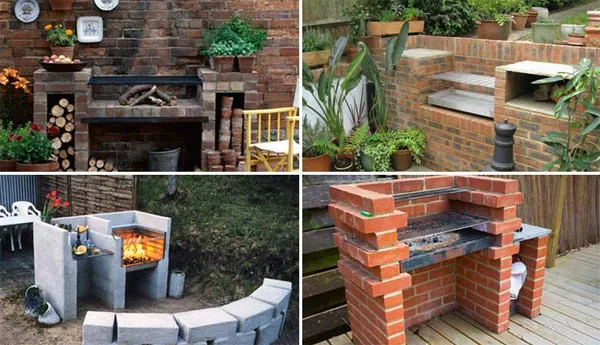
If you’ve built your own outdoor station using a diy bbq kit, you’ll already appreciate how solid and reliable these setups are. Once in place, they become a permanent feature of your garden, ready for quick and efficient cooking whenever you need it.
The key to making the most of a larger grill is learning how to set it up fast and effectively.
Step 1: Choose the Right Charcoal
The heart of any charcoal BBQ is, of course, the fuel. Getting your charcoal right is the first step to a quick setup. Lumpwood charcoal lights faster, burns hotter, and gives that authentic smoky flavor. Briquettes, on the other hand, burn for longer and give you more consistency.
For quick setups, lumpwood is your best friend. It catches easily and will be ready to cook on within 15-20 minutes. If you’re entertaining and need a long burn, you can add briquettes after the lumpwood has caught. A mix of the two can give you the best of both worlds.
Step 2: Use a Chimney Starter
A chimney starter is one of the most overlooked tools for BBQ efficiency. Instead of fussing with lighter fluid or trying to spread flames across a wide base, simply fill the chimney with charcoal, place some scrunched paper or firelighters underneath, and light it. Within minutes, the coals will be glowing red and ready to pour into the BBQ base.
On a large charcoal BBQ, using two chimneys is a game-changer. That way, you cover a wider surface faster, and you’ll have plenty of heat to spread across the grill.
Step 3: Create Heat Zones
Big doesn’t always mean complicated, but a larger grill gives you options you don’t get with a small one. Once the coals are ready, spread them unevenly across the base.
- One side should have a thick, even layer for high-heat searing.
- The other side should have fewer coals for indirect cooking.
- Leave a section with no coals underneath for warming bread, slow cooking, or just keeping food hot before serving.
This three-zone method transforms your large BBQ into a versatile cooking station where you can handle multiple dishes at once.
Step 4: Preheat and Clean the Grates
Even though you’re working for speed, don’t skip this step. Once your coals are spread, put the cooking grates in place and close the lid for 5-10 minutes. This heats the grates so they sear food instantly and makes them easier to clean.
Use a wire brush or even half an onion to scrape off any residue from previous cooks. Preheating doesn’t take long, but it makes a world of difference to your cooking results.
Step 5: Organize Before You Cook
One of the reasons people get stressed at the BBQ is because they rush to set up once guests arrive. If you’re aiming to get cooking in minutes, preparation is everything.
- Marinate meats earlier in the day so they’re ready to go straight onto the grill.
- Chop vegetables in advance and store them in a bowl with olive oil and seasoning.
- Lay out utensils – tongs, spatulas, skewers, brushes – so you’re not scrambling to find them once the fire is hot.
This type of setup makes your large charcoal BBQ feel like a professional station, and it keeps the cooking process smooth and stress-free.
Step 6: Lighting Without a Chimney
If you don’t have a chimney starter, don’t worry. A diy bbq doesn’t have to be complicated. You can still get your coals going fast with the “pyramid method.”
- Stack the charcoal into a pyramid shape in the center of the grill.
- Place firelighters or scrunched newspaper underneath.
- Light from a few different points to spread the flame.
- Once the bottom layer is glowing, carefully spread the coals across the base with tongs.
It’s not quite as fast as using a chimney, but with good airflow and dry fuel, you’ll be cooking within 20-25 minutes.
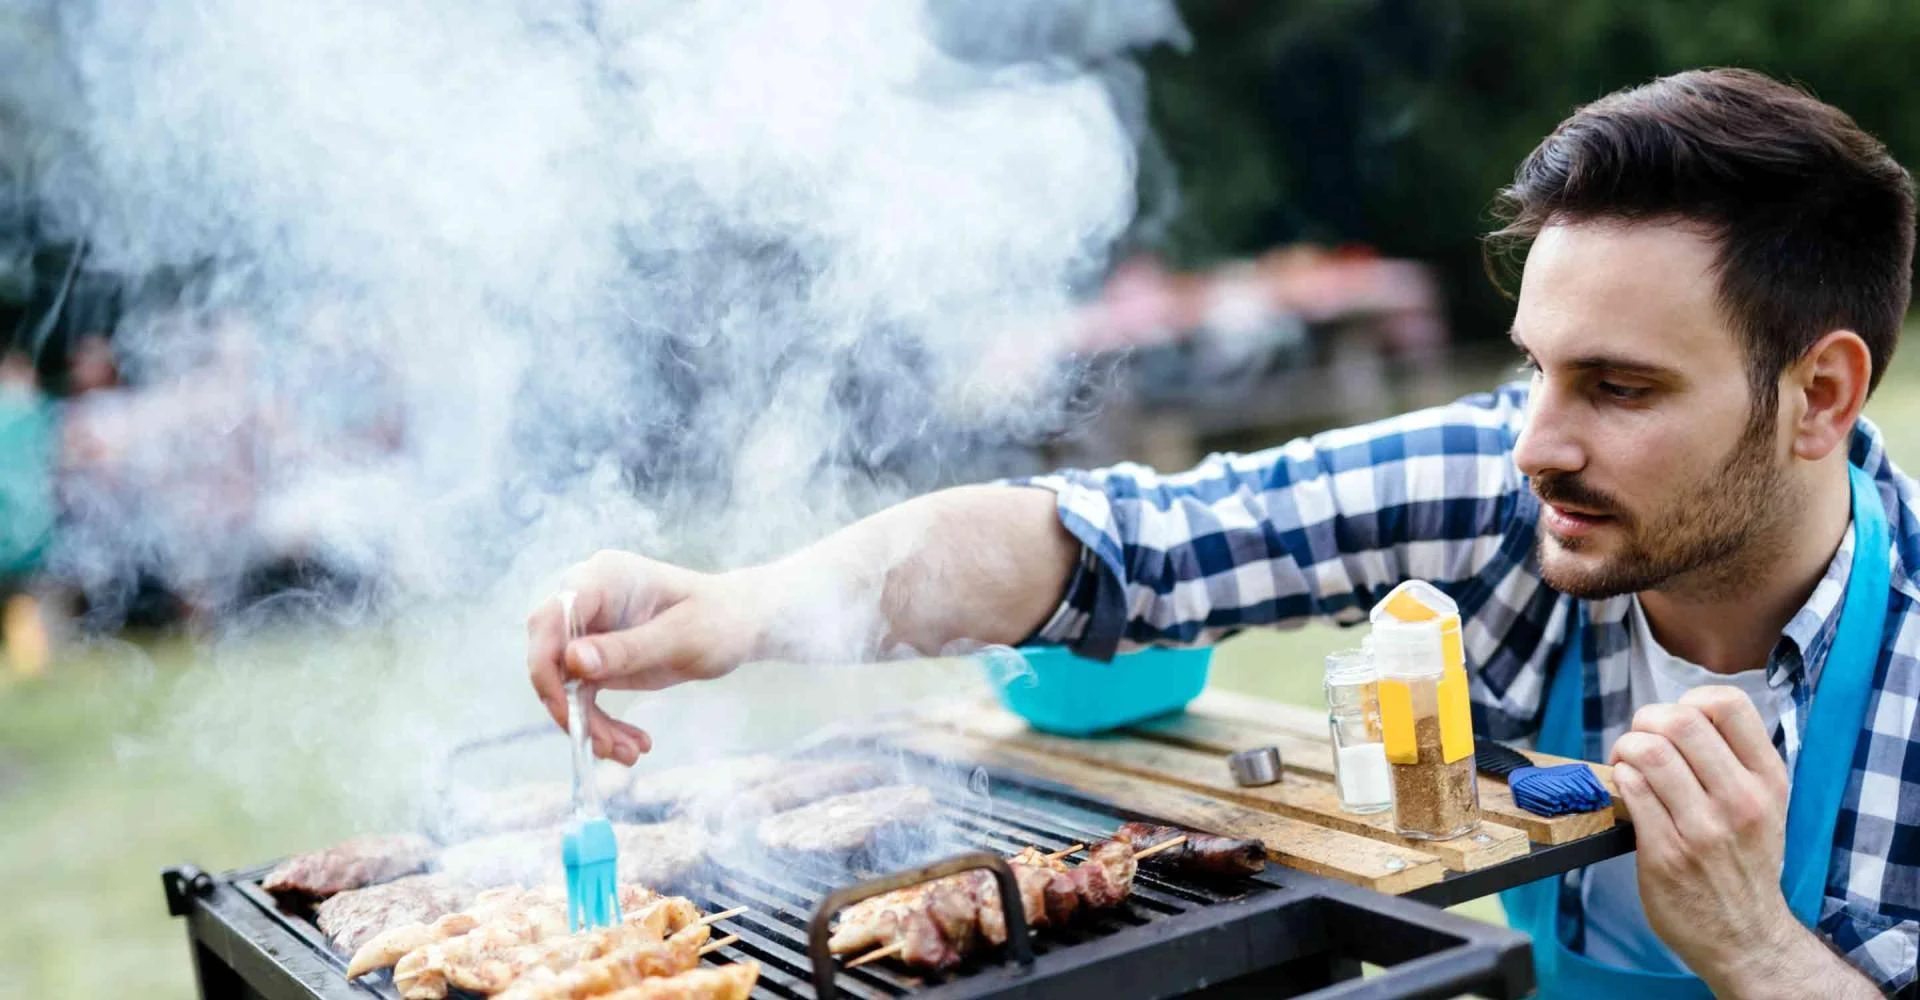
Step 7: Add Wood for Flavor
If you’ve gone through the effort of setting up a large grill, why not elevate the flavor? Adding wood chunks or chips to the coals brings out smoky layers that can’t be matched with gas cooking. Hickory, applewood, cherry, or oak are all popular choices.
The trick is to soak smaller chips in water for about 30 minutes before adding them. This ensures they smolder rather than burn instantly, infusing your meat or veggies with that unmistakable BBQ taste.
Step 8: Keep Control of the Heat
The larger the BBQ, the more control you have over the temperature. Use the vents at the bottom to increase airflow and raise the heat, or close them slightly to slow things down. The lid vents also play a part – open vents for a roaring fire, closed vents for low and slow cooking.
Think of your diy bbq kit as more than just a grill. It’s a heat management system that gives you precision once you understand how to control it.
Step 9: Cook in Stages
Trying to cook everything at once is where most people slip up. With a large charcoal BBQ, you can stagger the food so nothing feels rushed:
- Start with foods that take longer – chicken, ribs, thick cuts of steak.
- Add quicker items like sausages and burgers once the main proteins are halfway done.
- Finish with vegetables, flatbreads, or skewers to serve alongside the main meats.
This rotation means you’re always serving fresh, hot food without overwhelming yourself.
Step 10: Enjoy the Process
Part of the fun of BBQ is the ritual itself. Lighting the coals, waiting for the perfect heat, and cooking outdoors are all part of the experience. With practice, setting up even a large BBQ becomes second nature, and you’ll find yourself shaving minutes off your prep time every time you fire it up.
A diy bbq kit gives you the foundation for this – a sturdy, permanent grill space that’s ready whenever you are. Pair that with a simple routine, and you’ll transform BBQ nights into a smooth, enjoyable event instead of a stressful race against time.
Final Thoughts
Setting up a large charcoal BBQ doesn’t have to mean long waiting times or complicated steps. With the right fuel, a chimney starter, heat zones, and smart preparation, you can be cooking within minutes of lighting up. A diy bbq offers flexibility and the satisfaction of building your own outdoor setup, while still giving you all the tools you need for quick, efficient grilling.
So next time you’re hosting, don’t panic when the first guests arrive. Light your coals with confidence, organize your food in advance, and let the BBQ do the heavy lifting. The aroma of sizzling meat and vegetables will soon follow – and your guests will think you’ve been preparing all day, even though it only took you a matter of minutes.


Sign in to leave a comment.