

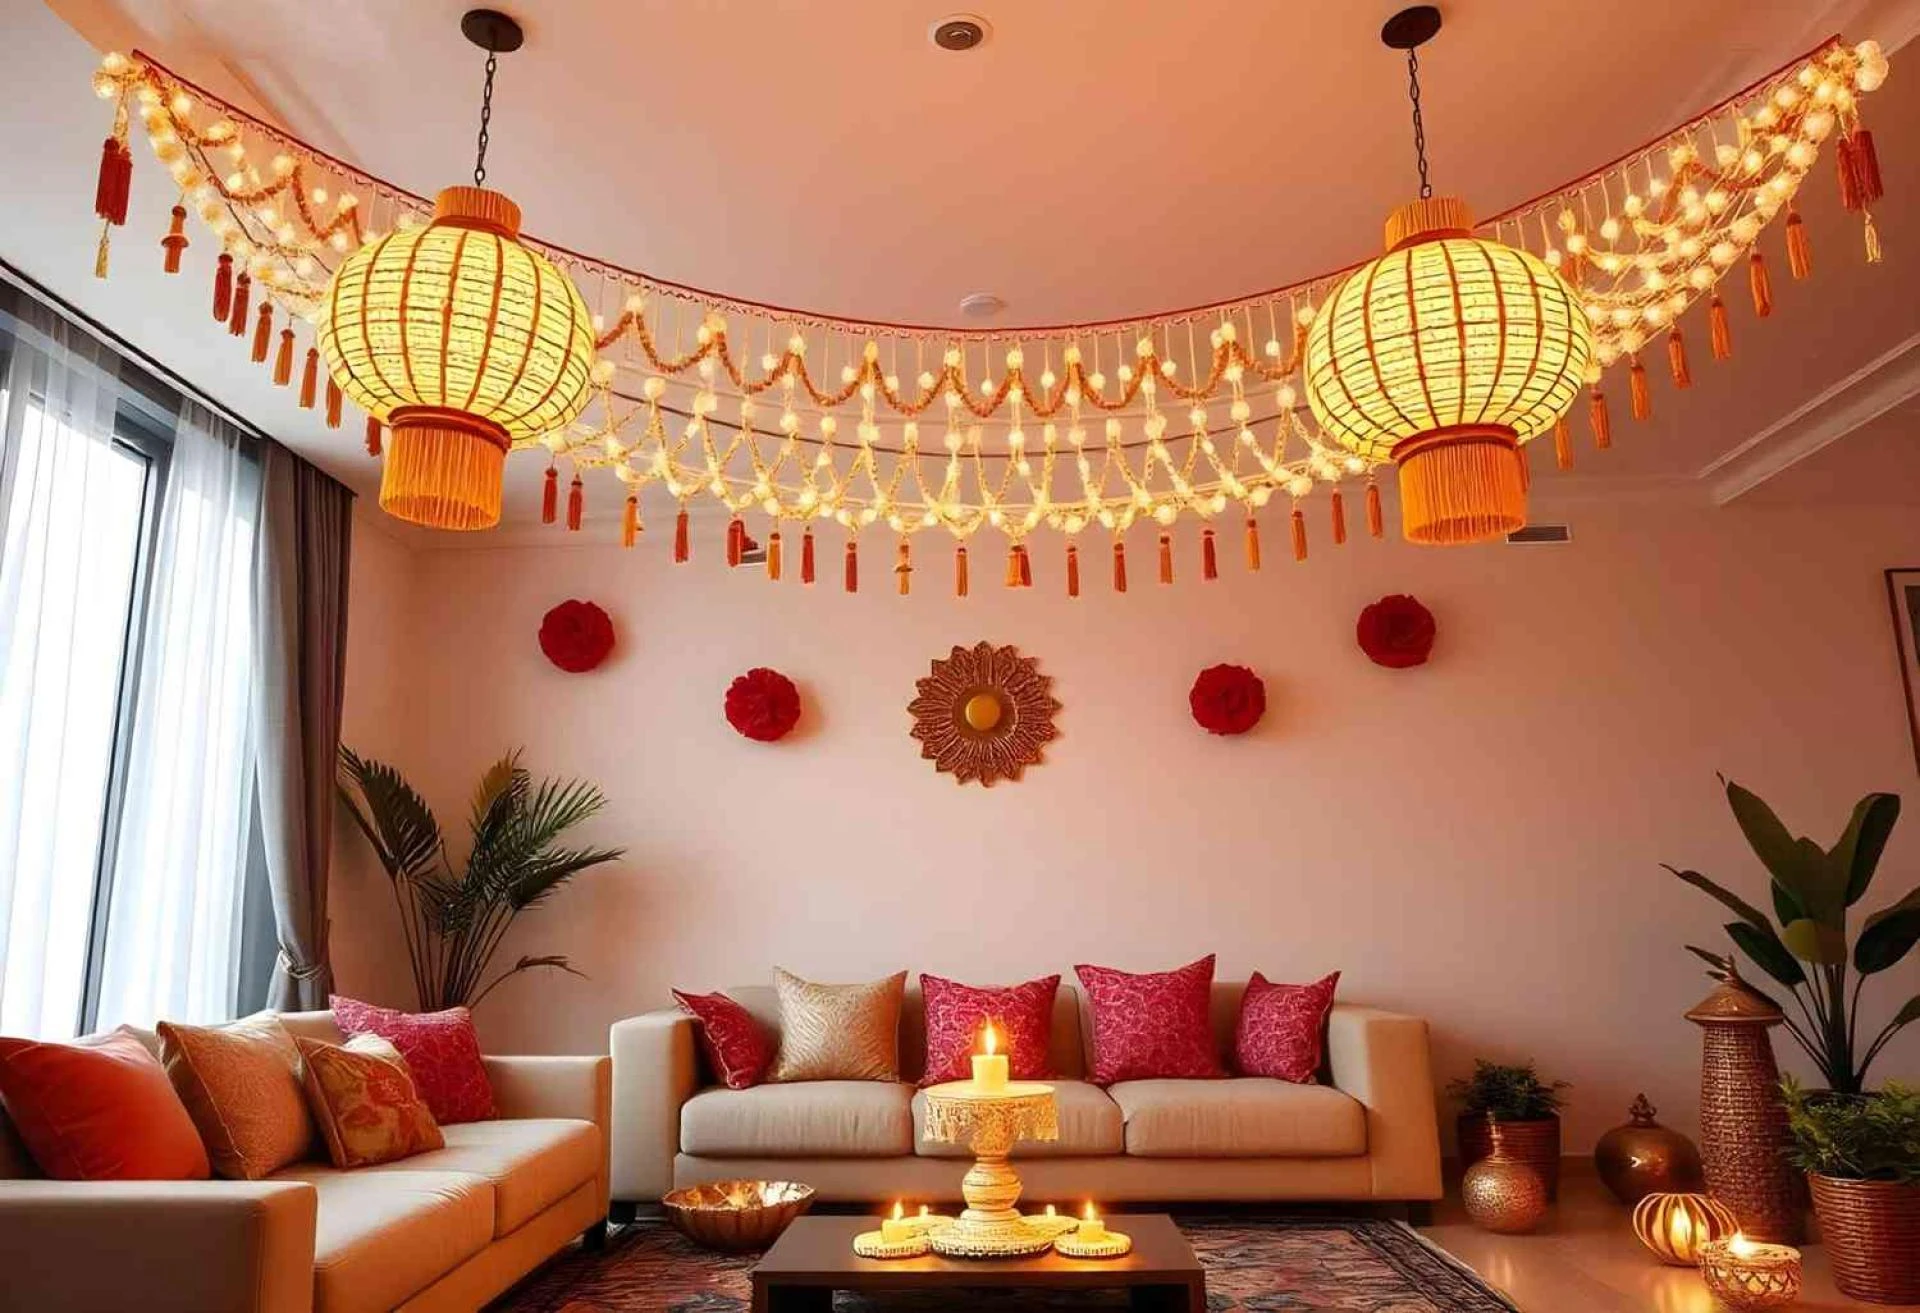
Diwali, the festival of lights, is a time of joy, togetherness, and celebration. It symbolizes the triumph of light over darkness and good over evil. Every home glows with diyas, candles, and lanterns — spreading warmth and positivity. While store-bought diyas are convenient, making your own handmade diyas adds a personal and creative touch to your celebrations. It’s a fun, eco-friendly, and budget-friendly way to decorate your home in Diwali while bonding with family.
Here’s a step-by-step guide with 10 simple points to help you create beautiful handmade diyas at home this Diwali.

1. Gather All the Materials
Before starting, make sure you have everything you need. The basic items include:
- Clay (you can use natural terracotta clay or air-dry clay)
- Water
- Rolling pin
- Small bowl (to shape the diya)
- Paints (acrylic or oil-based)
- Brushes
- Decorative materials (glitter, mirrors, beads, lace)
- Cotton wicks and oil or ghee
If you want to go eco-friendly, you can also experiment with flour dough or used candle wax. Having all materials ready will make your process smooth and enjoyable.
2. Prepare the Clay
Take a lump of clay and knead it properly. Add a few drops of water to make it soft and pliable. The texture should be smooth — neither too sticky nor too dry. This step is crucial because well-prepared clay ensures your diya holds its shape and doesn’t crack after drying.
Tip: If you’re using air-dry clay, keep it covered with a damp cloth when not in use to prevent it from drying out.
3. Shape the Base of the Diya
Start by rolling the clay into a small ball about the size of a lemon. Then press your thumb gently into the center to create a hollow. Gradually pinch the sides upward to form the walls of the diya. Make sure the base is slightly flat so it can stand upright.
You can get creative with shapes — make round, heart, leaf, or lotus-inspired diyas. Use small bowls or molds if you want a uniform look for multiple diyas.
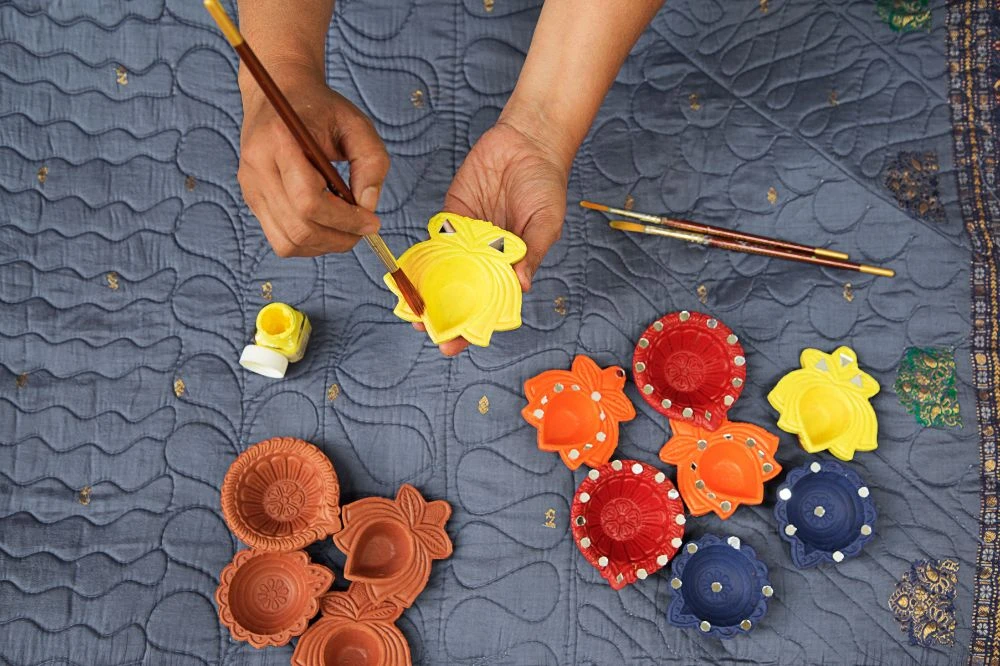
4. Add Decorative Details
Once the basic shape is ready, use tools like toothpicks, pencils, or small spoons to carve designs or patterns along the edges. You can create floral, geometric, or traditional motifs. Adding these details gives your diya a more handcrafted and elegant appearance.
If you’re making diyas with kids, encourage them to use cookie cutters or stamps to make fun designs — a great way to involve them in festive preparations.
5. Let the Diyas Dry
After shaping, leave the diyas to air dry for 24–48 hours. Place them in a shaded, ventilated area rather than direct sunlight to avoid cracks. If you’re in a hurry, you can bake them in an oven at a low temperature (around 180°F or 80°C) for 15–20 minutes.
Drying properly ensures the diyas become sturdy and durable, ready to hold oil and wick safely.
6. Paint with Bright Festive Colors
Once dry, it’s time for the most fun part — painting! Use vibrant acrylic colors such as gold, red, green, orange, or blue to give your diyas a festive look. Metallic and glitter paints add a royal touch.
You can also experiment with color gradients, polka dots, or traditional motifs like peacocks or mandalas. Let the first coat dry completely before adding a second layer for a richer finish.
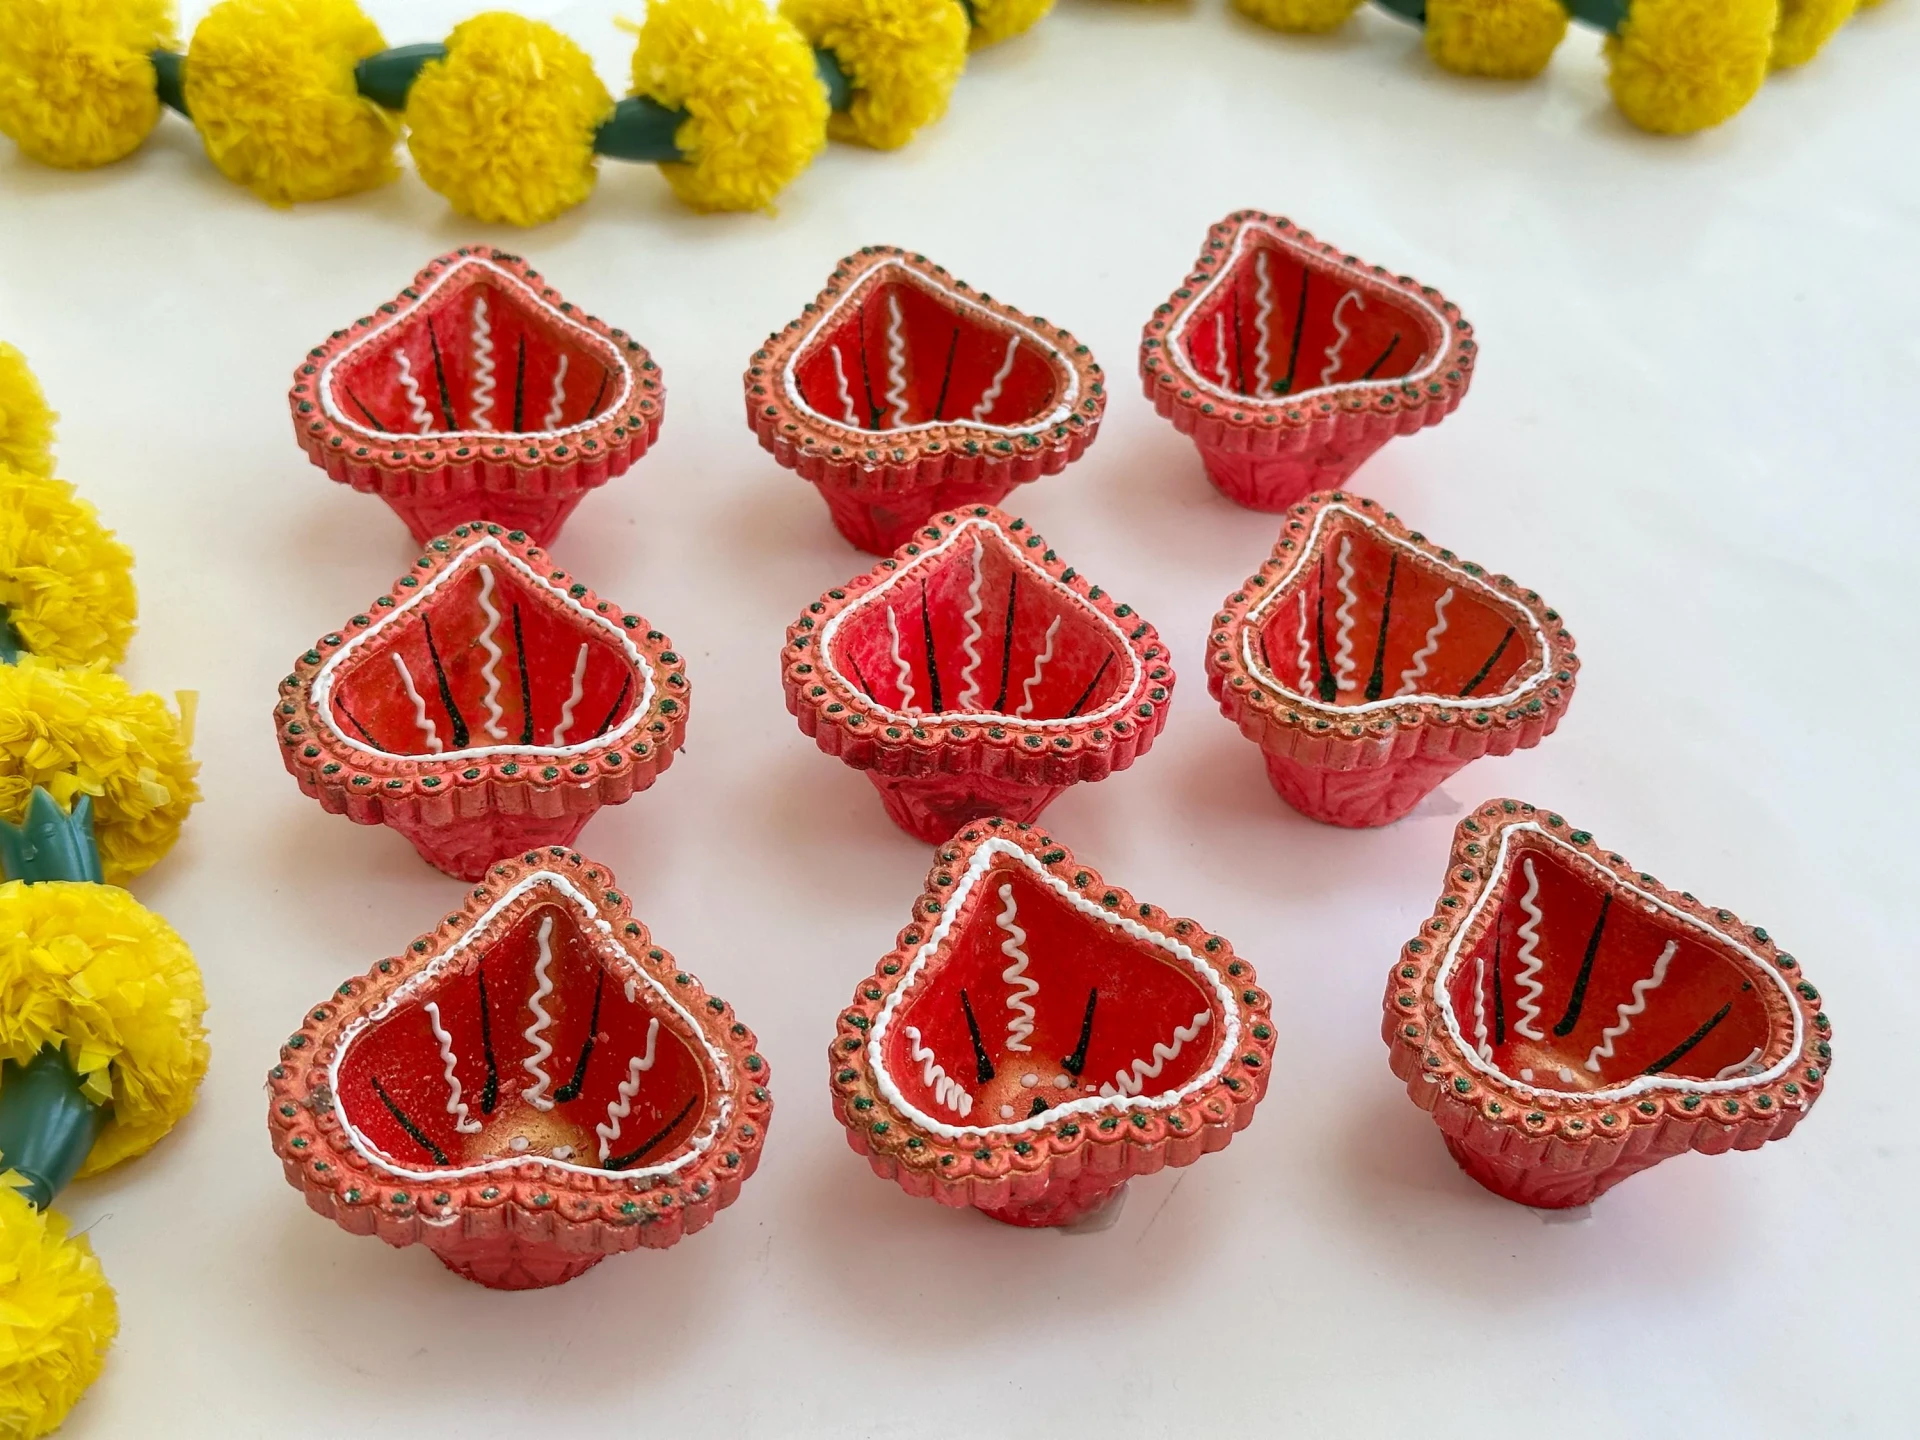
7. Decorate with Sparkles and Embellishments
Now that the diyas are colorful, enhance them further with decorations. Use glitter powder, stones, mirrors, pearls, or lace to make your diyas stand out. Apply a small amount of craft glue and carefully stick the embellishments.
If you prefer a minimal look, you can simply outline the diya’s edges with metallic gold paint for a classy finish.
8. Seal and Protect Your Diyas
To make your handmade diyas last longer, apply a clear varnish or acrylic sealant. This protects the paint and decorations from oil or moisture when you light them. Let the varnish dry for several hours before using.
Sealing is especially useful if you plan to reuse the diyas for future Diwalis or as decorative pieces year-round.

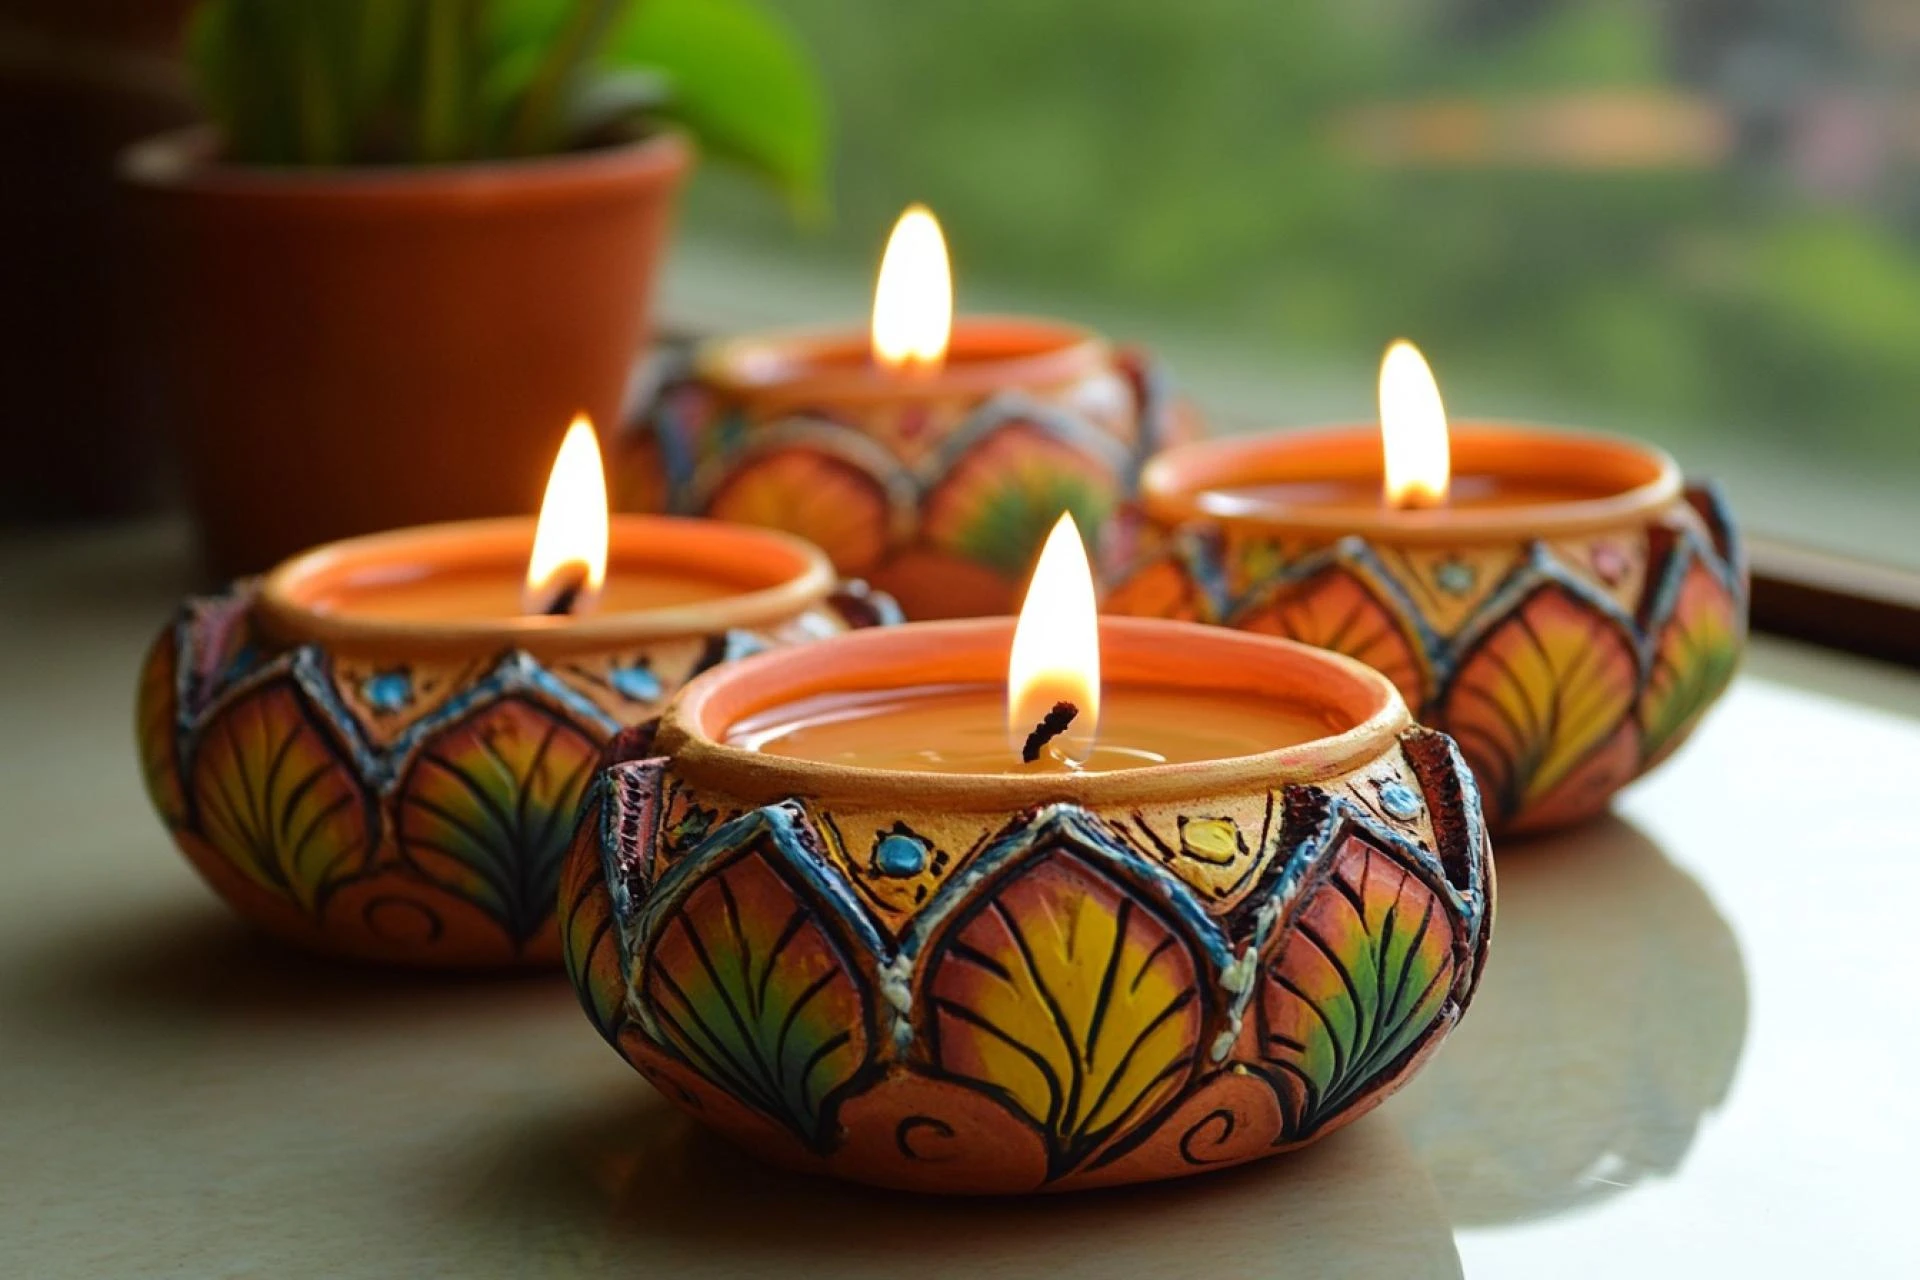
9. Add Wicks and Oil
Once your diyas are fully dry and sealed, add cotton wicks to the center. Pour a little oil or melted ghee inside. Ensure the wick is upright and well-positioned. If you prefer, you can also use tea-light candles instead of wicks.
This step transforms your craft project into a glowing light source that’s ready to brighten your home.
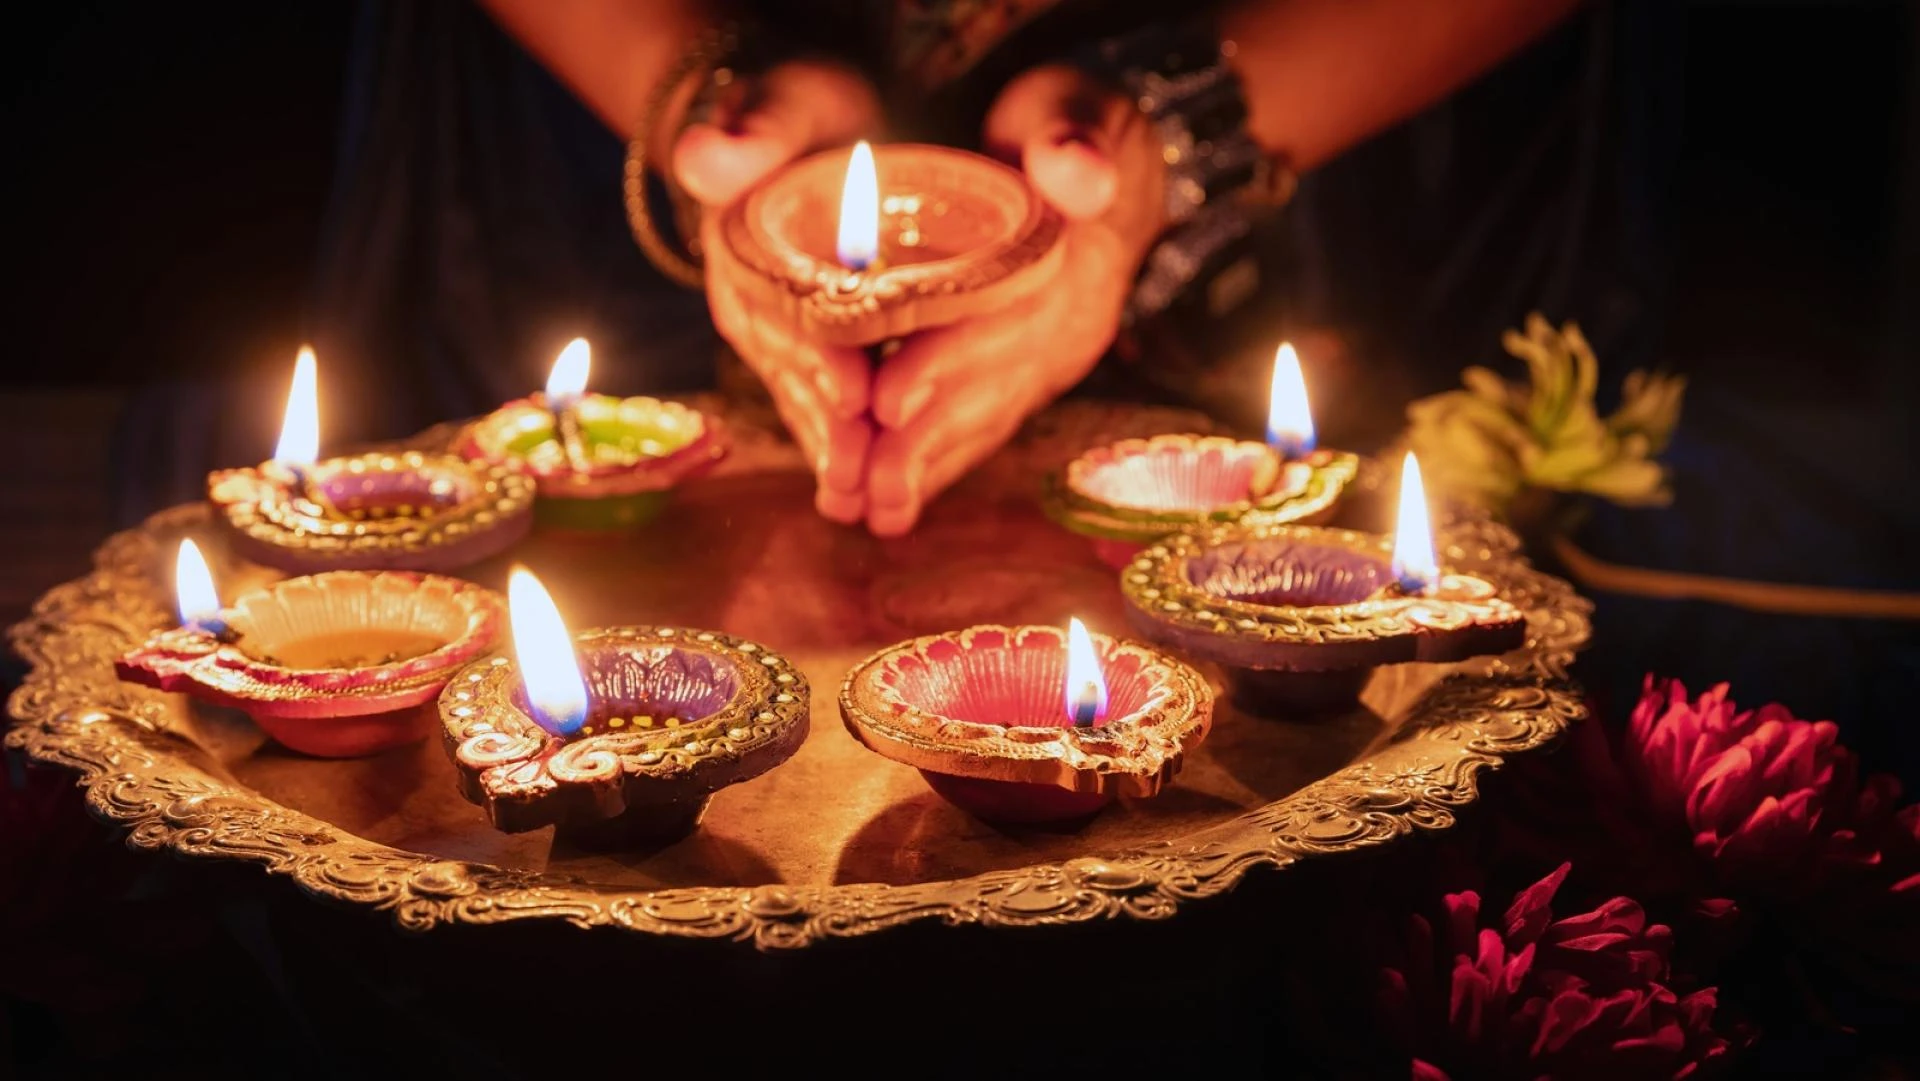
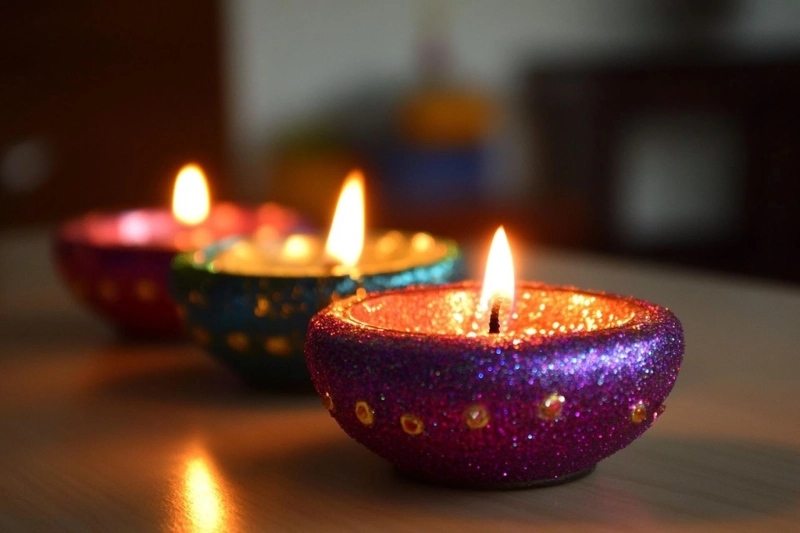
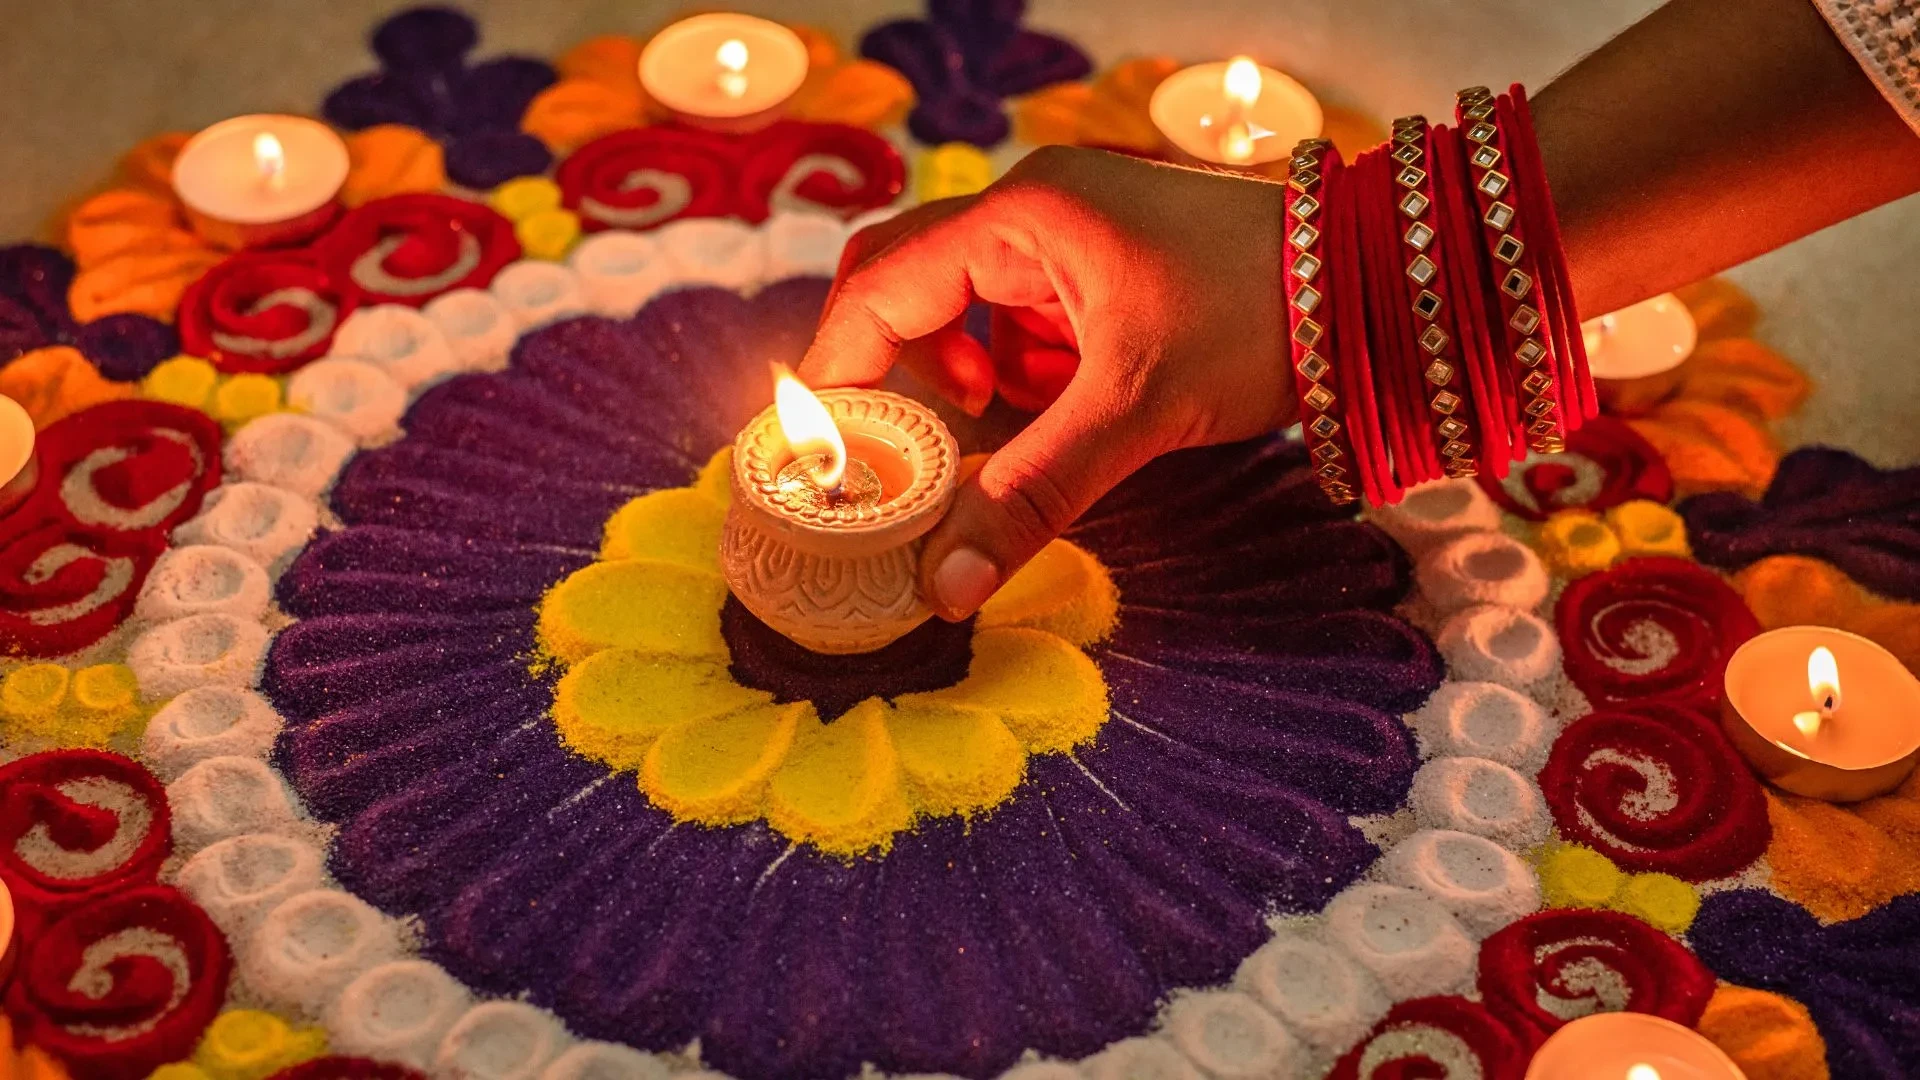
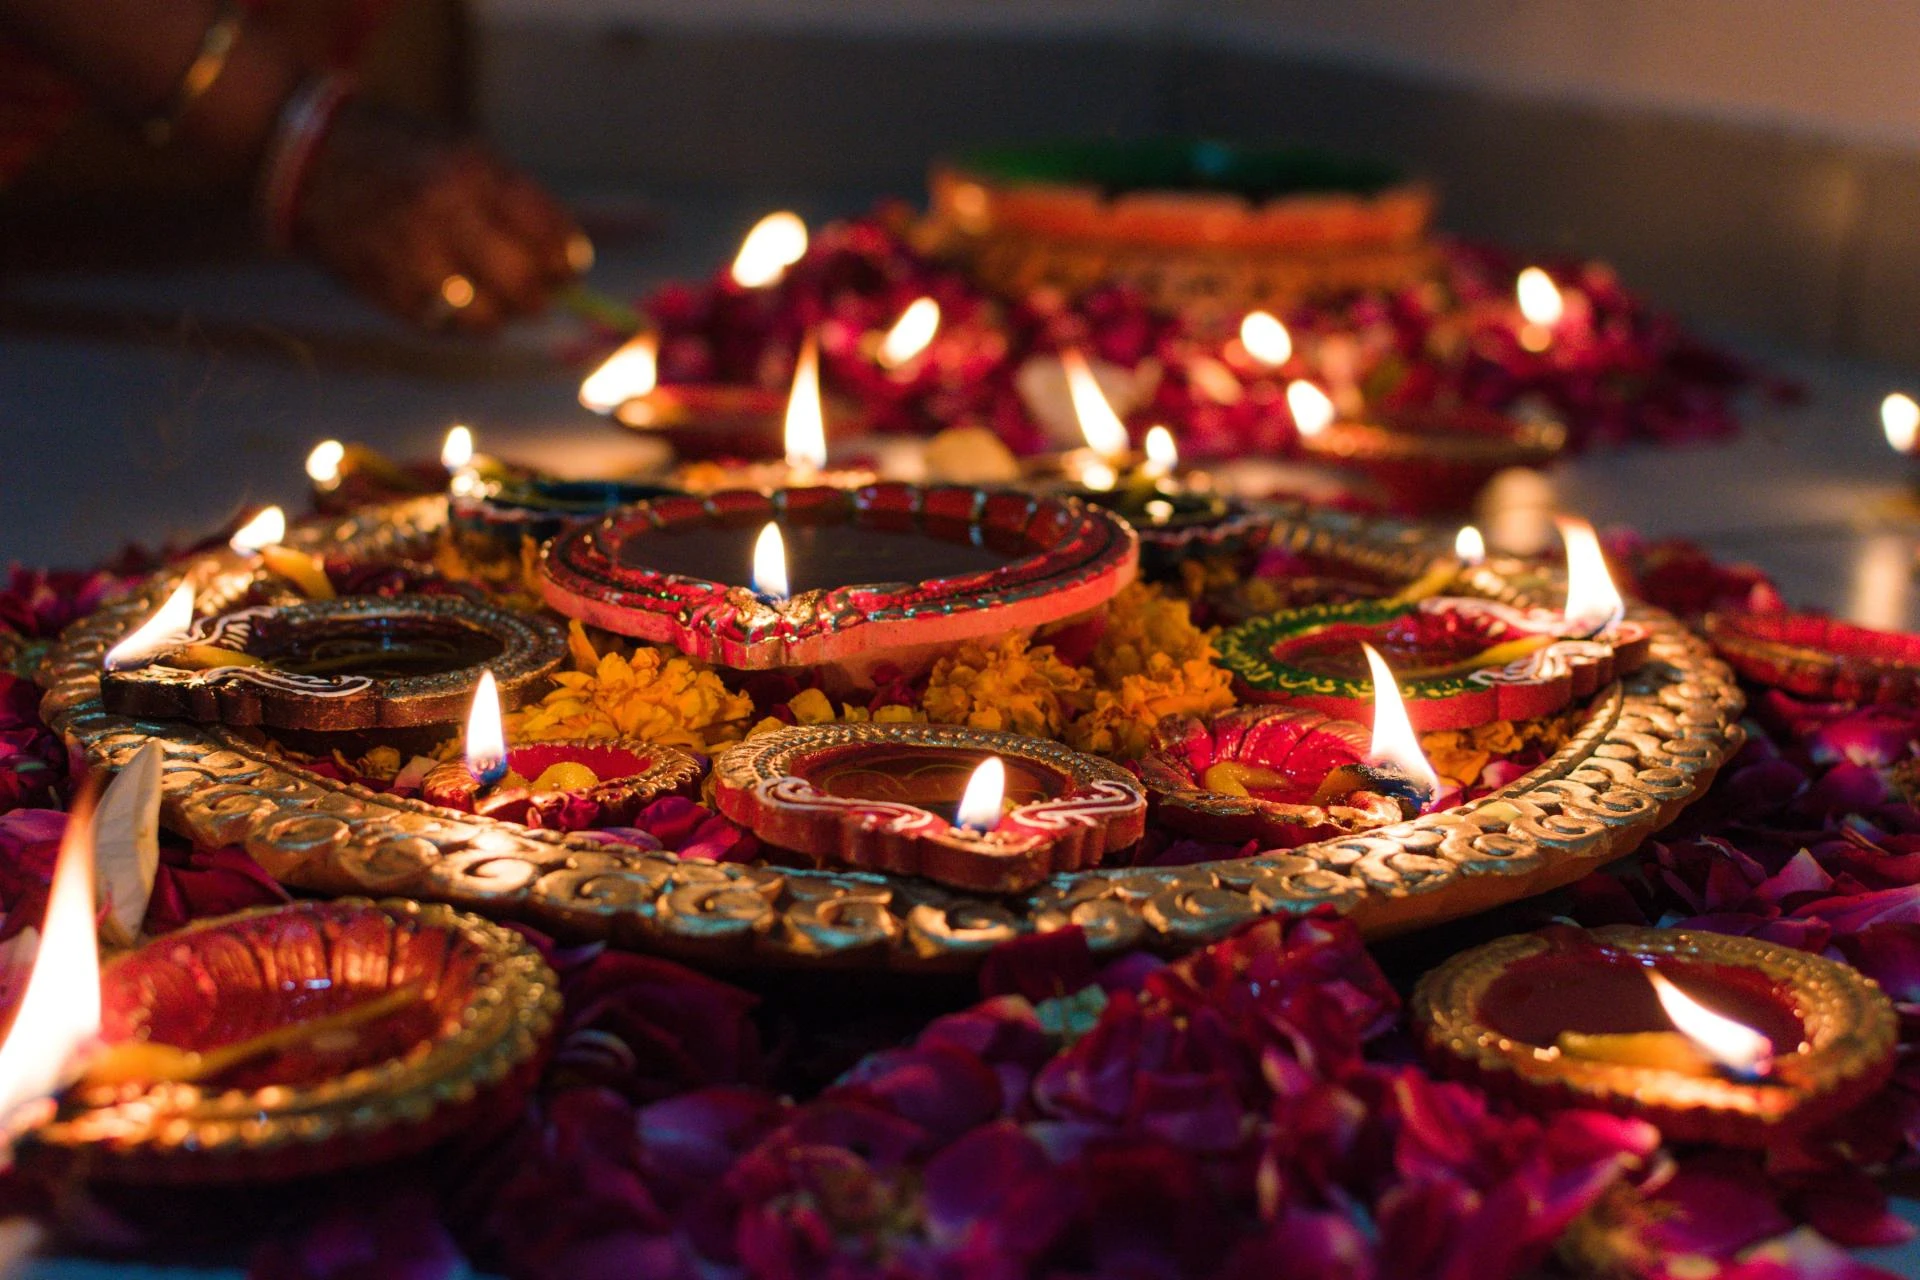
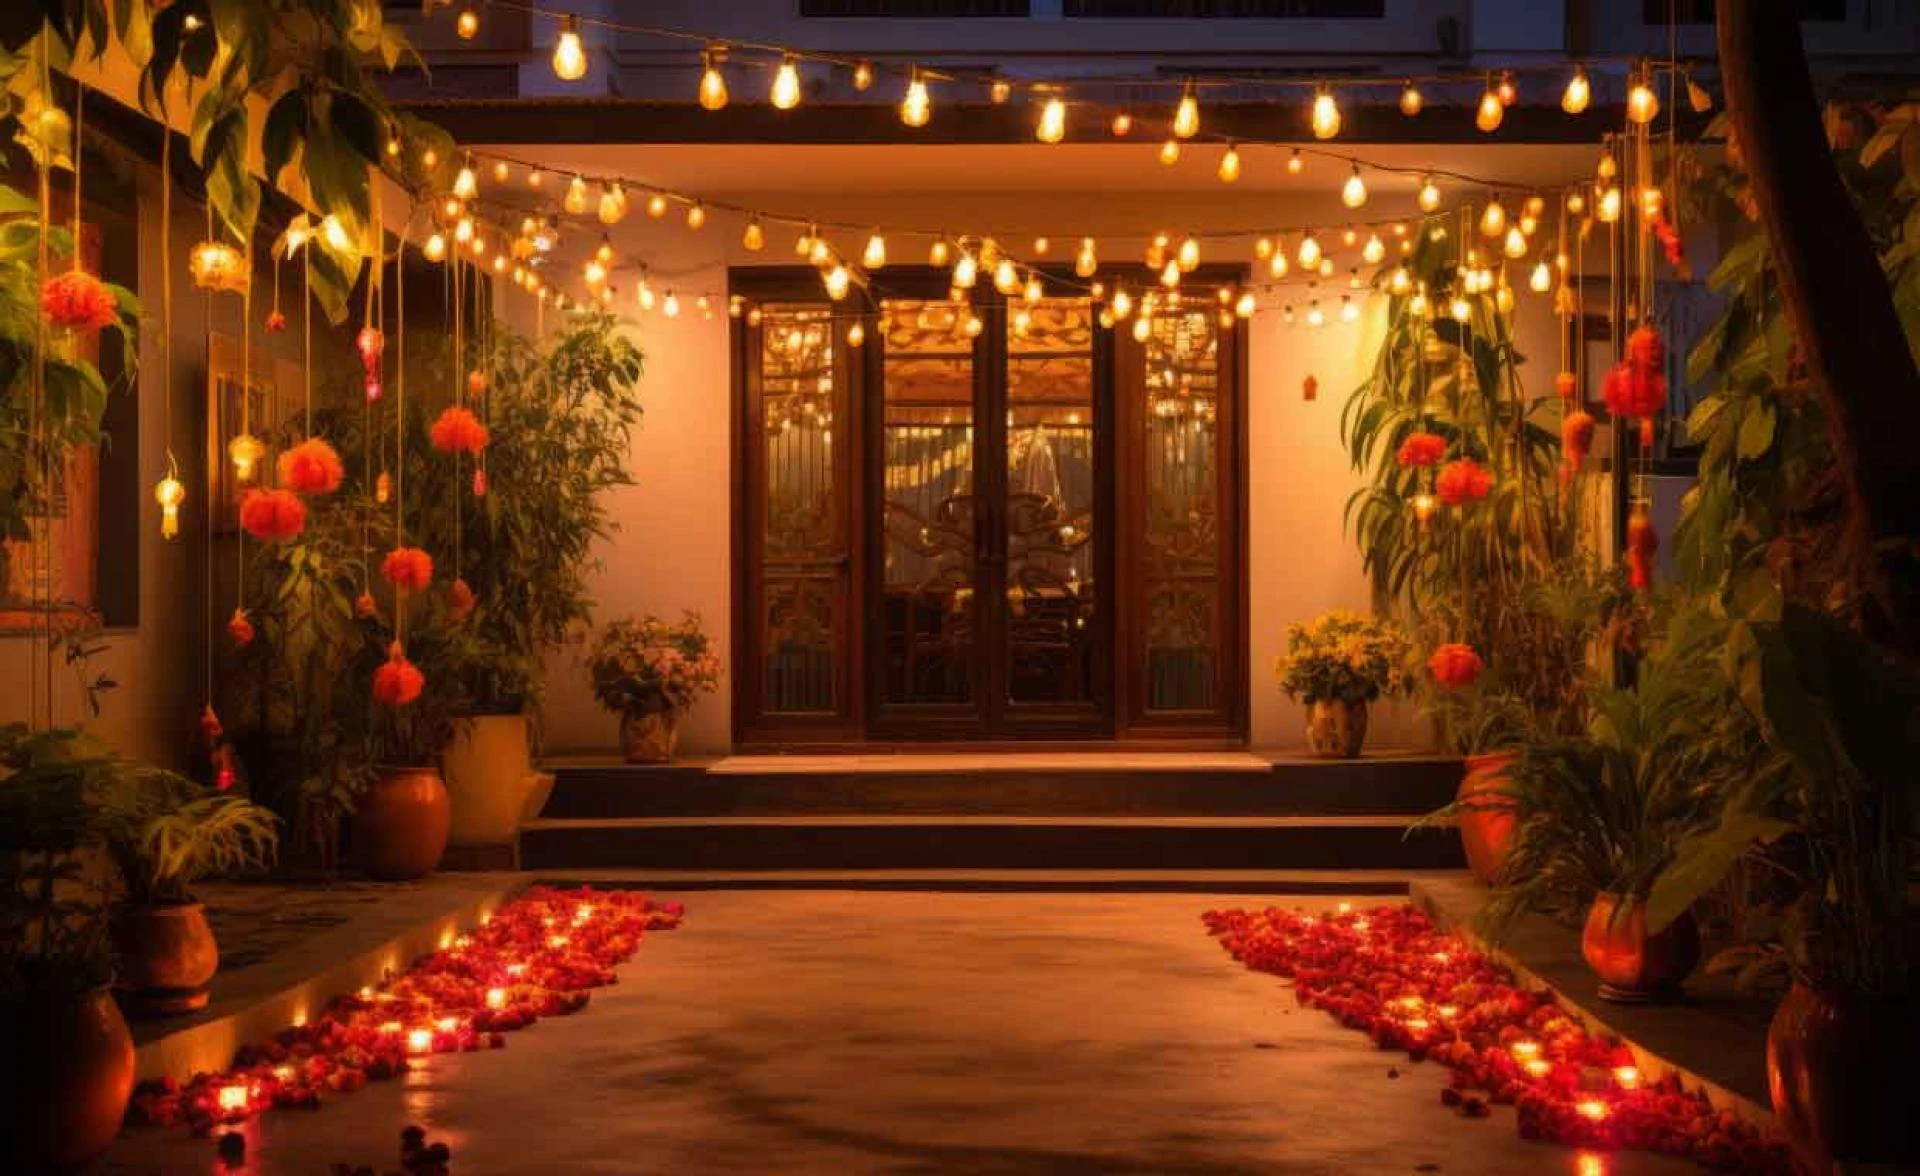
10. Light and Decorate Your Home
Finally, the most rewarding part — lighting your handmade diyas! Arrange them at your entrance, on window sills, balconies, staircases, or around your rangoli. Their warm, golden glow creates a peaceful and festive ambiance that no electric light can match.
You can also gift your handmade diyas to friends and neighbors — a thoughtful gesture that spreads light and happiness beyond your home.
Bonus Tips for a Perfect Finish
- Eco-friendly ideas: Use biodegradable materials like natural clay or flour dough to minimize waste.
- Fragrance: Add a few drops of essential oils (like sandalwood or lavender) in the oil for a subtle fragrance.
- Thematic decor: Match your diyas with your rangoli colors in Diwali or overall festive theme for a cohesive look.
Conclusion
Making handmade diyas at home is not just a craft — it’s a celebration of creativity, tradition, and sustainability. It’s a joyful experience that brings families together while adding a personal touch to your Diwali decorations.
So this Diwali, skip the store-bought diyas and light up your home in this Diwali with your own beautiful creations. Each diya you make will carry your love, effort, and festive spirit — a true reflection of the festival of lights.