
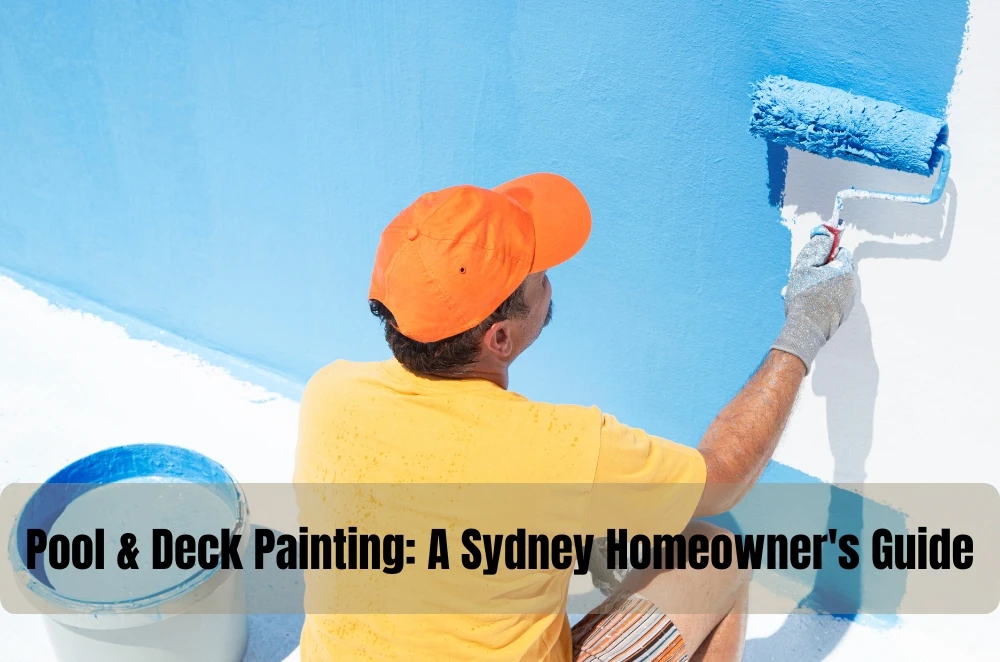
Sydney’s weather is as unpredictable as it gets—one week it’s all bright sun and dry wind, the next it’s humidity and coastal drizzle. Over time, that mix can wear down even the best exterior paintwork. A good repaint does more than refresh the look; it shields your home from the elements and adds long-term protection to every surface that cops the most exposure.
Whether you’re tackling the job yourself or calling in help, it’s worth thinking through timing, preparation, and the kind of finish that will stand up to local conditions. Many homeowners lean on a trusted local painter provider who understands Sydney’s climate and the quirks of its older homes—from peeling weatherboards to salt-worn eaves. That sort of experience can make the difference between a coat that fades fast and one that still looks sharp years down the track.
How Sydney’s climate shapes a durable paint plan
Sydney light is bright and unforgiving; colour and sheen choices show every shortcut. On top of that, sea air drifts inland further than most people expect, and humidity spikes arrive on cue with summer storms. Build your plan around those facts.
- UV fade is quicker on north/west elevations; deeper colours warm up and move more.
- Coastal salt forms a fine film; washing it off before coating improves adhesion.
- Timber expands and contracts; flexible systems handle seasonal movement better.
- Sudden changes in wind and humidity challenge cure times; schedule coats accordingly.
Two quick realities from site work: on a Manly semi, a gentle pre-wash to remove salt and an elastomeric wall system stopped hairline cracking from telegraphing through new coats. In Ryde, a low-sheen acrylic on weatherboards masked minor board waviness that a glossy finish would have highlighted. Small choices like those compound into a tougher, smarter finish.
Prep that prevents failures (and headaches later)
If there’s a single reason exteriors succeed or fail, it’s surface preparation. Time here pays you back every year the coating stays tight.
- Wash: low-pressure rinse plus detergent/sugar soap in coastal zones; let it dry fully.
- Remove: scrape all loose/flaking paint, then feather edges with a dust-extraction sander.
- Repair: splice rotten timber rather than burying it under filler; re-bed failing sealants.
- Prime: treat bare timber, patched render, and stained areas with purpose-built primers.
- Protect: mask windows, protect gardens and pavers; neat edges come from patience.
On a sandstone terrace in Balmain, the fascia looked fine until close-up; micro-splits in paint along the grain were wicking moisture. Back-priming cut edges and running a flexible sealant before topcoating stopped the cycle cold. That kind of invisible work is what keeps paint intact through two winters and a couple of nor’easters.
Compliance and workmanship you can verify
Good workmanship shows up in small things—the corners, the way edges meet, how paint sits under changing light. You can spot it from the street, even if you can’t name what’s different. It’s that balance between tidy hands and the kind of patience that doesn’t rush the last coat just because the clouds look fine.
Most people don’t think about the paperwork side of painting until they hit a snag, but it matters. There’s a quiet confidence in knowing the crew you’ve hired has the right paperwork and understands the safety game.
Before you sign anything, take a moment to understand the NSW painting licence requirements outlined by the state government. They set the standard for who can legally carry out residential and commercial painting, ensuring your project meets proper safety and quality benchmarks. A licensed painter isn’t just ticking boxes—they’re accountable for the outcome, the materials used, and the workmanship that protects your home for years to come.
That extra ten minutes checking credentials can save months of repair talk later. It’s a small thing, but in trades like this, it’s often the small things that hold the whole job together.
Practical planning: tools, timing and tidy execution
Whether you’re painting yourself or coordinating a crew, planning removes friction. Work from clean to dirty, high to low, sun to shade, and you’ll dodge half the common pitfalls without effort.
- Time your coats for stable temperature and low humidity; morning shade helps.
- Stage materials: primers, sealants, topcoats, applicators, masking, and cleanup supplies.
- Label tins and keep a simple log: surface, colour code, sheen, and date applied.
- Tidy daily: clear drop sheets, seal tins, and remove masking once the edge sets.
When I first started repainting my own place, I thought planning meant overthinking. But now, every successful job I’ve seen has started with the same thing: order. And if you want a fuller look at how to keep that order, from prep lists to final checks, expert home painting advice covers those bits most homeowners overlook but professionals never skip.
Final thoughts
Exterior painting in Sydney isn’t just about fresh colour — it’s about protecting what you’ve built. Every brushstroke adds another layer between your home and the harsh mix of sun, salt, and sudden weather shifts that define this city. When it’s done well, the result feels effortless, even though the work behind it rarely is.
For homeowners, it’s also worth remembering that paint carries more weight than appearance alone. A strong, tidy exterior quietly boosts how people see your property, from the street or at first glance during an inspection. That’s why projects that aim to increase property value with paint make sense over time — they preserve the structure while adding subtle polish that never looks forced.
A little forethought, some steady prep, and the right materials go a long way. When the finish settles and the light hits just right, you can tell it was worth doing properly.


Sign in to leave a comment.