

Solar power technology has been in use for decades now but it was not accessible to the public until recently. Owing to the number of benefits and its eco-friendliness, many homeowners are considering solar panel installation to meet the power needs.
Thanks to technological advancements, solar panels have become a lot easier to install and use. If you want to harness solar energy, you must know how to install the panels. DIY installation is only recommended for smaller projects. When you are dealing with larger projects, it's best to hire a team of renowned expert solar energy contractor Littleton CO .
This brief guide is for homeowners who are looking to find information on how to install solar panels on their own.
Step 1: Assess Your Power Needs
Every home is unique and so are its power needs. It mainly depends on the size of your house, the number of electrical appliances being used, and the timing for which the lighting systems are used.
As you are already using electricity from the grid, simply check your energy bills to assess the power needs of your house. Decide whether you need to cut down some or all of your energy costs with the solar panel system. You can always seek help from a professional at this step and proceed with the installation on your own.
Step 2: Purchase Solar Panels And Other Supplies
Once you know the energy you need for your house, you have to purchase the right number of solar panels and related supplies. The more electricity you want to generate; the more solar panels for home you will need.
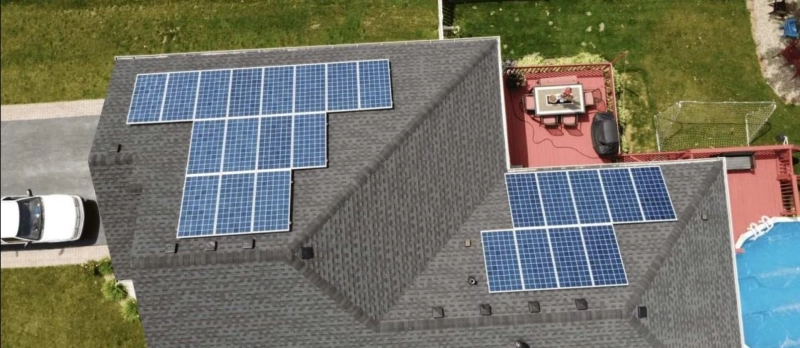
It's important to remember that number of solar panels also depends on the size and location of your house roof. The design of your house roof is another important factor to consider. Solar panels are the most efficient on South facing roofs.
Step 3: Find A Suitable Location In Your Home
Step 2 and Step 3 go hand in hand. Determining the best location is your house is paramount to make the most out of your investment. You need to find a spot that gets the maximum intensity of sunlight for the longest hours of the day. The pitch and angle of the sunlight are to be considered too.
Most of the homeowners install the panels on the house roof but if your roof design is not the perfect fit, you can also mount the panels on the ground. Make sure there is no hindrance blocking the sunlight from reaching the panels.
Step 4: Erect The Scaffolding
Don’t forget to use the safety equipment while you are working on your house roof.
Clean the location thoroughly for placing the modules. Typically, metal or aluminum rails are used for mounting the scaffolding. Measure the length and width of the panels and design the mounting with these exact measurements.
Use nuts and bolts to secure the mount to the roof/ground to ensure that it can withstand extreme weather conditions. The mounting structure should be tilted between 18 to 36 degrees to get the best output. Run the conduits from the point of installation to the inside of the house to facilitate wiring.
Step 5: Mount The Solar Panels
Brackets, bolts, or clamps should be used to secure the solar panels on the mount. Use top-quality accessories and a firm hand to ensure that the panels are stable at their place. This step of solar panel installation is quite risky. Make sure you are safe and well-protected.
Step 6: Install The Solar Inverter
Solar panels absorb solar energy and convert it into DC whereas all of the household appliances use AC. A solar inverter is required to convert the DC to AC. It is generally installed near the main panel but you can choose to install it outdoor or indoor depending on the availability of the space. Know that inverters are the most efficient in cooler spaces so keep the outdoor units in shade.
Step 7: Wire The Panels And Inverter
Once you have placed all of the components in place, it’s time to wire them together. Read the instructions manual provided by the manufacturer before installing the wiring. Shut down the power supply of your house. Use MC4 connectors as they are considered safe for all kinds of solar panel systems.
Step 8 (Optional): Install A Battery
You can harness solar power without the use of a solar battery. If you want to enjoy the maximum output for longer hours, it's time to install a solar battery in the circuit.
Step 9: Connect With The Consumer Unit
Now connect the inverter to the consumer unit of your house. It is advised to install a generator meter to monitor the performance of the Energy solar system. Test the newly installed system before you start using it.
The solar panel installation is complete.