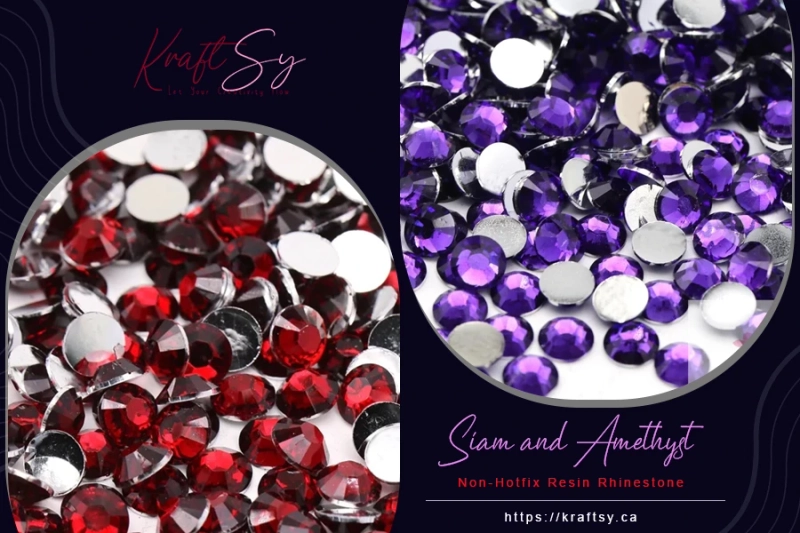
If you're looking for a way to add sparkle and glamour to your nails, rhinestone suppliesare the perfect solution! Rhinestones are versatile nail accessories that can be used to create a wide range of stunning designs. In this post, we'll share some tips and techniques for creating beautiful rhinestone nail art.
Tip 1: Choose the right rhinestones
When it comes to rhinestone nail art, the type of rhinestone supplies you choose can make a big difference in the final result. There are many different types of rhinestones available, including flatback, hotfix, and pointed-back rhinestones. Flatback rhinestones are the most popular type for nail art because they're easy to apply and come in a wide range of colours and sizes. Hotfix rhinestones are great if you want to add rhinestones to fabric, but they're not as well-suited for nail art. Pointed-back rhinestones are often used for jewelry making and are not recommended for nail art.
Tip 2: Use the right tools
To apply rhinestones supplies to your nails, you'll need some basic tools, including tweezers, a dotting tool, and a small brush. Tweezers are essential for picking up and placing the rhinestones onto your nails. A dotting tool can be used to apply nail polish or glue to the rhinestone, and a small brush can be used to clean up any excess glue or polish around the rhinestone.
Tip 3: Plan your design
Before you start applying rhinestones craft suppliesto your nails, it's important to have a plan for your design. You can create a simple design with just a few rhinestones or a more complex design with multiple colours and shapes. You can also use rhinestones to create a gradient effect or to accent a specific part of your nail.
Tip 4: Prep your nails
To ensure that your rhinestone nail art lasts as long as possible, it's important to properly prep your nails before applying the rhinestones. Start by filing and shaping your nails, then apply a base coat of nail polish. Once the base coat is dry, apply your nail polish colour and let it dry completely. If you're using nail glue to apply the rhinestones, wait until the nail polish is completely dry before applying the glue.
Tip 5: Apply the rhinestones
To apply the rhinestone supplies, use your tweezers to pick it up and place it in the desired location on your nail. Use your dotting tool or brush to apply a small amount of nail glue or polish to the back of the rhinestone, then gently press it onto your nail. Repeat this process until you've achieved your desired design.
Tip 6: Seal the rhinestones
To ensure that your rhinestone nail art lasts as long as possible, it's important to seal the rhinestone supplies with a top coat of good nail polish. This will help to prevent the rhinestones from falling off or becoming loose over time. Apply the top coat carefully, making sure not to brush over the rhinestones.
Tip 7: Remove the rhinestones
When it's time to remove your rhinestone nail art, be gentle to avoid damaging your nails. Use a cotton ball or pad soaked in nail polish remover to gently wipe the rhinestones off your nails. If any glue or polish remains on your nails, use a small brush or cotton swab dipped in nail polish remover to clean it off.
Now you know everything about how can you use your rhinestones craft supplies in your nail art, so don’t forget to follow this guide while doing your nails next time. If you are looking for the best rhinestones supplies, you can grab them online from Kraftsy! Order now!


