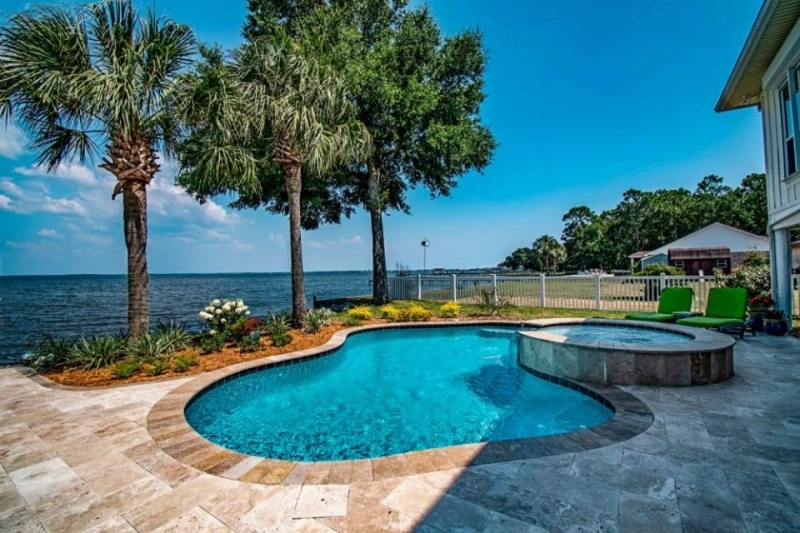
A pristine swimming pool provides a refreshing oasis for relaxation and enjoyment. However, an undetected leak can quickly turn your pool into a frustrating headache. Gunite pools, known for their durability and longevity, are not immune to leaks. Identifying and addressing these hidden leaks promptly is crucial to prevent further damage and costly repairs. In this article, we will guide you through the process of finding a leak in a gunite pool, equipping you with the knowledge and tools needed to preserve the integrity of your aquatic haven.
Recognizing the Signs of a Pool Leak
Before diving into leak detection methods, it's important to be aware of the common signs indicating a leak in your gunite pool. Look out for unexplained water loss, constantly running pool pumps, uneven water levels, soggy areas around the pool, or cracks in the pool structure. These telltale signs can help narrow down the location of the leak and prompt you to take action.
Conducting a Visual Inspection
Begin your leak detection process with a thorough visual inspection of your gunite pool. Examine the pool shell, tiles, and surrounding areas for any visible cracks, loose fittings, or gaps. Pay close attention to the skimmers, return jets, lights, and the pool's waterline. Although not all leaks are visible, this initial inspection may provide valuable clues about potential leak sources.
Performing a Bucket Test
A bucket test is a simple yet effective method to determine if your pool is experiencing excessive water loss. Fill a bucket with water and place it on the pool step or bench, ensuring it is immersed to the same water level as the pool. Mark the water level inside the bucket and on the pool's waterline. After 24 hours, compare the water loss in the bucket to the water loss in the pool. If the pool's water level drops significantly more than the bucket's level, it indicates a probable leak.
Utilizing Dye Testing
Dye testing is a valuable technique to pinpoint leaks around fittings, skimmers, and returns. With the pool pump turned off, add a few drops of food coloring or a pool dye test kit near suspected leak areas. Observe the dye closely for any movement or dispersal, indicating the presence of a leak. This method can help you narrow down the source of the leak and facilitate targeted repairs.
Pressure Testing
Pressure testing is a more advanced method that involves pressurizing the plumbing lines of your gunite pool to detect leaks. By isolating different sections of the pool's plumbing system, you can systematically identify the area where the pressure drops, indicating a leak. It is advisable to seek assistance from a professional or consult your pool manufacturer's guidelines for accurate pressure testing procedures.
Seeking Professional Assistance
If your efforts to locate the leak prove unsuccessful, or if you prefer to have expert assistance from the start, don't hesitate to contact a pool professional specializing in leak detection. These professionals have access to specialized equipment, such as electronic leak detectors, infrared cameras, or acoustic sensors, which can accurately identify hidden leaks in your gunite pool.
Conclusion
Finding a leak in a gunite pool requires a systematic approach and a combination of visual inspections, simple tests, and potentially advanced techniques. By being proactive in detecting and addressing leaks, you can minimize water loss, prevent further damage to your pool and its surroundings, and ensure the continued enjoyment of your aquatic oasis. Remember, whether you choose to investigate the leak yourself or seek professional help, addressing the issue promptly is vital to maintain the longevity and functionality of your gunite pool.


