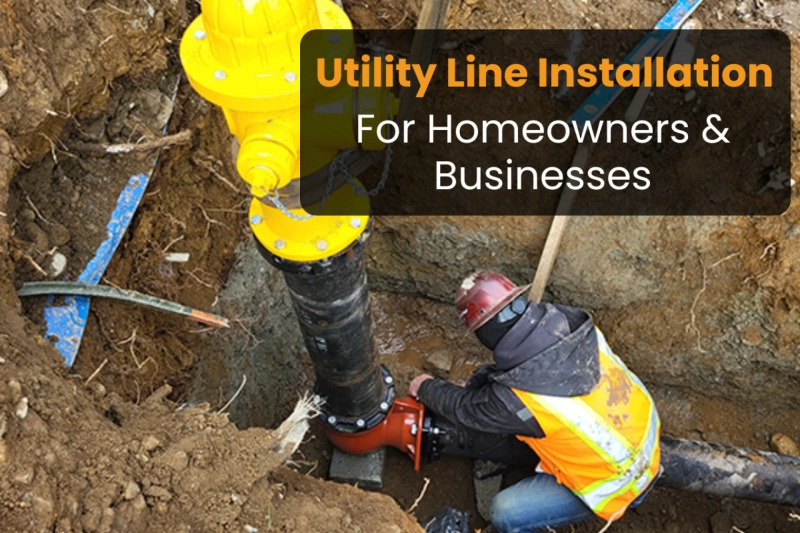
Installing utility lines is a crucial step in ensuring your home or business has access to essential services such as water, gas, electricity, and telecommunications. Whether you’re constructing a new property or upgrading an existing one, understanding the process of utility line installation can help you avoid costly mistakes and ensure compliance with local regulations. This guide will walk you through the step-by-step process of utility line installation for homeowners and businesses.
Step 1: Determine Your Utility Needs
Before beginning installation, assess your property’s utility requirements. Consider the following:
- Electricity—Determine the power capacity required based on your appliances and equipment.
- Water Supply—Identify the necessary water pressure and pipe size for your household or business operations.
- Sewer and Drainage—Plan for proper waste disposal and drainage systems.
- Gas Lines—If using natural gas, ensure you have a safe and efficient pipeline layout.
- Telecommunications—Plan for internet, cable, and phone services to meet your connectivity needs.
Step 2: Obtain Necessary Permits
Utility line installation often requires permits from local authorities. Contact your city or municipality to determine the specific permits needed for each utility type. Failure to obtain proper permits can lead to legal complications and fines. If you are seeking utility services in Washington, make sure to check state-specific regulations and utility provider requirements before proceeding with the installation.
Step 3: Create a Utility Line Layout Plan
Develop a detailed blueprint for your utility lines. This should include:
- The placement of each utility line.
- Distance between utility lines to prevent interference.
- Compliance with safety regulations and zoning laws.
- Consideration for future expansion or modifications.
Step 4: Excavation and Trenching
Once you have your permits and layout ready, excavation begins:
- Mark the trench path based on your blueprint.
- Use proper digging equipment such as backhoes, trenchers, or manual digging tools.
- Maintain a safe depth—Different utilities have specific depth requirements (e.g., electrical lines are typically buried deeper than water lines).
- Install protective barriers to prevent accidental damage and ensure durability.
- Ensure proper spacing between different utility lines to avoid cross-interference.
Step 5: Install Utility Lines
- Electrical Lines—Run electrical conduits through trenches, ensuring they are protected from moisture and impact.
- Water & Sewer Pipes—Use PVC, copper, or PEX pipes for water lines and ensure proper slope for sewer drainage.
- Gas Lines—Follow national safety guidelines and use approved materials such as polyethylene or steel pipes.
- Telecommunication Lines—Install fiber-optic or coaxial cables inside conduit pipes to protect them from environmental damage.
- Proper Insulation & Marking—Clearly mark utility lines and insulate where necessary to ensure safety and easy identification in future maintenance.
Step 6: Conduct Inspections & Testing
Before covering trenches, arrange for an inspection by local authorities to ensure compliance with safety codes. Utility providers may also conduct:
- Pressure tests for gas and water lines to check for leaks.
- Electrical load tests to ensure wiring is safely connected.
- Sewer line inspections using cameras to detect blockages or structural issues.
Step 7: Backfilling & Restoration
After approval:
- Carefully backfill the trenches with the excavated soil, compacting it in layers to prevent settling.
- Use proper materials such as gravel or sand for added stability.
- Restore the surface by replanting grass, paving driveways, or repairing landscaping as needed.
- Install permanent markers or records of utility line placements for future reference.
Step 8: Final Connections & Service Activation
Once all lines are installed and tested, utility providers will make final connections. Schedule service activation and verify proper functionality before full use. Ensure:
- Water pressure meets your property’s needs
- Electrical systems function correctly without overload risks
- Internet and communication lines are operational
- Gas connections are secure and leak-free
RPM Enterprise LLC: Your Utility Installation Partner
Proper planning and adherence to regulations are key to successful utility line installation. While some steps can be DIY, hiring professionals for electrical, gas, and plumbing installations ensures safety and efficiency. RPM Enterprise LLC specializes in providing expert utility line installation services, ensuring reliability and compliance with industry standards. By following this step-by-step guide, homeowners and businesses can streamline the process and avoid potential hazards.
If you have any questions about utility installation, consult local experts or reach out to your utility service providers for guidance. Planning for future expansions, using high-quality materials, and working with skilled professionals can make the entire process smoother and more efficient.


