

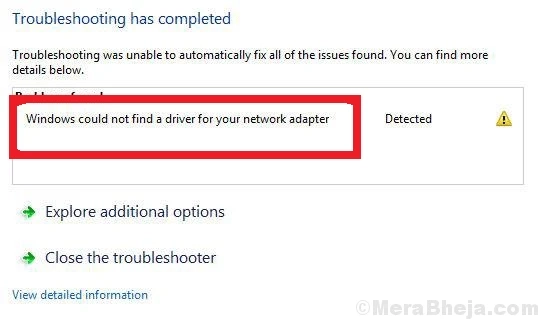
Numerous users complain that they are unable to link to the web once Windows cannot locate a network adapter driver. Here are some quick resolutions are given below to repair this issue.
Reset your Router
To reset your router, follow these on-screen step by step directions mentioned below:
First and foremost, switch off your router, detach it for some time and then connect it again.Now, switch on it again and then hold the Reset button over the router using the paperclip for a minimum of 15 to 30 seconds.Launch Optional Windows Troubleshooters
To launch the optional Windows troubleshooters, follow these on-screen step by step directions mentioned below:
To launch the Cortana tool using the Win and Q shortcut keys simultaneously over the keyboard.Once invoked the Cortana bar, type ‘troubleshoot’ into it and hit the Enter key.You should choose the Troubleshoot option to launch the Setting application.Then, pick the ‘Internet Connections’ option and hit the ‘Run the troubleshooter’ option to invoke the screen.After that, choose the ‘Troubleshoot my connection to the Internet’ option.To invoke the different troubleshooters, choose the Hardware and Devices option.Later, hit the ‘Run the troubleshooter’ option to launch the screen.Finally, the troubleshooters might give a few fixes that users should choose the ‘Apply This Fix’ option for.Reinstall the Driver for the Network Adapter
To reinstall the driver for the network adapter, follow these on-screen step by step directions mentioned below:
To open the Run accessory, use the Win and R shortcut buttons over the keyboard.Afterward, input ‘devmgmt.msc’ into it and press the OK button.Once launched the Device Manager, twice click on the Network adapters key to extend it.Go to the network adapter and right-click on it to pick the ‘Uninstall device’ button.You should click on the Uninstall button over the dialog section that launched to verify.Later, choose the ‘Scan for hardware changes’ option to reinstall the standard driver.Roll Back Windows to a Restore Point
To roll back Windows to a restore point, follow these on-screen step by step directions mentioned below:
To bring up the Run prompt, use the Win and R shortcut buttons over the keyboard.After that, type ‘rstrui’ into it and hit the OK button.Once opened the System Restore screen, hit the Next button to launch the system restore points list.To extend the list, choose the ‘Show more restore points’ option.You should choose the restore point.Now, System Restore uninstalled programs installed once chosen.Later, you can select the ‘Scan for affected programs’ option to look at what program gets deleted.Now, hit the Next and then Finish buttons.Look at the Power Management Setting for the Network Adapter
To look at the power management setting for the network adapter, follow these on-screen step by step directions mentioned below:
Once again, invoke the Device Manager screen by following the above directions.Then select the Network adapters category and expand it.Go to the network adapter, and right-click on it, then choose the Properties option to launch the screen.After that, choose the Power Management button on that screen.Unselect the ‘Allow the computer to turn off this device to save power’ option whether it’s chosen.Now, hit the OK button to shut the screen.Read Official Blog Post - Windows Could Not Find a Driver for Your Network Adapter: Here Are the Fixes