


Patio cover kits may provide the covering and design you want if you enjoy spending time in the great outdoors but prefer not to do it in the scorching sun. While exploring patio covers in El Dorado Hills, it\'s imperative to locate one that\'s simple to install and provides the aesthetic and functionality you need for a good day outside. Continue reading to discover more about Aluminum patio covers and how to install them so you can rest worry-free.
All About DIY Patio Covers
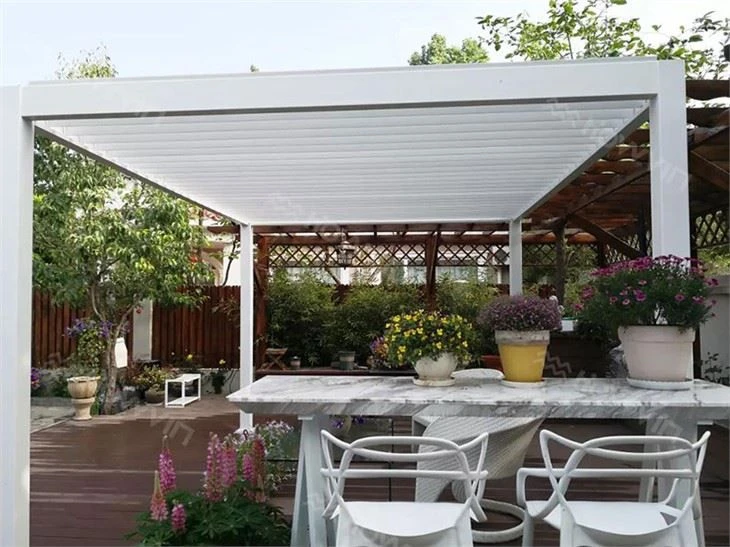
Spending time outside is enjoyable, but the sun\'s intense UV rays might dampen your enjoyment. A patio cover kit allows you to enjoy a covered space while providing an incredible aesthetic appeal to your property. These kits are flexible, stylish, and inexpensive and come with easy installation.
The insulated panels are one of the most significant aspects of these patio cover kits, built with a high-density polystyrene core. They are developed to meet or surpass even the most stringent building codes. Aluminum patio cover kits are extremely versatile and may be customized to meet your particular needs. Choose your preferred length and width, and enjoy a fashionable cover for your patio, deck, carport, and other structures.
These patio cover kits\' sleek, modern appearance makes them an excellent complement to any house. With the flexibility to customize the colors and features, you can create a unique design that will add value and beauty to your outdoor space.
The Installation Process
Before installation, ensure your kit provides you necessary coverage. Measure carefully to verify that your new patio cover is large enough to provide appropriate shade but not so huge that it won\'t properly connect to your home. You may hire professionals for patio cover installation in Sacramento for complete satisfaction.
Begin by gathering all of the parts and tools and storing them in the position where you intend to install the cover so that everything is in one place.
Measure the width of the chosen position and note it on the paper. Then, repeat the process to get the precise height of the patio cover. Now, measure the C-channel and cut it if necessary. Cut the C-channel to the proper length with a miter saw.
Drill your first hole four inches from the C-end and repeat this step on the opposite part. Continue drilling holes in the C-channel at 12-inch intervals. Caulk the C-channel\'s back using the provided solar seal and ensure you use enough caulk to guarantee optimum insulation and water resistance.
Secure the C-channel to the structure using the larger tip at the top. Attach it to the wall with the provided 1/4-inch tapcons.
Use a hammer drill and a 1/4 concrete drill bit to secure the C-channel for optimal results. Apply a second application of caulk to the exterior of the C-channel and the wall once it\'s joined to guarantee a good seal.
Building the frame:
After you\'ve installed the C-channel, set out your posts and beams in the proper design and spacing. Remove two inches from each beam to allow one inch of fascia on each side.
Drill two 3/8-inch holes in each post and fasten them with hex bolts. Place the two end posts for a 12-inch overhang on each side.
Installing the panels:
Install the first overhead panel, with the female end on the outside. Since the panel will be too high and heavy to carry on your own, you will need assistance with this stage.
Push the panel carefully beneath the longer lip until it is flush with the wall. Secure each panel with a tek screw at the 2-inch mark on both sides. Repeat this method, leaving an 11-inch spacing between each tek screw, and then repeat for the top of the panel.
Use the correct tek screws to secure the panel\'s outside edge to your beam, and use one screw on each end of the panel. Level the front side before you fasten the panel to the beam.
When installing the final panel, use a grinder to cut the male side flush before attaching it to the post.
After the last panel is cut and attached, cut the angle brackets using an aluminum drill bit. Each bracket should have two 3/8 holes on the top and one 3/8 on the bottom.
Attach each angle bracket to the bottom of each side of the post with an aluminum drill bit. Before attaching them, ensure the bottom is level with your porch or patio.
An E-gutter is included in your kit to keep water away from your property. To ensure that this section is installed successfully, carefully follow the instructions.