


A water hammock float is more than just a seasonal indulgence—it’s a companion to moments of stillness, a vessel for sun-soaked daydreaming, and an ergonomic escape from summer’s heat. But to ensure that your floating hammock provides maximum comfort and long-lasting performance, it must be cared for properly from the moment you unpack it. Whether you're preparing for your first float of the season or looking to protect your favorite lounge companion for years to come, knowing how to correctly inflate, use, and store your water hammock float is the key to getting the most from this simple yet ingenious poolside essential.
Preparing for Inflation: Check, Clean, and Choose the Right Spot
Before introducing air into your water hammock, start by choosing a flat, clean surface away from sharp objects or rough concrete. Grass, sand, or a large towel can serve as a soft prep area. Give the hammock a quick inspection to ensure it’s free from damage or manufacturing defects. Look over the seams, mesh, and inflation valves for signs of weakness. If the float has been in storage, give it a gentle shake and wipe away any dust, debris, or residual moisture with a dry cloth. This simple pre-check can help you avoid the frustration of inflating a compromised product.
Inflating With Ease and Efficiency
Most water hammocks feature two inflatable pillows—one at each end—connected by a non-inflatable mesh body. This setup keeps inflation straightforward. Start with one end pillow, removing the cap from the valve and ensuring there’s no obstruction. If your float supports fast-inflate valves, you can use an electric or manual air pump for quicker results. If not, a few deep breaths by mouth are often enough due to the small air chamber size. Inflate just until firm but not overly tight—overinflating can stress the seams and create uncomfortable rigidity.
Repeat the process for the second pillow, then close both valves securely. It’s a good practice to press lightly across the inflatable sections once fully inflated to confirm an even distribution of air and ensure the material responds with slight give rather than bounce. When inflated properly, the hammock should hold its shape without feeling rock-hard or overly stretched.
Mastering the Float: Using Your Water Hammock with Confidence
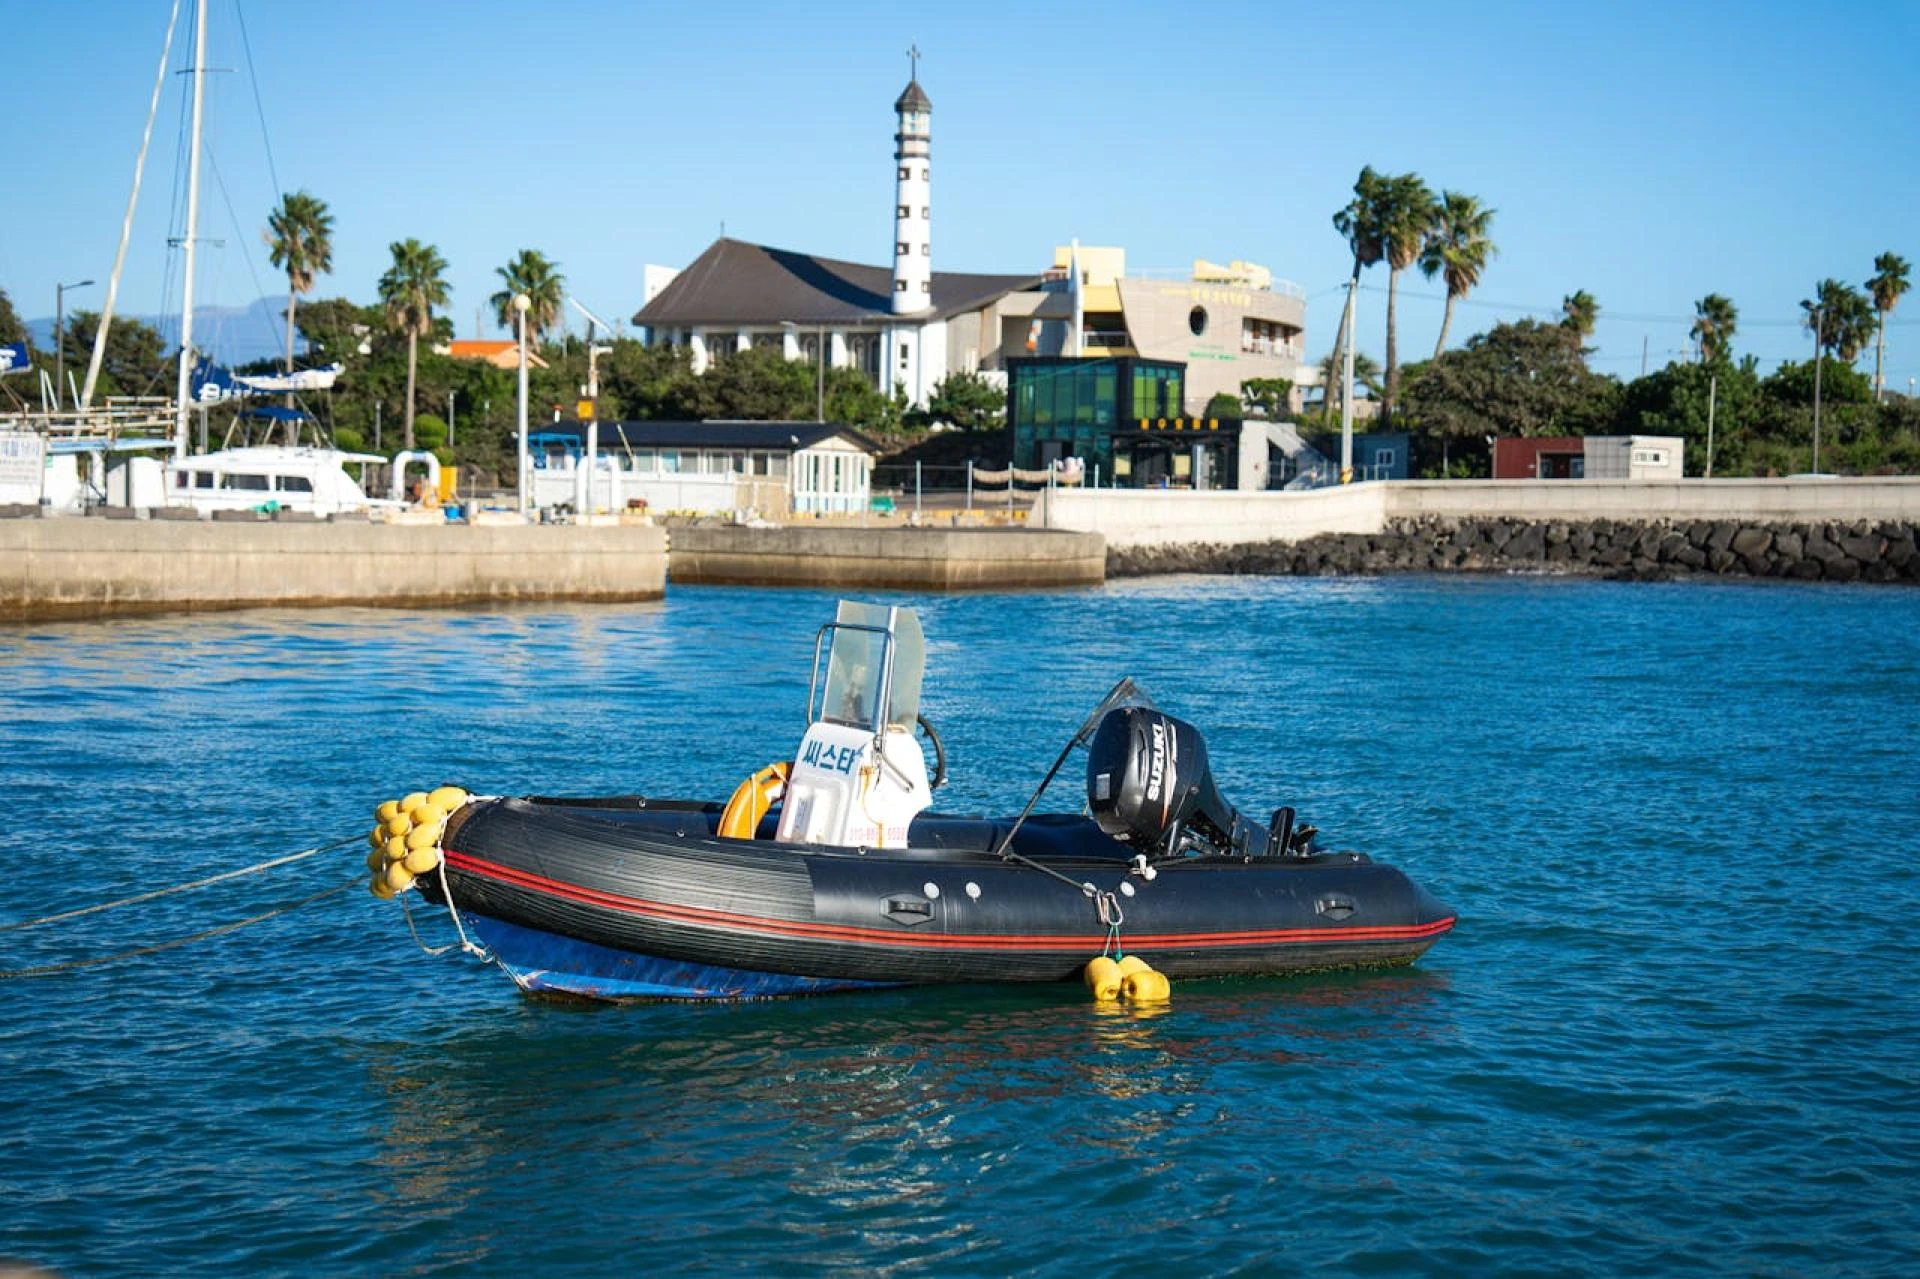
Once inflated, it’s time for the main event: floating. Entering a water hammock is not like climbing onto a rigid raft—it’s softer, lower, and more responsive. To begin, position the float with the mesh partially submerged and the pillows facing up. If you’re entering from a pool’s shallow end or the edge of a dock, approach slowly, holding one pillow with each hand for stability. Ease yourself onto the mesh, sitting centrally and shifting your weight gently backward until the float cradles your body.
You’ll quickly feel the mesh sling support your torso just below the water’s surface while your head and legs stay above on the inflated ends. Adjust your posture until you feel comfortably balanced. Some users prefer lying completely flat, while others enjoy curling into the mesh like a soft hammock cocoon. The beauty of this design lies in its responsiveness—it moves with you, offering a supportive, semi-submerged experience that promotes cooling and weightlessness.
During your float, be mindful of water currents, wind, or pool activity. If you’re using the float in a lake or near open water, a tether cord or anchor clip is a wise accessory to prevent drifting. While floating hammocks are incredibly stable, avoid standing or jumping onto them, as doing so may damage the mesh or seams and increase your chance of tipping.
Post-Float Care: Rinse and Air Out
After enjoying your float session, give your water hammock a rinse using fresh water, especially if it’s been in chlorinated pools or saltwater. Chlorine and salt can gradually degrade materials over time if left to dry into seams or fabric. A quick hose down is usually sufficient, followed by gently patting it dry with a soft towel. Do not wring the mesh or fold the hammock while it’s still wet. Instead, let it air dry in a shaded, well-ventilated area away from direct sunlight. Prolonged UV exposure can weaken seams and fade colors, even on hammocks with UV-resistant finishes.
Storing the Right Way for Longevity
Proper storage can dramatically extend the lifespan of your water hammock. Once fully dry, deflate the air pillows by gently opening the valves and applying even pressure to expel air. Avoid sudden compressions or tight rolls, which can strain material or warp the inflation chambers. Fold the hammock loosely along its natural seams, making sure no air remains trapped inside.
Store your float in a clean, dry space—preferably inside a mesh storage bag or a breathable container that allows airflow while protecting against dust and pests. Closets, linen cupboards, or dedicated pool storage cabinets all work well. Avoid areas prone to dampness, mold, or extreme temperature fluctuations such as garages or outdoor sheds. When possible, store with the mesh suspended or laid flat to prevent creasing, especially if you plan to keep it tucked away for an entire off-season.
Conclusion: Float Easy, Float Smart
A water hammock float is one of the simplest pleasures of summer—a soft cradle in a fluid world that asks nothing more of you than to rest. But to preserve its elegance and performance, it deserves a bit of preparation and care. Inflating with the right pressure, floating with mindfulness, and storing with intention ensures your hammock doesn’t just look good—but lasts. The reward is seasons of peaceful drifting, effortless relaxation, and that delightful sensation of being held gently by water.