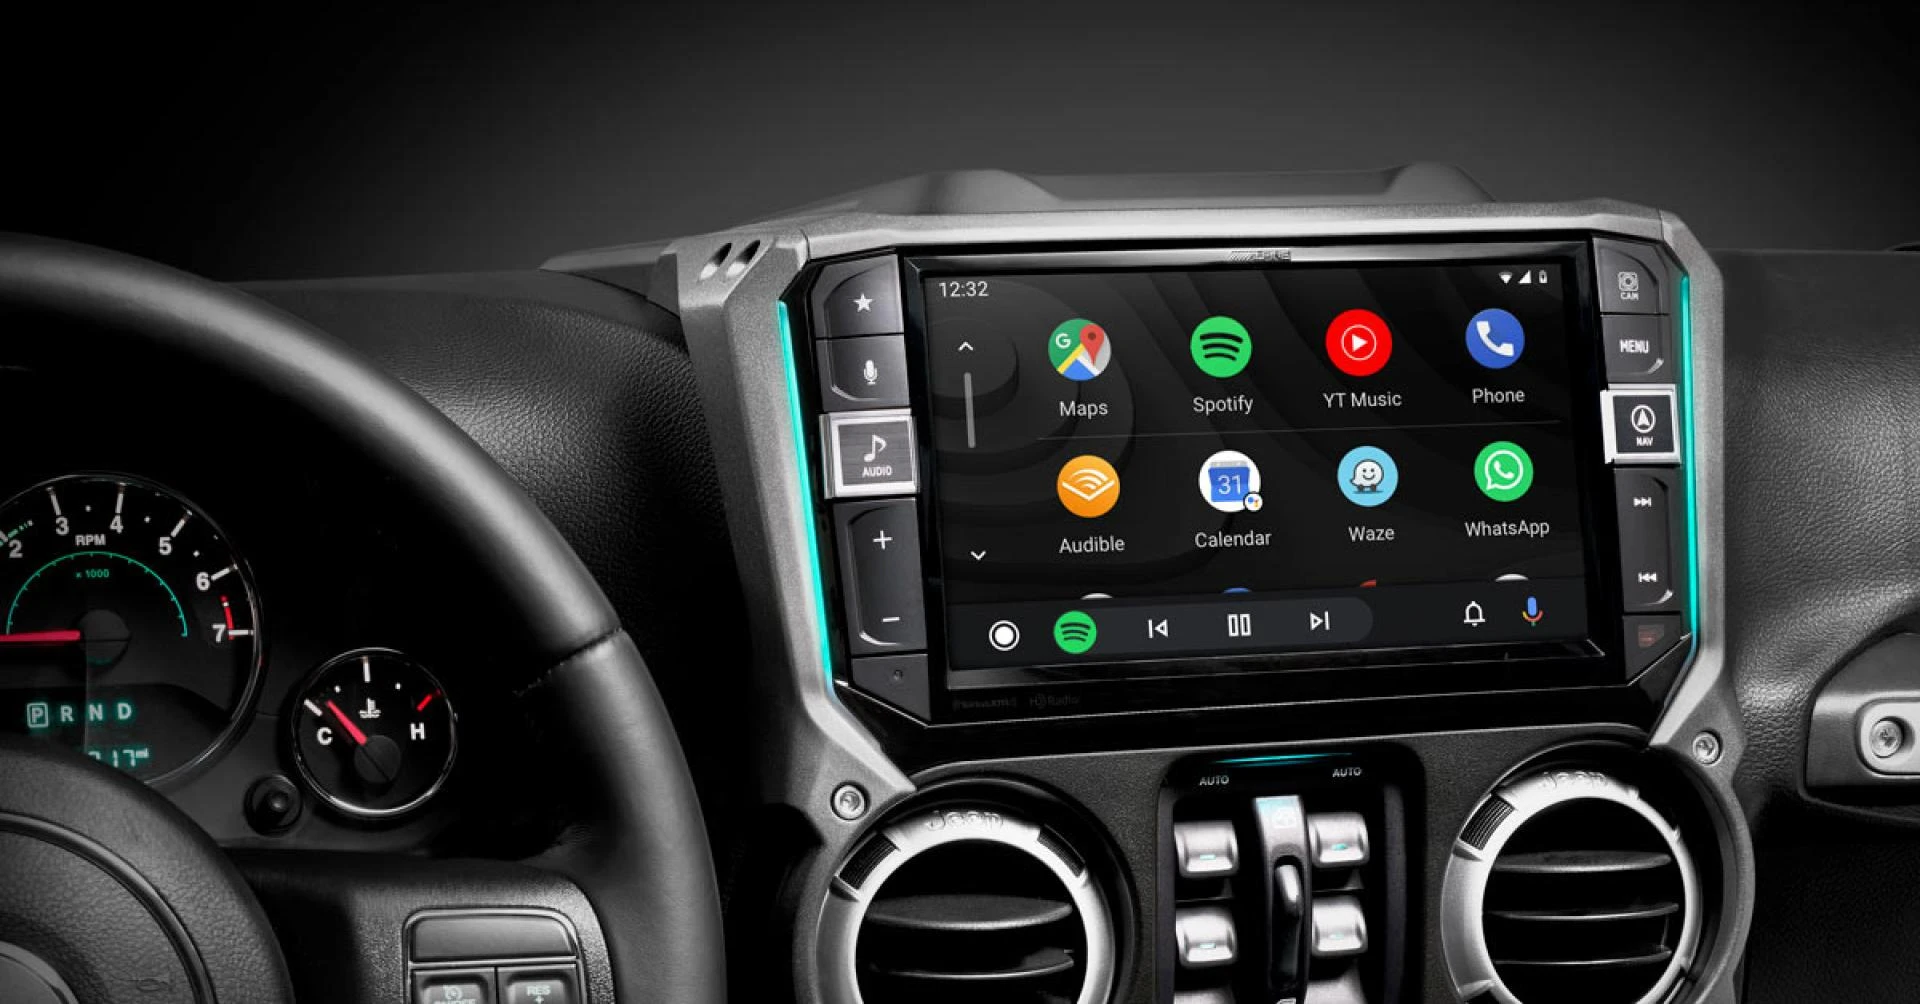
Upgrading your car's stereo system with an Android car stereo can dramatically enhance your driving experience. With features like GPS navigation, Bluetooth connectivity, voice commands, and access to apps like Spotify, Google Maps, and YouTube, Android car stereos bring the power of a smartphone right to your dashboard. While professional installation is always an option, many car enthusiasts prefer the DIY route to save money and enjoy the satisfaction of completing the job themselves.
Here’s a step-by-step guide on how to install an Android car stereo in your vehicle.
What You’ll Need:
Before diving into installation, gather these essential tools and items:
- Android car stereo unit
- Wiring harness adapter (specific to your car model)
- Dash kit (for proper fitment)
- Antenna adapter (if required)
- Trim removal tools
- Screwdrivers (flathead and Phillips)
- Wire strippers/crimpers
- Electrical tape or heat shrink tubing
- Soldering iron (optional for secure connections)
Step-by-Step Installation Guide
1. Disconnect the Battery
Safety first! Disconnect the negative terminal of your car battery to avoid any electrical shorts or shocks during the installation.
2. Remove the Old Stereo
- Use trim removal tools to carefully detach the dashboard panel surrounding the stereo.
- Unscrew and remove the existing stereo unit.
- Disconnect the factory wiring harness and antenna cable.
3. Connect the Wiring
- Match the wires from your Android stereo to the wires in the vehicle wiring harness adapter. These are typically color-coded.
- Use crimp connectors, soldering, or twist-on wire connectors to secure the connections.
- Double-check each connection, especially for power (red), ground (black), and speaker wires.
4. Mount the Stereo
- Install the new stereo into the dash kit to ensure it fits snugly into your car’s dashboard.
- Slide the stereo unit into the mounting bracket or sleeve, then secure it using screws.
5. Reconnect and Test
- Plug in the wiring harness and antenna adapter into the new Android stereo.
- Reconnect the car battery.
- Power on the stereo and test all key functions: sound, touchscreen, Bluetooth, radio, and Android Auto connectivity.
6. Finalize the Installation
- If everything works, push the stereo into the dash carefully.
- Reattach the dashboard trim panel.
- Ensure everything is flush and secure.
Pro Tips:
- Label your wires if you’re unsure about connections.
- Consult your vehicle’s manual for specifics on wire color codes and dashboard disassembly.
- Use a multimeter to verify power and ground wires.
- Consider adding a backup camera, steering wheel control adapter, or amplifier for added functionality.
Conclusion
Installing an Android car stereo is a rewarding project that modernizes your vehicle with smart features and enhances your driving experience. Whether you're into music, navigation, or hands-free calls, this upgrade is worth the effort. With a bit of patience and attention to detail, you can enjoy a high-tech dashboard without breaking the bank.


Sign in to leave a comment.