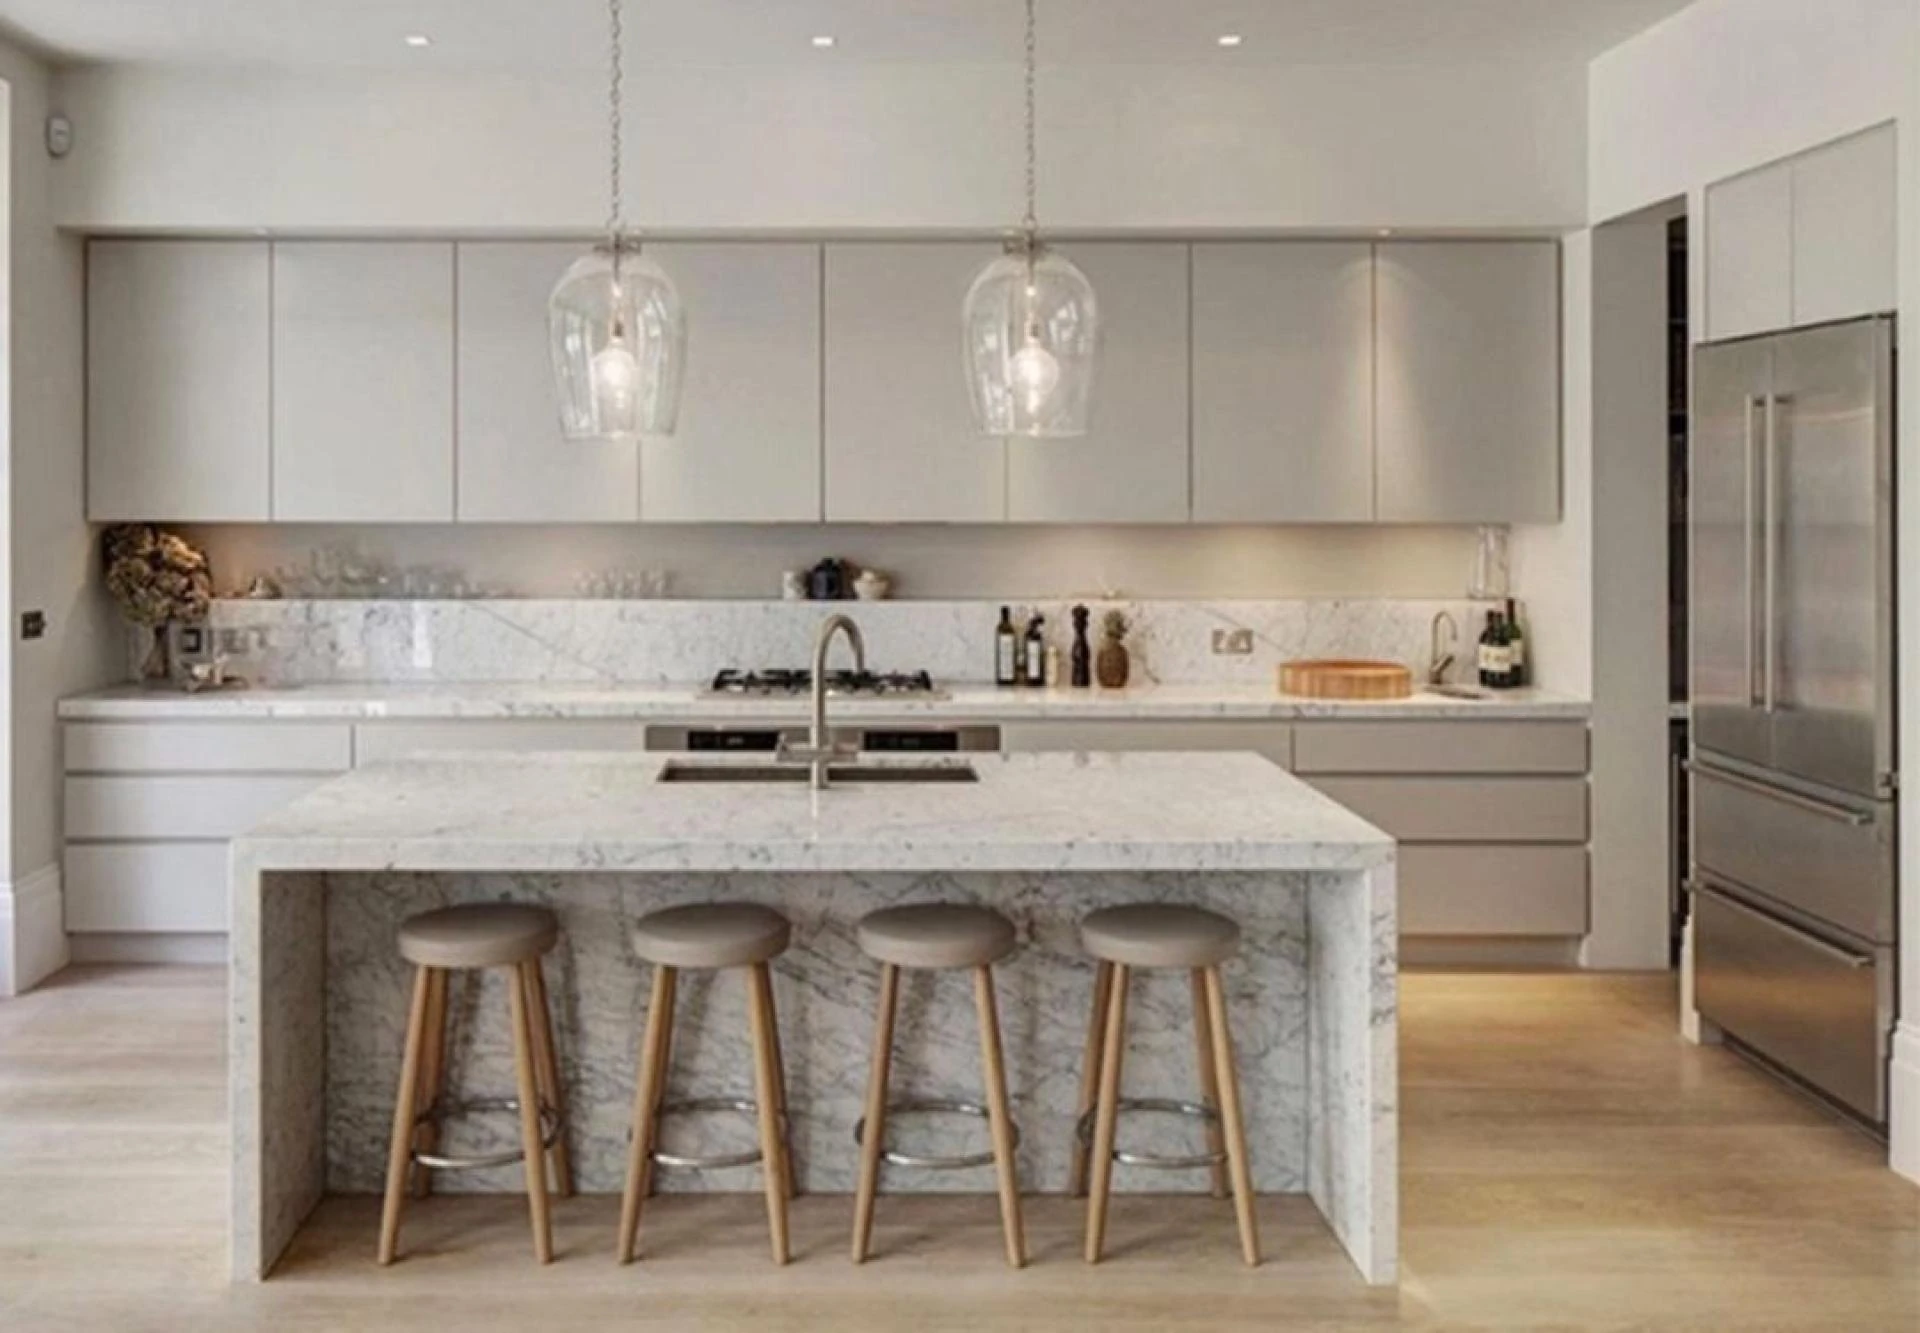
Refreshing your kitchen cabinets is a transformative home improvement project that can instantly uplift the look and feel of your space. But what if you don’t want to deal with the hassle of taking down and reinstalling your cabinets? Fortunately, you can achieve a professional-looking finish without removing your cabinets. Follow these practical, cost-effective steps for a kitchen makeover that you can be proud of.
Why Paint Kitchen Cabinets Without Removing Them?
Taking down kitchen cabinets is cumbersome and can disrupt your home for days. When you paint them in place, you save time and energy, and you eliminate the risk of damaging your walls or cabinets. Besides, with careful preparation and attention to detail, painting your kitchen cabinets without removing them can still yield exceptional results.
Prepping Your Kitchen for Painting
Preparation is the backbone of any successful painting project. When your kitchen is properly prepped, you create the foundation for a long-lasting and beautiful finish.
Clear and Cover
Before you grab a paintbrush, ensure that everything in your kitchen is adequately protected:
- Clear off countertops: Remove all items, such as appliances and decorations.
- Cover floors and surfaces: Use drop cloths to protect your floors. Plastic sheeting and painter’s tape will cover countertops, backsplashes, and walls.
- Tape off areas: Use painter’s tape to cover any areas adjacent to your cabinets, like the edge of the wall or appliances.
Clean Cabinets Thoroughly
Grease, dirt, and food splatters can prevent paint from adhering properly. Use a degreasing cleaner or a solution of warm water and dish soap to scrub every surface of your cabinets, especially around handles and high-touch areas. Rinse with clean water and let them dry completely.
Repair and Sand the Surfaces
- Fill holes and imperfections: Use wood filler to patch up any dents or nicks. Allow it to dry and then sand smooth.
- Light sanding: Use a fine-grit sandpaper (220-grit) to scuff the surfaces lightly. The goal is to remove the gloss and create a slightly rough texture for the paint to adhere to. Wipe away all dust with a tack cloth.
Choosing the Right Paint and Tools
The choice of paint is crucial when painting kitchen cabinets, as it should be durable and withstand daily use.
Select a High-Quality Paint
For kitchen cabinets, a semi-gloss or satin finish is ideal because these finishes are durable and easy to clean. Choose a paint designed for trim and cabinetry, as these paints are formulated to resist scratches, stains, and yellowing over time.
Pro Tip: Consider using a bonding primer first, especially if your cabinets are laminated or have a glossy finish. A high-adhesion primer ensures that your paint sticks and lasts longer.
Priming and Painting Techniques
Proper painting techniques will make a world of difference in the outcome of your project. Here’s how to approach each step:
Prime Your Cabinets
- Apply primer: Using a high-quality bonding primer, start with the cabinet doors and frames. Work in sections, using a paintbrush for corners and a roller for flat areas. Allow the primer to dry completely.
- Sand again: Once the primer has dried, lightly sand with fine-grit sandpaper. Wipe away the dust before painting.
Apply Your First Coat of Paint
- Use the right tools: An angled paintbrush works well for corners and crevices, while a foam roller provides a smooth finish for flat surfaces. Apply thin, even coats to avoid drips.
- Let it dry: Follow the manufacturer’s drying recommendations, and resist the temptation to rush.
Add a Second Coat for Coverage
- Repeat the process: Lightly sand between coats for a professional look. Apply a second coat and let it dry completely. You may need a third coat if you are painting over a dark color.
Finishing Touches and Clean-Up
Once the paint has dried and cured (this may take a few days), carefully remove all painter’s tape. Replace any hardware you removed, and give the surfaces a gentle wipe with a damp cloth to remove any dust.
Pro Tip: For added durability, you can apply a clear protective topcoat, especially if your cabinets will see heavy use. This will seal the paint and protect it from scratches and spills.
Styling Your Newly Painted Cabinets
Now that your cabinets are fresh and updated, it’s time to style your kitchen. Consider adding new hardware or knobs for a modern look. Bright under-cabinet lighting can also make your freshly painted cabinets pop and highlight your hard work.
Common Mistakes to Avoid
When it comes to DIY projects, avoiding common pitfalls will save you time and money. Here’s what to watch out for:
- Skipping the prep: Proper cleaning and sanding ensure that paint adheres well.
- Using the wrong paint: Ensure you use paint formulated for cabinetry to avoid chipping.
- Applying thick coats: Thin coats are better and help prevent drips and streaks.
Benefits of Painting Kitchen Cabinets Without Removing Them
Painting kitchen cabinets without removing them is not only cost-effective but also incredibly satisfying. It gives your kitchen a fresh, new look without the financial commitment of a full renovation. Plus, it’s a manageable weekend project that can significantly impact your space.
If you are in Halifax and prefer a professional touch for your kitchen cabinets, consider searching for kitchen cabinets refinishing Halifax. Local experts can give your cabinets a high-quality finish, saving you time and ensuring a flawless transformatio


Sign in to leave a comment.