When it comes to achieving smooth, long-lasting wall paint, many people focus only on the topcoat color. However, professionals know that the real foundation of a perfect paint job lies beneath the surface. Using a paint primer for walls is one of the most important steps in interior and exterior painting, yet it is often skipped or misunderstood.
In this guide, we’ll explore what wall primer is, why it matters, how to choose the right one, and how to apply it correctly to ensure a professional-grade finish.
What Is Paint Primer for Walls?
A paint primer for walls is a preparatory coating applied before the final paint. Its primary role is to create an even, stable surface that helps paint adhere better. Unlike regular paint, primers are formulated to seal pores, block stains, and improve durability.
Primers are especially important for new walls, repaired surfaces, or when changing from a dark color to a lighter one. They work as a bonding layer between the wall and the paint, ensuring the topcoat performs as intended.
Why Using a Paint Primer for Walls Is Essential
Skipping primer might seem like a time-saver, but it often leads to poor results and higher costs in the long run. Here’s why using a primer is essential:
1. Improved Paint Adhesion
Primer helps paint stick properly to the wall, reducing peeling, flaking, and blistering over time.
2. Uniform Color Finish
Walls often have patches, stains, or uneven textures. A primer evens out the surface, allowing the final paint color to look consistent.
3. Better Paint Coverage
By sealing the surface, primer reduces paint absorption. This means fewer paint coats are needed, saving both time and money.
4. Stain and Odor Blocking
Quality primers prevent stains, water marks, smoke damage, and odors from bleeding through the topcoat.
5. Increased Durability
Paint applied over primer lasts longer and maintains its appearance even in high-traffic or moisture-prone areas.
Types of Paint Primer for Walls
Choosing the right primer depends on your wall condition and environment. Here are the most common types:
Water-Based (Acrylic) Primer
- Ideal for interior walls
- Low odor and quick drying
- Best for drywall, plaster, and previously painted surfaces
Oil-Based Primer
- Excellent stain-blocking properties
- Ideal for water stains, smoke damage, and wood surfaces
- Takes longer to dry but provides strong adhesion
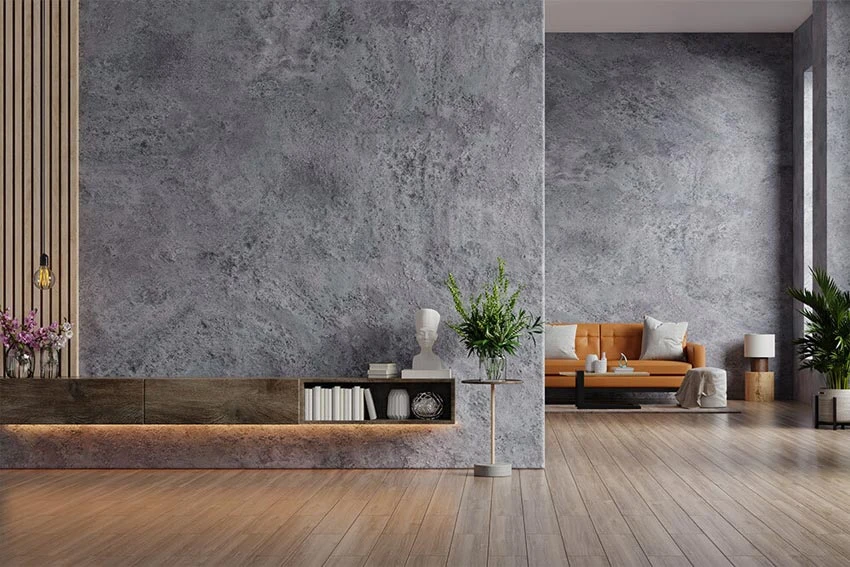
Masonry Primer
- Designed for concrete, brick, and cement walls
- Seals porous surfaces and prevents moisture penetration
Bonding Primer
- Perfect for glossy or hard-to-paint surfaces
- Ensures paint adheres to tiles, laminates, or old enamel paint
When Should You Use a Paint Primer for Walls?
You should always consider primer in the following situations:
- New construction or fresh plaster walls
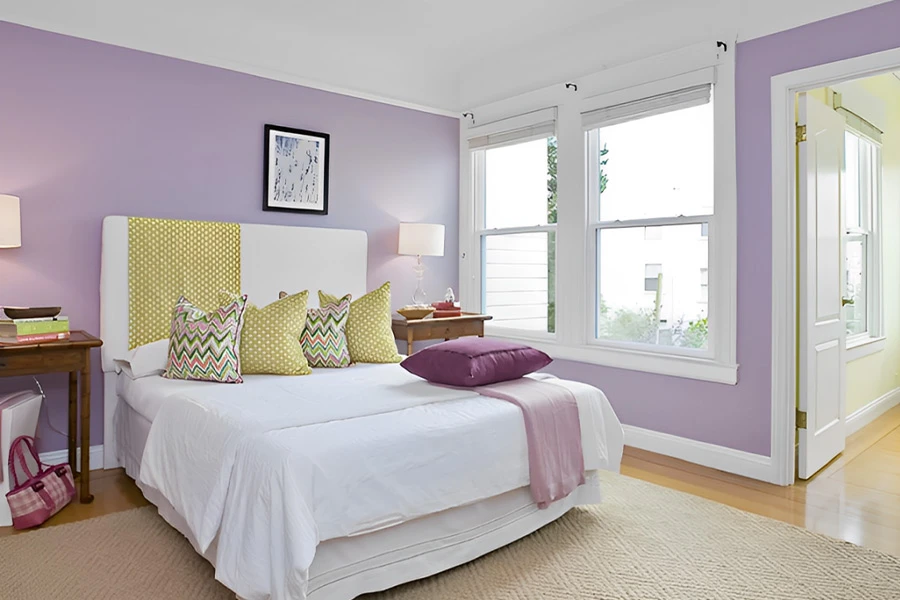
- Repainting dark walls with light colors
- Walls with cracks, patches, or repairs
- Moisture-prone areas like kitchens and bathrooms
- Exterior walls exposed to weather conditions
Using a paint primer for walls in these cases ensures better performance and a more polished final appearance.
How to Choose the Right Paint Primer for Walls
Before buying a primer, consider these key factors:
Surface Type
Identify whether the wall is drywall, plaster, concrete, or previously painted.
Interior vs Exterior
Exterior walls require weather-resistant primers, while interior primers focus more on smoothness and odor control.
Paint Compatibility
Ensure the primer is compatible with your chosen paint type (water-based or oil-based).
Wall Condition
Stained, cracked, or uneven walls require high-build or stain-blocking primers.
Step-by-Step Guide to Applying Paint Primer for Walls
Proper application is just as important as choosing the right product.
Step 1: Surface Preparation
Clean the walls thoroughly to remove dust, grease, or mold. Repair cracks and holes, then sand the surface lightly.
Step 2: Choose the Right Tools
Use rollers for large areas and brushes for corners and edges. For rough surfaces, opt for thick-nap rollers.
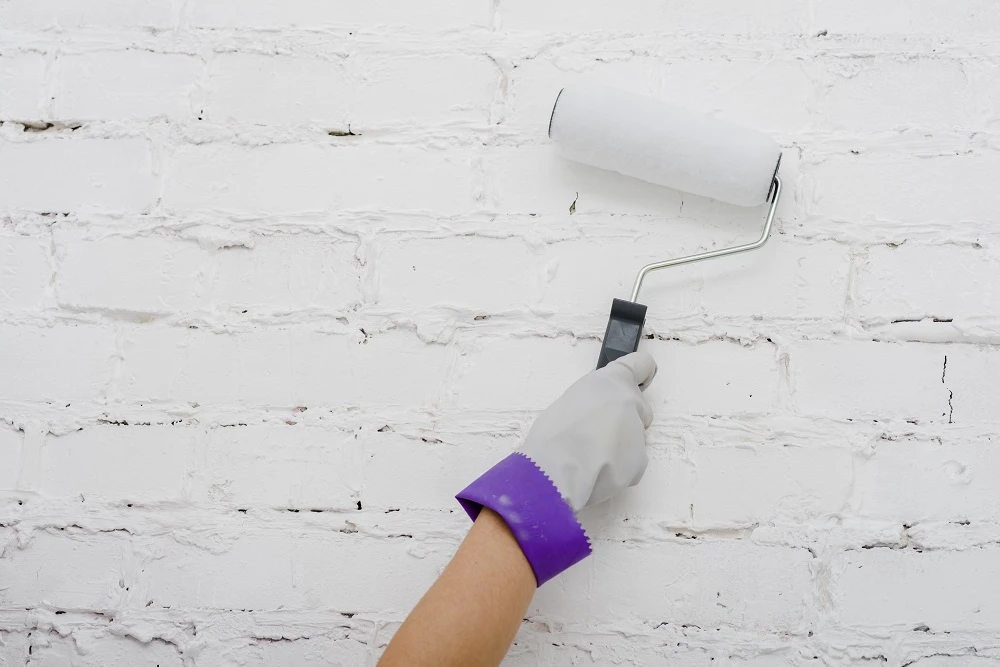
Step 3: Apply the Primer
Apply an even coat of primer, starting from the top and working downward. Avoid overloading the roller.
Step 4: Drying Time
Allow the primer to dry fully as per manufacturer instructions before applying paint.
Step 5: Light Sanding (Optional)
For ultra-smooth finishes, lightly sand the primed surface before painting.
Common Mistakes to Avoid
- Skipping primer to save time
- Using paint instead of primer on raw surfaces
- Applying primer too thickly
- Not allowing enough drying time
- Choosing the wrong primer for the surface
Avoiding these mistakes ensures your paint job lasts longer and looks professional.
Benefits of High-Quality Wall Primers
Premium primers offer advanced features such as enhanced bonding, moisture resistance, and superior coverage. High-quality options like those offered by JK Maxx are designed to support long-lasting wall finishes while reducing paint consumption.
Final Thoughts
A paint job is only as good as the surface beneath it. Using the right paint primer for walls ensures better adhesion, improved durability, and a flawless final finish. Whether you’re repainting a room or working on new construction, primer is not an optional step—it’s a critical investment in quality.
By understanding primer types, selecting the right product, and applying it correctly, you can achieve results that look professional and stand the test of time.


Sign in to leave a comment.