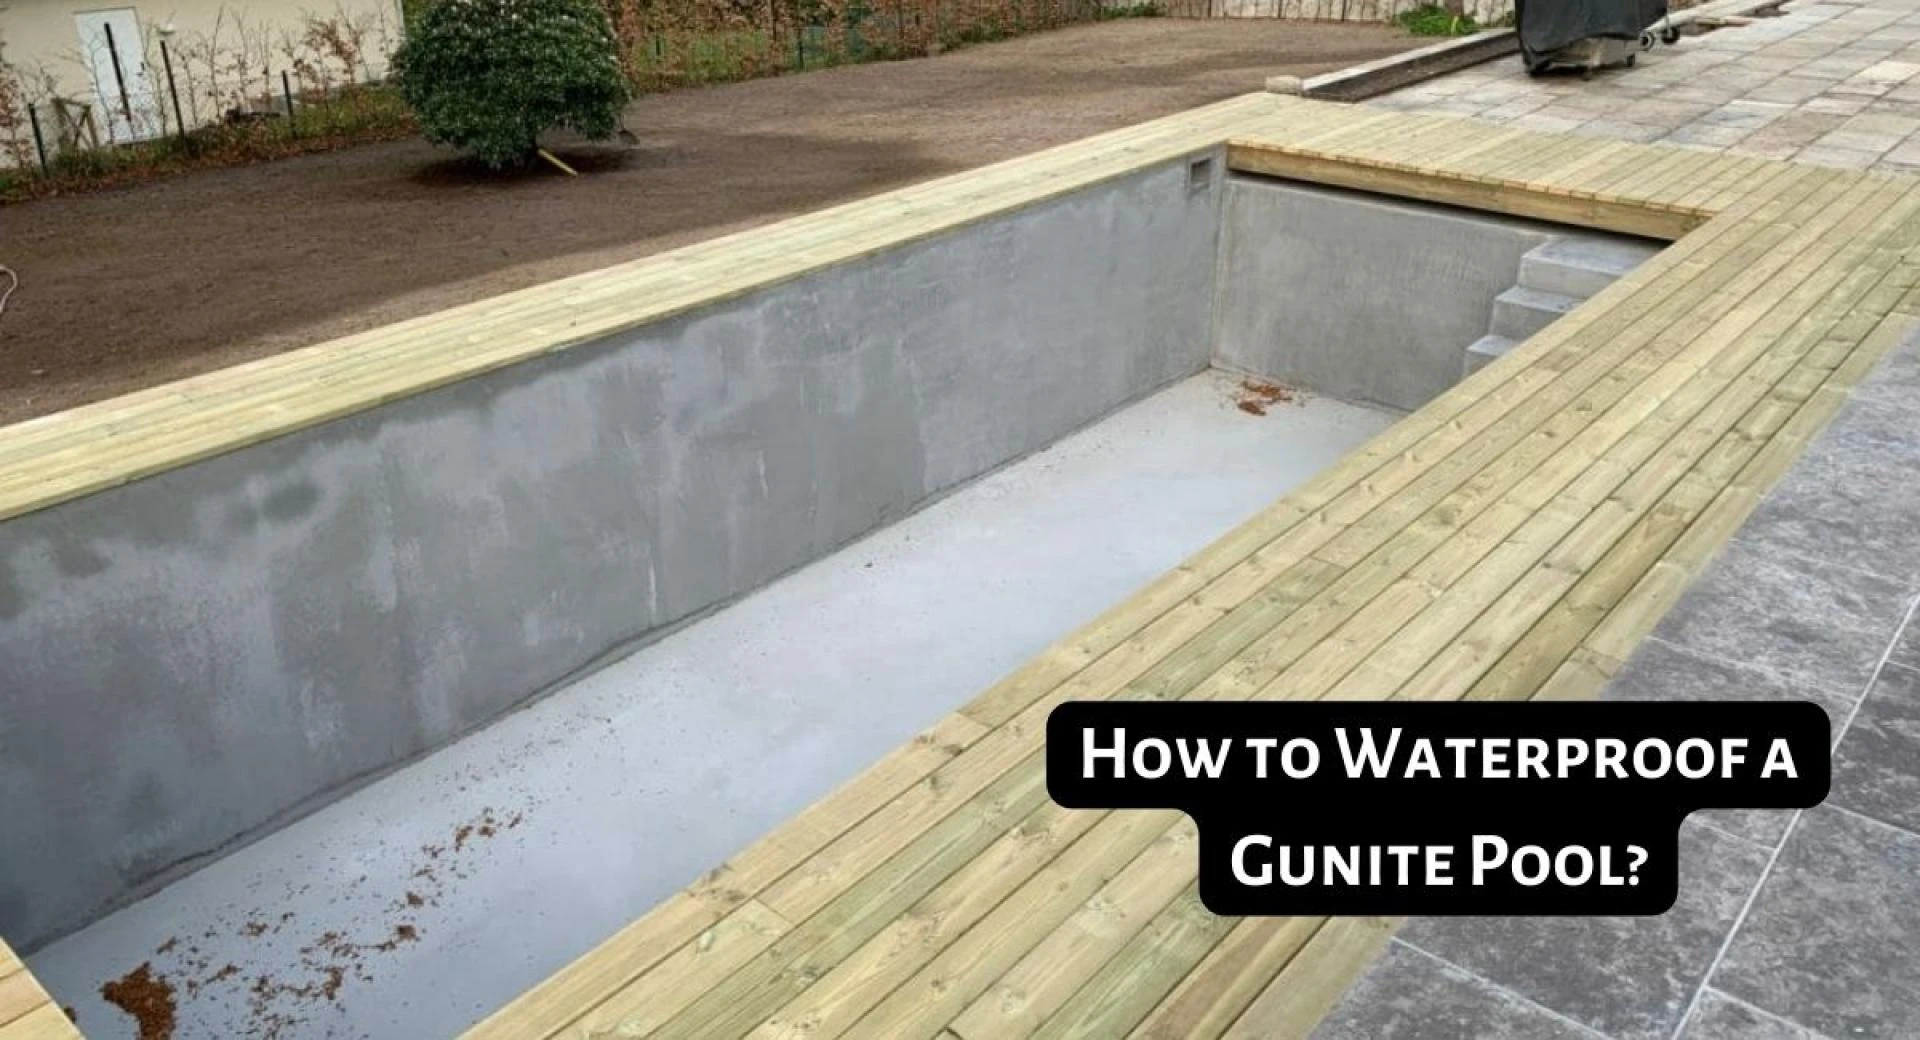
If you're a proud owner of a gunite pool, you likely know the benefits of this durable and long-lasting material. However, like any swimming pool, it requires proper maintenance to keep it in tip-top shape. One essential aspect of gunite pool maintenance is waterproofing. Waterproofing your pool is crucial to prevent leaks and other damage, as well as to ensure that your pool lasts for years to come.
In this step-by-step guide, we'll walk you through the process of waterproofing your gunite pool, so you can enjoy your backyard oasis without worrying about leaks or damage.
Step 1: Drain the Pool
The first step in waterproofing your gunite pool is to drain it completely. This will give you access to the entire surface area of the pool and ensure that the waterproofing material can be applied evenly.
Step 2: Clean the Pool
Before you can apply any waterproofing material, you need to thoroughly clean the pool. This includes removing any dirt, debris, or algae from the surface of the gunite. You can use a pressure washer or a pool brush to scrub the surface of the pool and ensure it's free from any contaminants.
Step 3: Repair Any Cracks or Damage
If you notice any cracks or damage to the surface of your pool, now is the time to repair them. Use a pool patching compound to fill any cracks or holes in the gunite, following the manufacturer's instructions carefully.
Step 4: Apply the Waterproofing Material
Once the pool is clean and any damage has been repaired, it's time to apply the waterproofing material. There are several options for waterproofing your gunite pool, including epoxy coatings, rubber coatings, and cementitious coatings. Choose the option that best suits your needs and follow the manufacturer's instructions for application.
Step 5: Allow the Material to Cure
After applying the waterproofing material, you'll need to let it cure for the recommended amount of time. This can range from a few days to a week, depending on the type of material you used. Make sure to follow the manufacturer's instructions for curing time to ensure that the material sets properly.
Step 6: Refill the Pool
Once the waterproofing material has cured, it's time to refill your pool. Make sure to follow the manufacturer's instructions for refilling your pool, including any recommendations for chemicals or treatments to add to the water.
conclusion
waterproofing your gunite pool is an essential part of its maintenance, and it's not a complicated process. By following these simple steps, you can ensure that your pool stays leak-free and lasts for years to come. So go ahead and take the plunge – you'll be glad you did!


Sign in to leave a comment.