Summary
This manual teaches you how to collect key drone parts, deploy electronics and set up your drone parts. Whether the use of drone parts in India or advanced drone parts with camera, proper meeting ensures safety, balance and clean flight. A defensive drone case adds sturdiness on your very last construct.
Building your very own drone is one of the maximum rewarding reviews for hobbyists and specialists alike. Whether you are shopping for drone parts in India or ordering specialized components from abroad, assembling them efficiently ensures clean performance and longer lifespan. This step-by using-step manual will stroll you thru the whole thing you need from organizing your drone parts, putting in electronics, including a drone case to putting in place your drone remote for wonderful flight.
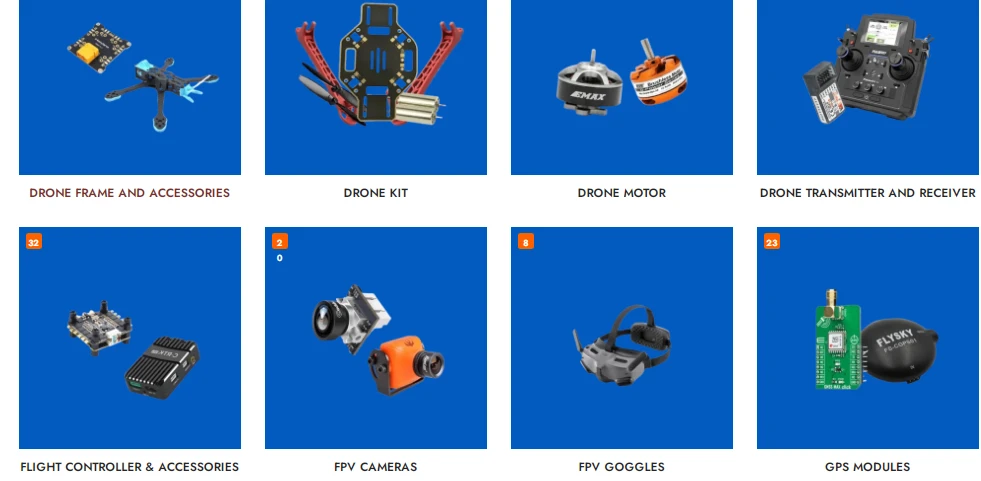
1. Organize and Inspect Your Drone Parts
Before beginning, lay out all important drone parts such as the body, automobiles, ESCs, propellers, flight controller, battery and optional drone parts with camera. Check for harm, missing screws or mismatched connectors. If you sourced your drone parts in India, make sure they're well suited with every other, as brands range in sizing and plug sorts.
2. Assemble the Drone Frame
Begin through connecting the body plates and hands. Tighten screws firmly but avoid over tightening to prevent cracks. Some drones come with a protecting drone case, which you may connect later for added durability all through out of doors flights or travel.
3. Mount the Motors
Fix the motors onto the frame fingers the use of the supplied screws. Ensure the motors for clockwise and counterclockwise rotation are placed in the ideal orientation.
4. Install ESCs and Wire Connections
Electronic Speed Controllers (ESCs) adjust motor pace. Attach one ESC to every motor and solder the wires consistent with your flight controller diagram. Many drone developers pick warmness-cut back tubing for a clean and safe end. If your build includes drone parts with camera, course the digital camera wires carefully to keep away from interference.
5. Connect the Flight Controller
Mount the flight controller at the center of the frame for stability. Use vibration-dampening pads to lessen shaking in the course of flight. Connect ESCs, receiver and optionally available GPS module.
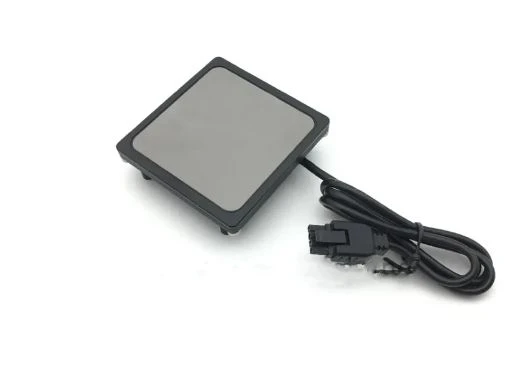
6. Configure the Drone Remote
Bind your drone remote to the receiver. Calibrate all channels, regulate sensitivity and check motor spin thru your flight manage software.


Sign in to leave a comment.