Building a gunite pool is an exciting project that can provide years of fun and relaxation for you and your family. However, it's important to approach the process with careful planning and execution to ensure the best possible results. In this step-by-step guide, we'll walk you through the process of building a gunite pool, from excavation to finishing.
Step 1: Plan and Design Your Pool
The first step in building a gunite pool is to plan and design your pool. This involves determining the size and shape of your pool, as well as any additional features you may want, such as a spa or waterfall. It's important to consider your budget, lifestyle, and yard space when planning your pool.
Step 2: Excavate the Pool Area
Once you have your plan in place, it's time to excavate the pool area. This involves removing the top layer of soil and preparing the area for the pool's foundation. The depth of the excavation will depend on the size and shape of your pool.
Step 3: Install the Plumbing and Electrical
With the pool area excavated, it's time to install the plumbing and electrical systems. This includes running pipes and wires for the pool's filtration system, as well as any lighting or heating features you may have chosen.
Step 4: Build the Pool's Foundation
Next, the pool's foundation is built. This involves adding a layer of gravel or other base material, followed by a steel rebar frame to provide structural support for the pool's walls and floor.
Step 5: Apply the Gunite
Once the foundation is in place, the gunite is applied. Gunite is a mixture of sand, cement, and water that is sprayed onto the rebar frame to create the pool's walls and floor. The gunite is smoothed and shaped by hand to create the desired shape and slope of the pool.
Step 6: Install the Tile and Coping
After the gunite has cured for several days, it's time to install the tile and coping. The tile is applied to the pool's walls and floor, while the coping is installed around the edge of the pool to provide a finished look and protect the pool's edge.
Step 7: Install the Filtration System and Other Features
With the pool's structure in place, it's time to install the filtration system and any other features you may have chosen, such as a heater, lighting, or water features. This involves connecting the plumbing and electrical systems to the equipment and testing everything to ensure it's working properly.
Step 8: Fill the Pool and Finish the Surrounding Area
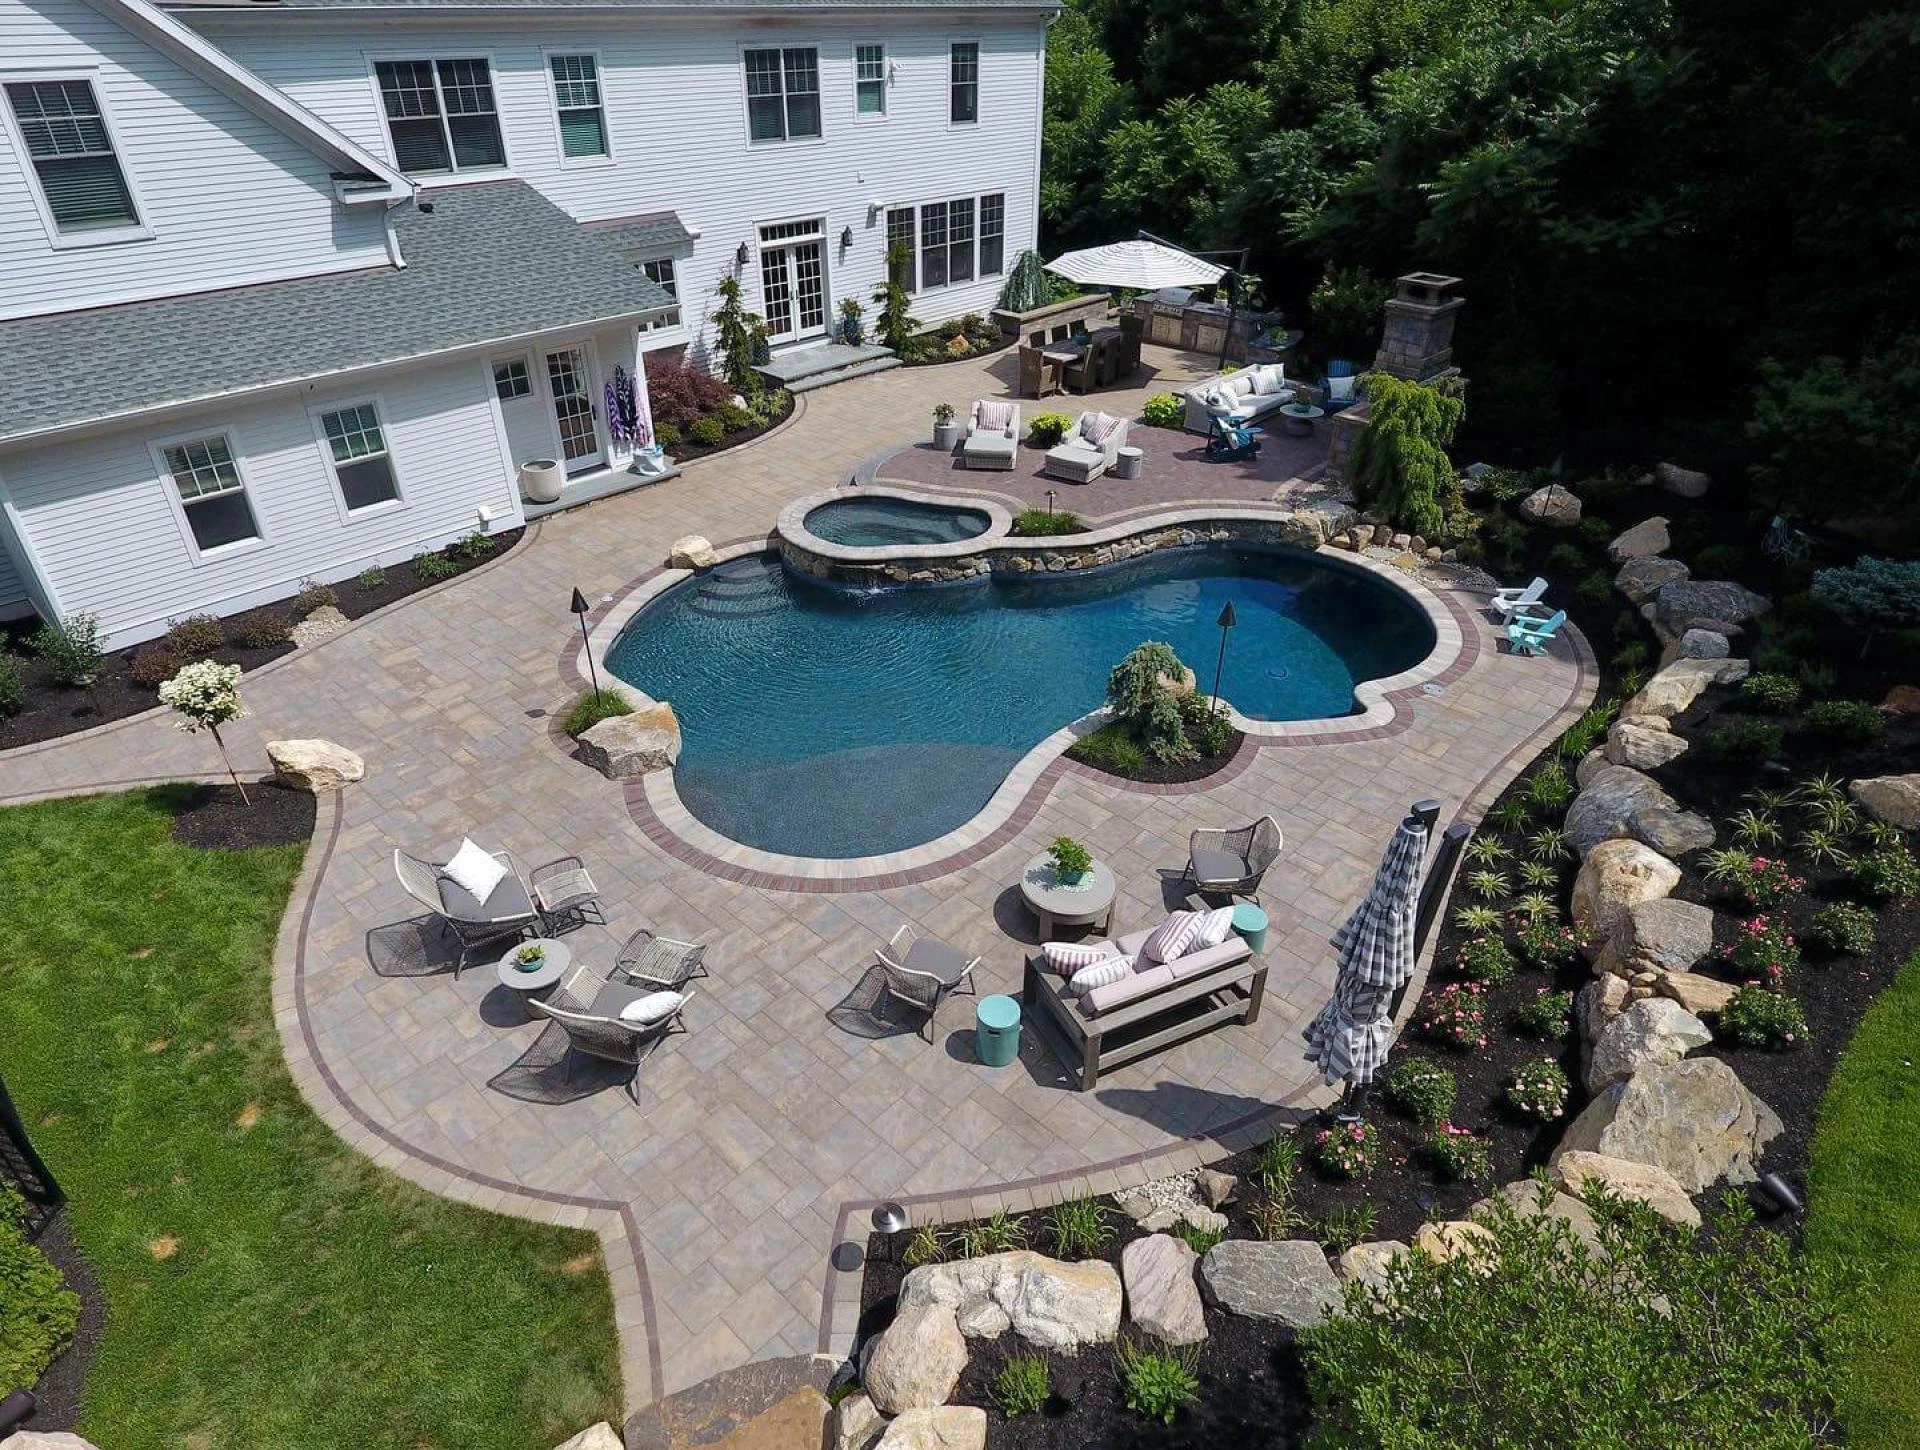
Finally, it's time to fill the pool with water and finish the surrounding area. This may involve adding decking, landscaping, or other features to create a beautiful backyard oasis.
Building a gunite pool is a complex process that requires careful planning and execution. By following this step-by-step guide, you can ensure a successful and enjoyable pool-building experience.


Sign in to leave a comment.