Upgrading to a tankless water heater is a smart move for many homeowners. Whether you’re tired of running out of hot water or you simply want a more energy-efficient system, this switch can make a huge difference. However, to truly enjoy the benefits, the installation process has to be done right. That’s why this guide focuses on practical, easy-to-follow tips for a hassle-free tankless water heater installation in San Jose, CA.
Don’t Skip the Planning Phase
Before you even purchase a unit, take a moment to plan things out. Think about your household’s hot water needs. How many bathrooms do you have? Do you run multiple appliances at the same time? A proper load calculation is essential. Next, inspect your current plumbing and electrical systems. Older homes in San Jose may need updates before they can support a tankless system. It's better to know what you're dealing with upfront rather than getting hit with surprises mid-installation.
Choose the Right Size for Your Home
Size matters—especially with tankless units. One of the most common mistakes is choosing a heater that’s either too small or too powerful. Too small, and you’ll still end up with cold showers. Too large, and you’ll waste energy and money. Make sure the unit’s flow rate and temperature rise match your daily usage.
Location
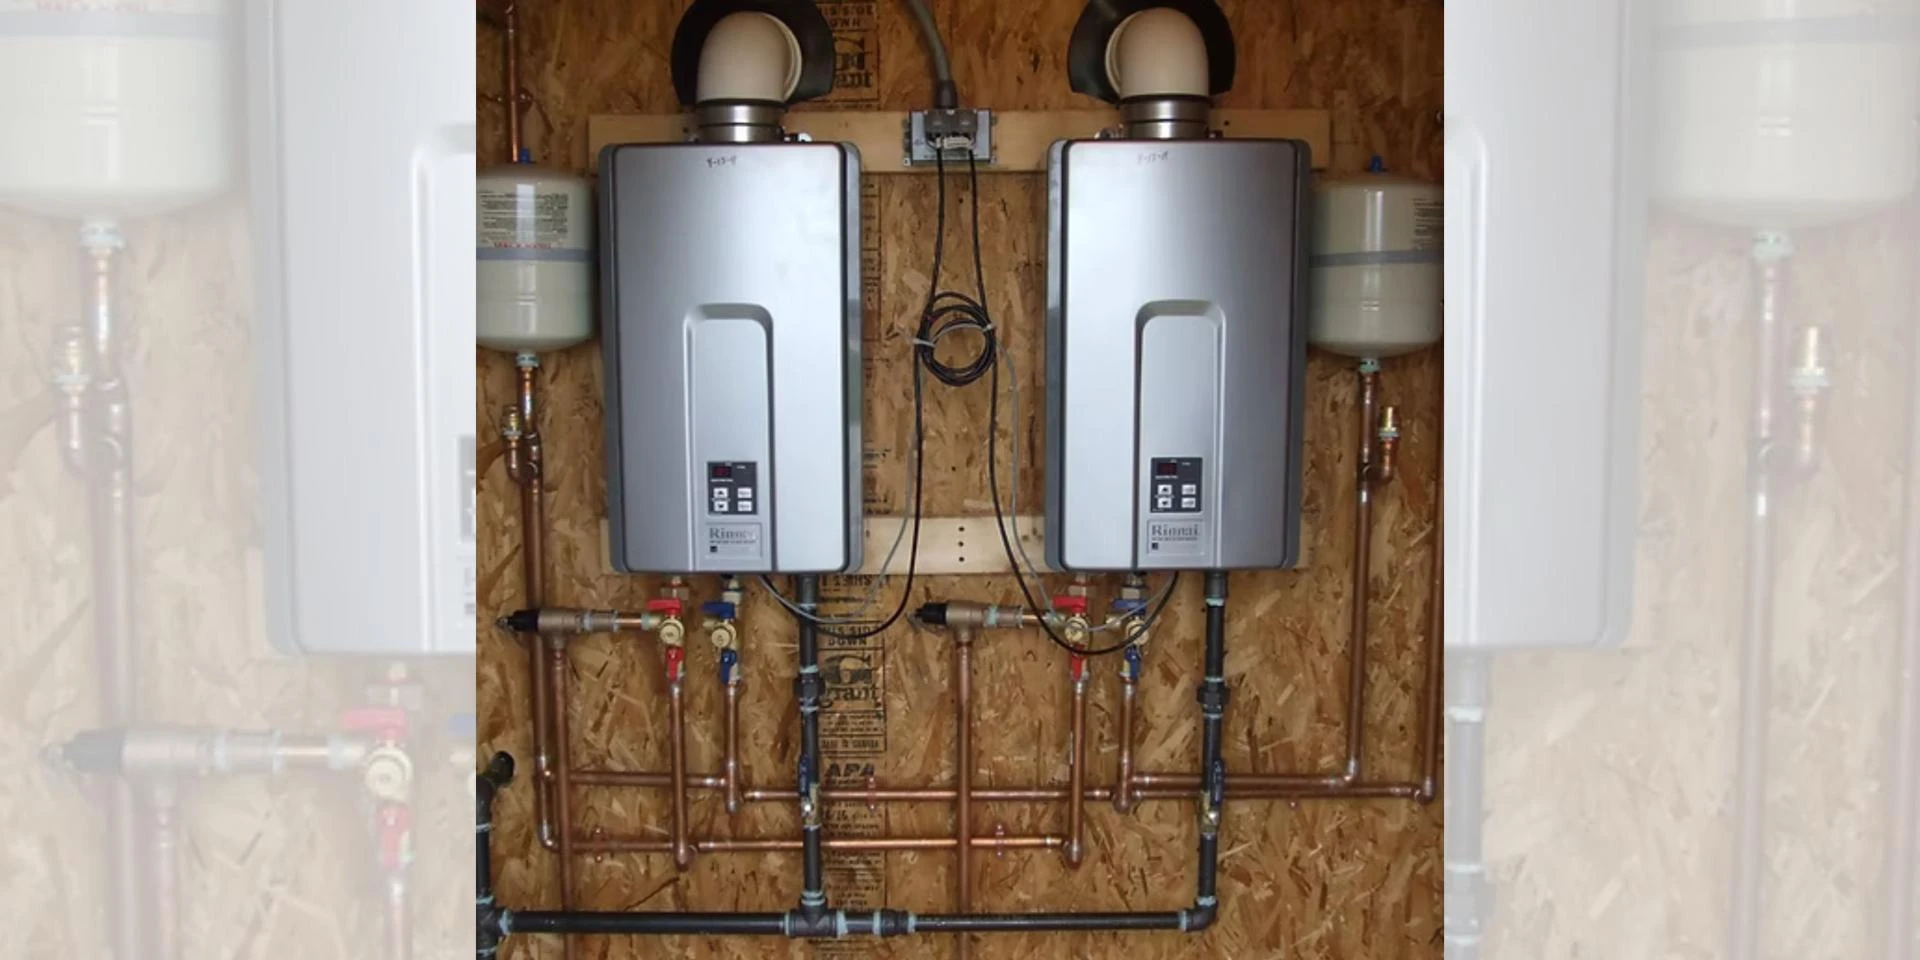
Where you install the unit is just as important as what unit you buy. You want a spot that’s easily accessible for future maintenance but also close enough to your hot water outlets to reduce lag time. Many homeowners in San Jose choose to install tankless units in garages, basements, or even on exterior walls. Just remember—weatherproofing is key if it’s going outside. San Jose might have mild winters, but a little insulation can go a long way.
Make Sure the Venting Is Spot-On
Ventilation is a big deal when it comes to tankless water heaters, especially gas-powered models. Improper venting can lead to safety issues like carbon monoxide buildup. So double-check the local building codes in San Jose before installation. Use stainless steel or PVC vent pipes as recommended by your unit’s manual. And if your setup requires long horizontal runs, make sure there’s a slight slope to allow for condensation drainage.
Upgrade Utilities if Needed
Don't assume your existing gas line, water line, or electric panel can handle the demands of a new tankless heater. Many installations require utility upgrades. Skipping this step can not only lead to poor performance but might also void your warranty. So, it's worth investing in those upgrades from the get-go.
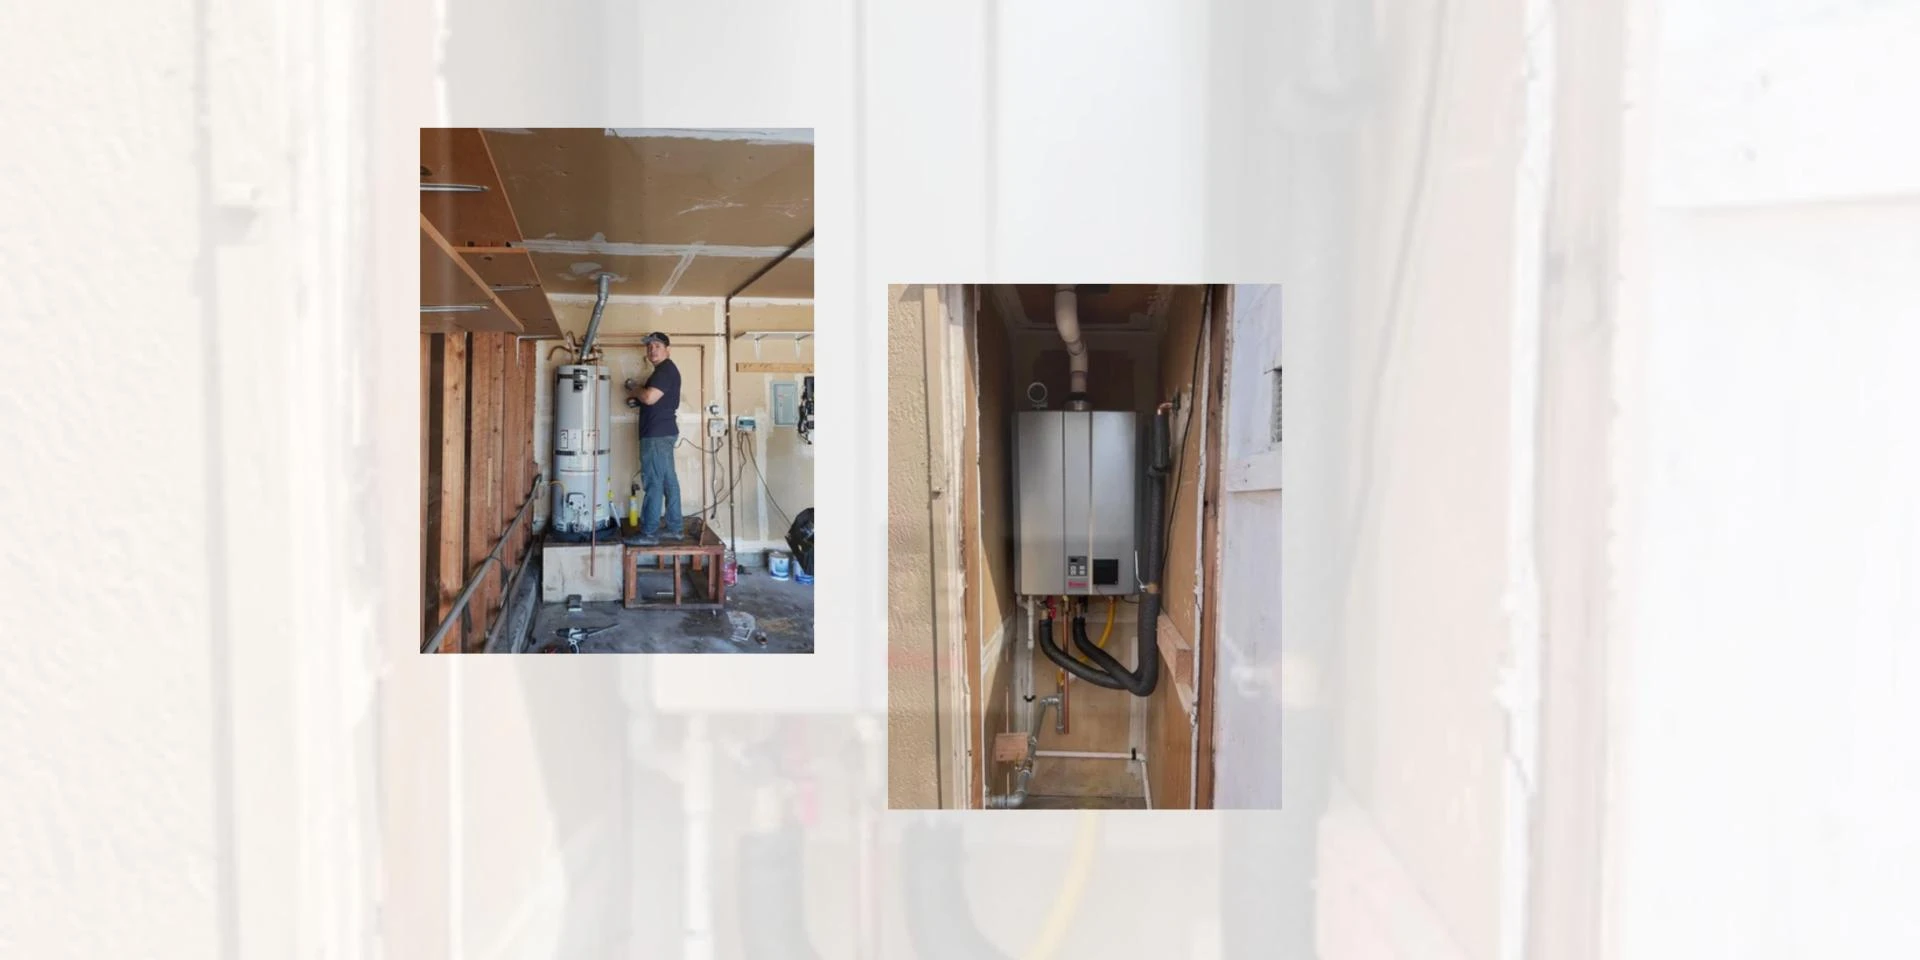
Hire a Local Pro Who Knows the Codes
Let’s face it—DIY is tempting, but a tankless water heater isn't exactly a weekend project. San Jose has strict building and plumbing codes. If something goes wrong, you're on the hook. Working with a licensed local contractor ensures your tankless water heater installation in San Jose, CA is done safely and up to code. They’ll also take care of necessary permits and inspections, so you don’t have to sweat the small stuff.
Do a Test Run Before Calling It a Day
Once the unit is installed, don’t rush to clean up and move on. Take time to test every hot water outlet in your home. Check for leaks, odd noises, or slow heating. This is your chance to catch minor issues before they turn into major headaches. If everything checks out, you’re good to go. If not, now’s the time to make adjustments while the installer is still around.
Schedule Regular Maintenance
Even the best tankless heaters need a little TLC. Minerals from San Jose’s water can build up inside the system, especially if you don’t have a water softener. Schedule yearly descaling and a quick inspection to keep things running smoothly. A well-maintained unit can last up to 20 years. That’s a pretty sweet return on investment, don’t you think?
So whether you're upgrading an old system or building new, follow these tips for a seamless tankless water heater installation in San Jose, CA. With a little prep and the right help, you’ll enjoy hot water on demand without a single hiccup.


Sign in to leave a comment.