
Anyone who’s spent time on a lift crew knows how quickly things can go wrong when the basics are rushed. It’s rarely the big mistakes that cause problems—it’s the small habits that slip over time. Maybe someone skips an inspection, or a shackle gets swapped for whatever’s closest on the rack. I’ve found that consistency makes all the difference, and it starts with using the right lifting rigging supplies for the job. When everyone’s drawing from the same reliable set of gear, decisions get simpler, and lifts run smoother. It’s not about having the most expensive equipment—it’s about knowing that what you’re using has been checked, rated, and fit for purpose. Over the years, I’ve seen how a few smart habits can prevent most of the common rigging headaches. Here are the five mistakes that tend to show up again and again—and how to avoid them.
Mismatching hardware to the job
When gear doesn’t suit the load, environment, or geometry, you don’t just lose efficiency—you invite surprises.
- Pick components for the actual environment: heat, salt, chemicals, and abrasive edges change the rules.
- Verify Working Load Limits (WLL) against the worst-case angle and orientation, not the ideal plan.
- Use bow shackles for multi-leg slings and dee shackles for straight pulls; avoid mixing grades without checks.
- Treat sharp corners as capacity killers—add protection or change the method.
A quick example: on a coastal plant lift, a set of standard shackles started spotting rust after a week near splash zones. We switched to galvanised hardware for general lifts and stainless for the most exposed picks. Inspections sped up and equipment life improved—no drama, just the right fit.
Neglecting WLLs, angles, and derating
Labels aren’t suggestions. WLLs, safety factors, and angle effects decide whether a lift stays within design.
- Confirm every tag is legible; if you can’t read it, it’s out.
- Calculate leg loads at real angles; a shallow two-leg lift can overload faster than people expect.
- Chokes, small diameters, and edges demand derating—or a different sling altogether.
- Keep a simple reference card with common angles at the rigging cabinet.
I audited a two-leg chain lift rated “to five tonnes” that regularly handled 3.2 t. At 30° per leg, capacity was marginal. Switching to a four-leg arrangement (two primary, two balance) solved it, and the crew kept the calculation sheet at the point of use from then on.
Working to standards keeps lifts predictable
Rigging standards aren’t just red tape—they’re the reason experienced crews stay consistent. When everyone follows the same approach, there’s less room for misunderstanding and fewer surprises once the load is off the ground. Building your planning and inspection routines around safe rigging practices helps anchor every job to a shared expectation of what “good” looks like. It means inspections don’t depend on who’s on shift, and it keeps training aligned across the board.
- Use the guidance to shape pre-use checks, tagging rules, and discard criteria.
- Align hand signals and radio call structures with documented practices.
- Keep examples handy: sling angle charts, edge protection options, and typical derating scenarios.
On a shutdown lift, we paused to walk the doggers through a few paragraphs of the standard before swapping a choke for a basket hitch. The discussion took minutes; the lift ran smoothly afterwards and became the template for follow-on picks that week.
Pushing on with damaged or undocumented gear
Most failures telegraph themselves: frayed sling eyes, elongated shackle pins, sticky hook latches. The problem is pace—people want to get on with it.
- Build a pre-use rhythm: quick visual, tactile check, latch function, tag confirmed.
- Quarantine failed items immediately in bright bins; don’t leave them “for later”.
- Record inspections and repairs; traceability keeps debates short.
- Avoid off-book fixes—no grinding hooks or bending hardware to “make it fit”.
We put a “stop and swap” rule in place—if an item triggers a second look, it’s out for that shift. Productivity went up because we weren’t arguing with borderline gear.
Ignoring rigging geometry and load control
Even with solid components, geometry can fight you—binding shackles, twitchy loads, and sling bite are all symptoms.
- Aim lift points above the centre of gravity; prove balance with a shallow trial hoist.
- Use spreader bars or lifting beams to widen angles and align forces.
- Add taglines and a clear role split: one lead dogger, one spotter, everyone else out of the exclusion zone.
- Respect D/d ratios and use softeners to protect slings from small radii.
On a frame install, we saw a sudden tilt on a trial lift. A short chain adjuster on one leg squared the frame, and taglines settled the travel. Small change, big difference.
Designing material flow around the lift
Most lifting issues don’t start mid-air—they begin on the ground when gear, loads, or work areas aren’t planned properly. The smoother the flow of materials to and from the lifting zone, the safer and faster the job runs. In workshops and warehouses, that often means coordinating with industrial conveyor systems so heavy parts and pallets arrive exactly where they need to be, without unnecessary pushing or repositioning.
- Stage loads so the hook arrives square to the pick points, not at an angle.
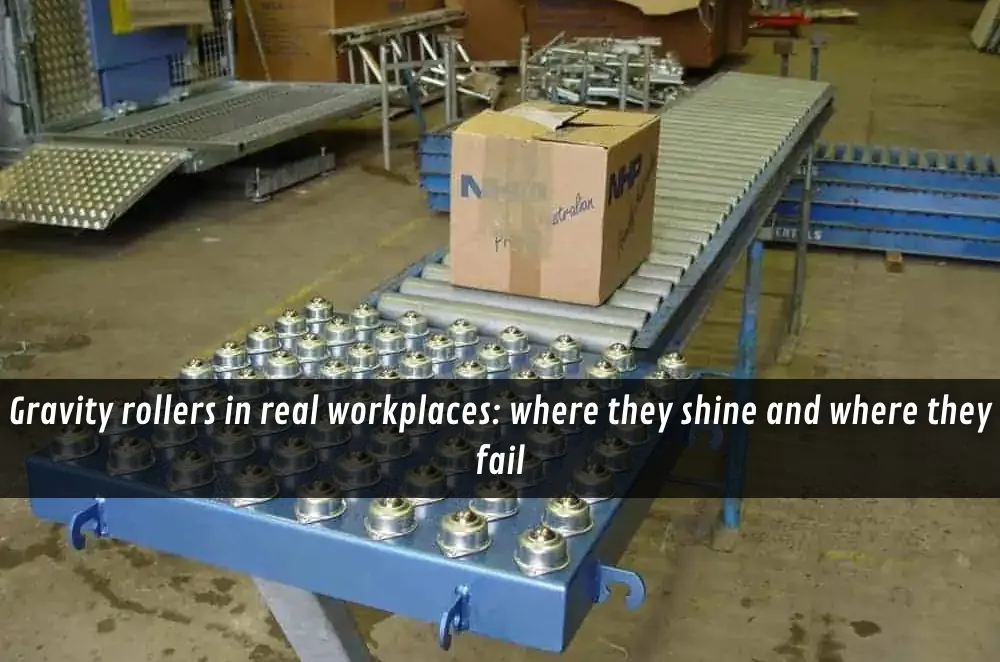
- Use roller beds or skates to reduce pushing and pulling near the exclusion zone.
- Keep storage for rigging close to recurring lift spots so the right gear is at arm’s reach.
- Standardise common configurations (beam + two-leg sling + protectors) for repeat jobs.
When materials fight back: protect gear to extend service life
Every job site has its own way of wearing things down. Salt air eats at fittings, heat warps metal, and dust grinds through slings faster than anyone expects. Over time, I’ve learned that choosing gear built to handle those conditions pays for itself in fewer inspections and replacements. Thinking about how plants manage heavy duty conveyor materials helps make sense of this—both rely on matching the material’s durability to the environment.
- For abrasion and hot work, lean to chain or wire; for delicate finishes, choose round/webbing with edge protection.
- In salty or chemical areas, prefer coatings and finishes that resist pitting and corrosion.
- Store synthetics away from UV and heat; keep the chain and fittings clean and dry between jobs.
- Rotate sets to spread wear and make inspection intervals more meaningful.
Final thoughts
Rigging goes right when three habits line up: pick components that suit the job and environment, control the geometry so forces behave, and maintain gear with discipline. The rest is repetition—brief, consistent checks, and clear roles on the day. If you’re tuning procedures across multiple crews or sites, keep your kit aligned and your planning simple. The result is predictable lifts, calmer work fronts, and fewer surprises.


Sign in to leave a comment.