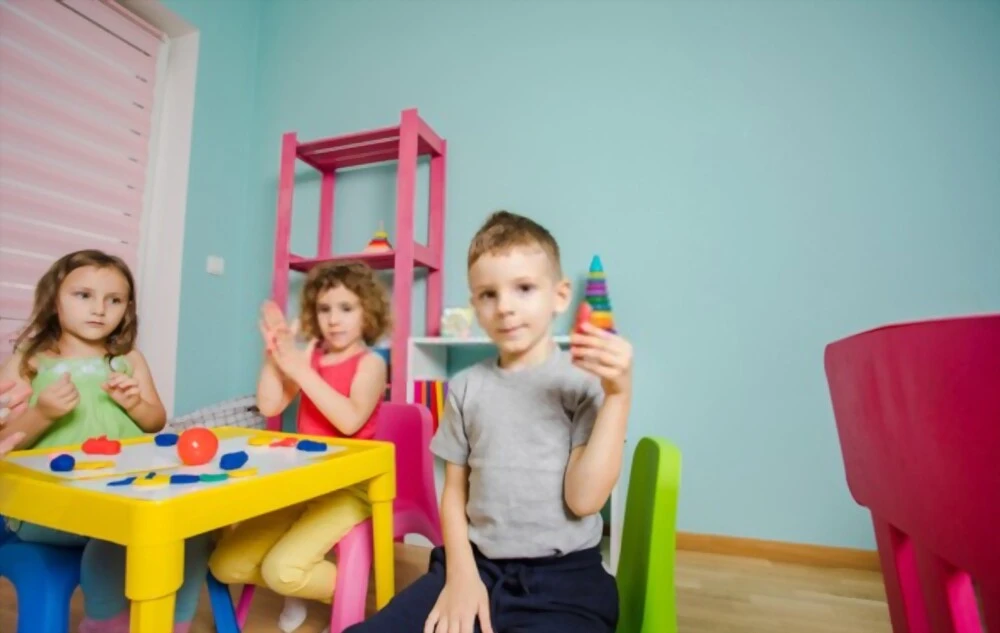
We give you guidelines for little ones at home to learn how to create toys and decorations.
[caption class="snax-figure" align="aligncenter" width="1140"][/caption]
Perhaps most of us have built some kind of craft in some time, especially in childhood. And we can remember that moment with some affection, becoming a different activity than usual and resulting in an explanation made by ourselves.
These elaborations are not only enjoyable: they allow us to connect with the different components we use and with the people we make them with, they make us organize ourselves and improve creativity and development. Fine motor skills. In other words, it’s not a bad idea that if we have children in our care we suggest them occasionally to make some kind of craft because it involves promoting various aspects as well as possible entertainment. And communication. That is why in this article we will offer instructions to perform different arts for children.
Crafts for kids: an option
Here is a series of fine arts for kids that can be made with your help in a fun and enjoyable way, both when making them and when enjoying the product made. They are all sourced from various books, web portals, and cool drawing tutorials.
1. Homemade plasticine
When we talk about making art, we usually think of making a specific final product, with a specific or simple decorative function. However, the truth is we can also detail materials that children use for fun. An example is a plasticine. This preparation will serve both to craft and to wake up and stimulate experimentation at the level of cooking in the future.
Enough to mix flour, water, salt, oil, and some food coloring in a mold to give it color. About three cups of flour, a cup of salt, a cup of water, and two tablespoons of oil would be a good ratio.
Although it is possible to color it with tempera, we recommend using food coloring because with them we can get plasticine that will not be poisonous if swallowed. These will be the dimensions that determine the properties of this plastering. This plasticine will be durable and will allow us to make small art with our children.
2. The clock
A possible craft that can also be useful when learning the times and how a clock works is, certainly, to make a wall clock. To do this, all you have to do is a plastic plate, a marker, two dozen post-it, two pieces of cardboard, and a pushpin.
To start, cut out two cardboard rectangles with one larger than the other, which will be handed in the future. Glue them to the exact center of the plate (calculate where it used to be using a ruler) with a thumbtack. After that, paint each time on a post-it and after that put it in order on the plate. If you want to make it more educational, you can put the minutes that correspond to each of the time counts (that is, one corresponds to five minutes, two to ten ...) And put them before the number of hours in Yes.
3. Fingerprint
A very simple kind of craft that can be made tremendously original and fun. It is based on the impregnation of the child’s hands or feet (and us, if we do something together) and creates some kind of composition on a sheet of paper. Later it is possible to add various additions to the handprint, which can make trees or animals, for example.
4. Macaroni beads
Probably one of the most typical and simple arts, but equally entertaining. A packet of macaroni, paint, and thread is enough. The child can paint the way they want each of the macaroons to be part of the necklace, and he will insert them into a thread. If we ever want, we can add another type of element. When finished it is necessary to tie a knot to close it.
5. Paper puppets
Cardstock, glue, tape, scissors, paper, and markers are the materials needed to make a simple version of paper puppets.
First, we will take a piece of paper and fold it in half, so that later we will tape it together. We will fold the ends back inside, in the middle of the folded sheet. From the middle where we join both ends, refold in the opposite direction. We can now open both ends and place it in our hand, so it is possible to open and close the proto-puppet as if it were a mouth.
6. Small notebook
Another craft that stands out except for having some practical use is the manufacture of one or more notebooks. For this, the leaves and glue are enough, though we can also use some cardboard and markers.
The procedure is fairly simple: it involves taking a sheet of paper and folding it in half and then folding it again in half but the opposite direction. With these folds made and marked, we will present the paper and see how we have a total of four folds, which we will cut.
7. Cardboard masks
It's enough with cardboard, scissors, cardboard, markers, an elastic band, and a lot of imagination. We can download some kind of specific model to use as a template.
The first thing to do is to measure the approximate size of the head and transfer that size to the carton. We should measure the distance between the eyes of the person wearing it and use it to produce two holes where it can be seen.
8. Author's shirt
This last craft we will suggest is pretty simple as well. The main and main element is a preferably simple T-shirt, in a single color. From here we can use different paints like tempera, to give it the personality we want. Also, we can set it to a specific theme, such as nature or beach.
9. Paper flowers
Making paper flowers is pretty easy to do. In this case, we will make some roses.
To get started we cut the paper into rectangular pieces, and proceed to roll them on their own forming a small cone, and glued the final part to fix it. We will do the same with pieces of different sizes, placing some cones inside others and gluing them together.
After that, we can proceed to insert it into a long toothpick, which we will then put in the green, and we can also cut one or more leaves for the flower on the green cardboard, which we will hang on the toothpick. If we have a polystyrene sphere and we make a lot of roses, we can glue it to the roses and form a bouquet (which we will wrap with suitable paper).


Sign in to leave a comment.