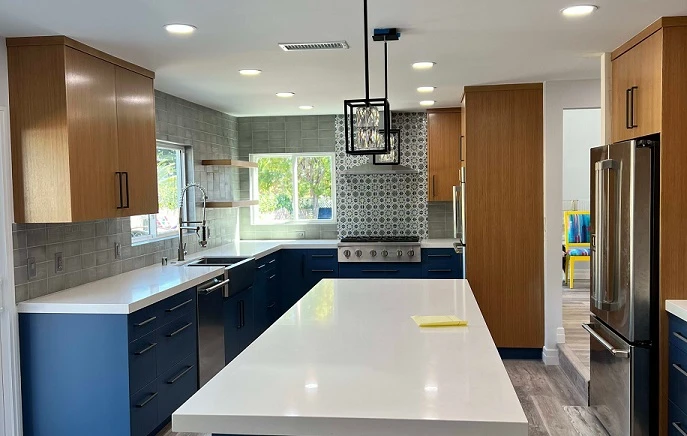

When it comes to kitchen renovations or new construction, installing a safe and efficient electrical system is crucial. The kitchen is the heart of the home, and having a well-designed electrical setup is essential for powering appliances, providing ample lighting, and ensuring the smooth operation of all kitchen functions. In this article, we will provide a comprehensive step-by-step guide about kitchen electrical system installation in California in order to help you confidently navigate.
Step-by-Step Guide You May Consider During Kitchen Electrical Installation
Step 1: Plan and Design Before diving into any electrical work, creating a detailed plan and design for your kitchen electrical system is essential. Consider the location of major appliances, lighting fixtures, and outlets. Determine the electrical load requirements for each area to ensure your system can handle the power demands.
Step 2: Safety should be your top priority during any electrical installation. Before starting work, make sure to turn off the main electrical supply to your kitchen. Invest in safety equipment such as insulated gloves, goggles, and a voltage tester to protect yourself from electrical hazards. If you're unsure about any aspect of the installation, it's advisable to consult a licensed electrician.
Step 3: Begin the installation process by positioning and installing electrical outlets and switches. Install GFCI (Ground Fault Circuit Interrupter) outlets near water sources, such as the sink and countertop areas, to prevent electrical shocks. Consider the number and placement of outlets to ensure convenient access for your kitchen appliances and devices.
Step 4: Proper wiring is critical to ensure a safe and efficient electrical system. Use appropriate wiring materials, such as non-metallic sheathed cable (NM cable), and follow the recommended wire gauge for different circuits. Organize the wiring neatly, avoiding contact with sharp edges or heat sources. Install circuit breakers or fuses in the main electrical panel to protect against overloads.
Step 5: Good lighting enhances both functionality and aesthetics in the kitchen. Consider using energy-efficient LED bulbs to reduce energy consumption. Ensure proper placement of light switches for easy access and convenience.
Step 6: Inspecting the entire electrical system thoroughly is crucial after completing the installation. Check for any loose connections, exposed wires, or potential hazards. Test all outlets, switches, and appliances to ensure they are functioning correctly. If necessary, consider having a professional electrician perform a final inspection to ensure compliance with local regulations.
Conclusion
Installing a kitchen electrical system may seem daunting, but following a step-by-step approach, you can successfully complete the project while prioritizing safety and efficiency. Remember to plan carefully, adhere to local codes, and consult professionals whenever needed. No matter whether you need to install an electric vehicle charger or additional appliances to the kitchen, EV charger installation services in Thousand Oaks enable you to meet all your kitchen appliance needs. A well-designed and properly installed kitchen electrical system will not only provide reliable power but also enhance the functionality and ambiance of your culinary space.



























Sign in to leave a comment.