 Microsoft 365 (formerly called Office 365) is the best solution for any professional. Other than enhanced email communication, Office 365 comes with several worthwhile applications that make daily activities quicker.
Despite all the limitations in the Outlook application, Mac users normally move on to Office 365. Since it allows a user to use all the cloud-based features and allows easy access to your emails.
In this paper, I am going to discuss the simplest techniques to move from OLM to Office 365. Keep reading!
Benefits of Migrating from OLM to Office 365
- You can access your emails, attachments, and other files from any device connected to the internet.
- With a single subscription to Office 365, you get several pre-integrated applications. These applications include but are not limited to Word, Excel, PowerPoint, Teams, SharePoint, and One drive.
- State-of-the-art security with updates coming in frequently.
- Office 365 is very affordable for organizations as it operates on a subscription model.
- A dedicated support team is available 24*7 to resolve all your problems.
- Office 365 is secure and has options for data backup and recovery.
Step-by-Step Instructions to Migrate OLM to Office 365
You cannot directly upload the OLM file to your Office 365 account if you have one on your computer. That\'s where professional migrating software is the best option. But, for your continuation, you can proceed with the manual solution.
So, to make it easier for your understanding, I have divided the entire process of the manual solution into three easy phases.
First, import your OLM file into Outlook for Mac.
This step is all about importing your OLM file into your Outlook account. If your OLM file is already linked to the Outlook profile, then you can proceed to the next step.
- Open the Outlook app on your Mac device.
- Click the "File" menu in the top left corner of the dashboard. A drop-down menu will appear. From that, select the "Import" option.
- Select "Outlook for Mac archive file (.olm)" in the "Import" wizard and click the "Continue" button.
- Afterward, select your OLM file and click the "Import" option.
- Finally, check the import status. The size of your OLM file may affect how long the import procedure takes.
Now, once this import process is done, all data, including emails, attachments, and others, will be visible in your Outlook account. The final step of checking the import status can be done. The size of your OLM file is going to impact how much time an import procedure may take. After the import process is completed, all the data, whether it be emails, attachments, etc., will come to your fingertips in your Outlook account.
Step 2: Connect the Office 365 email account to Outlook.
Make sure you have all the Microsoft 365 sign-in details before proceeding.
- Using the Outlook dashboard, click "Tools" from the upper right corner of your window, then select the "Accounts" button from the dropdown.
- Click the plus icon (+) on the "Accounts" wizard and select the "New account" option.
- This will open the "Set up your email" wizard. In this wizard, provide your Microsoft 365 email address and click the "Continue" button.
- Insert your Microsoft 365 password and click the "Sign in" button.
Note: Sign-in might vary based on the Outlook version.
Step 3: Move emails to the Office 365 folder.
After you configure the OLM file with Outlook and log in to your Office 365 account, you only need to copy and paste your emails from one folder to another.
- Open an existing folder in Outlook for Mac and select all the emails you are about to get. Then right-click and copy the email.
- Open any folder from under your Office 365 email address. You can even create a new folder and paste the emails in that folder. You can use "Ctrl + V" as a shortcut.
Therefore, you can move your emails from the current folder to your Office 365 folder.
Professional Solution for the Transfer from OLM to Office 365
The TrustVare OLM to Office 365 Converter is a strong and dependable solution that helps in the smooth migration of OLM files to Office 365. This tool provides a smooth transfer of emails, contacts, calendars, and other data elements by keeping them intact while it converts. An interactive user interface will let expert and even non-technical users do the conversion with ease. This software supports batch conversion and allows the user to transfer many OLM files in a single step, thus saving a lot of time and effort. Besides, it creates a replica of the folder hierarchy and does not modify any metadata; hence, it is assuredly free from any loss or corruption of data.
Here are the steps to convert OLM to Office 365.
- First of all, download and install the TrustVare OLM to Office 365 Converter Software from the official website.
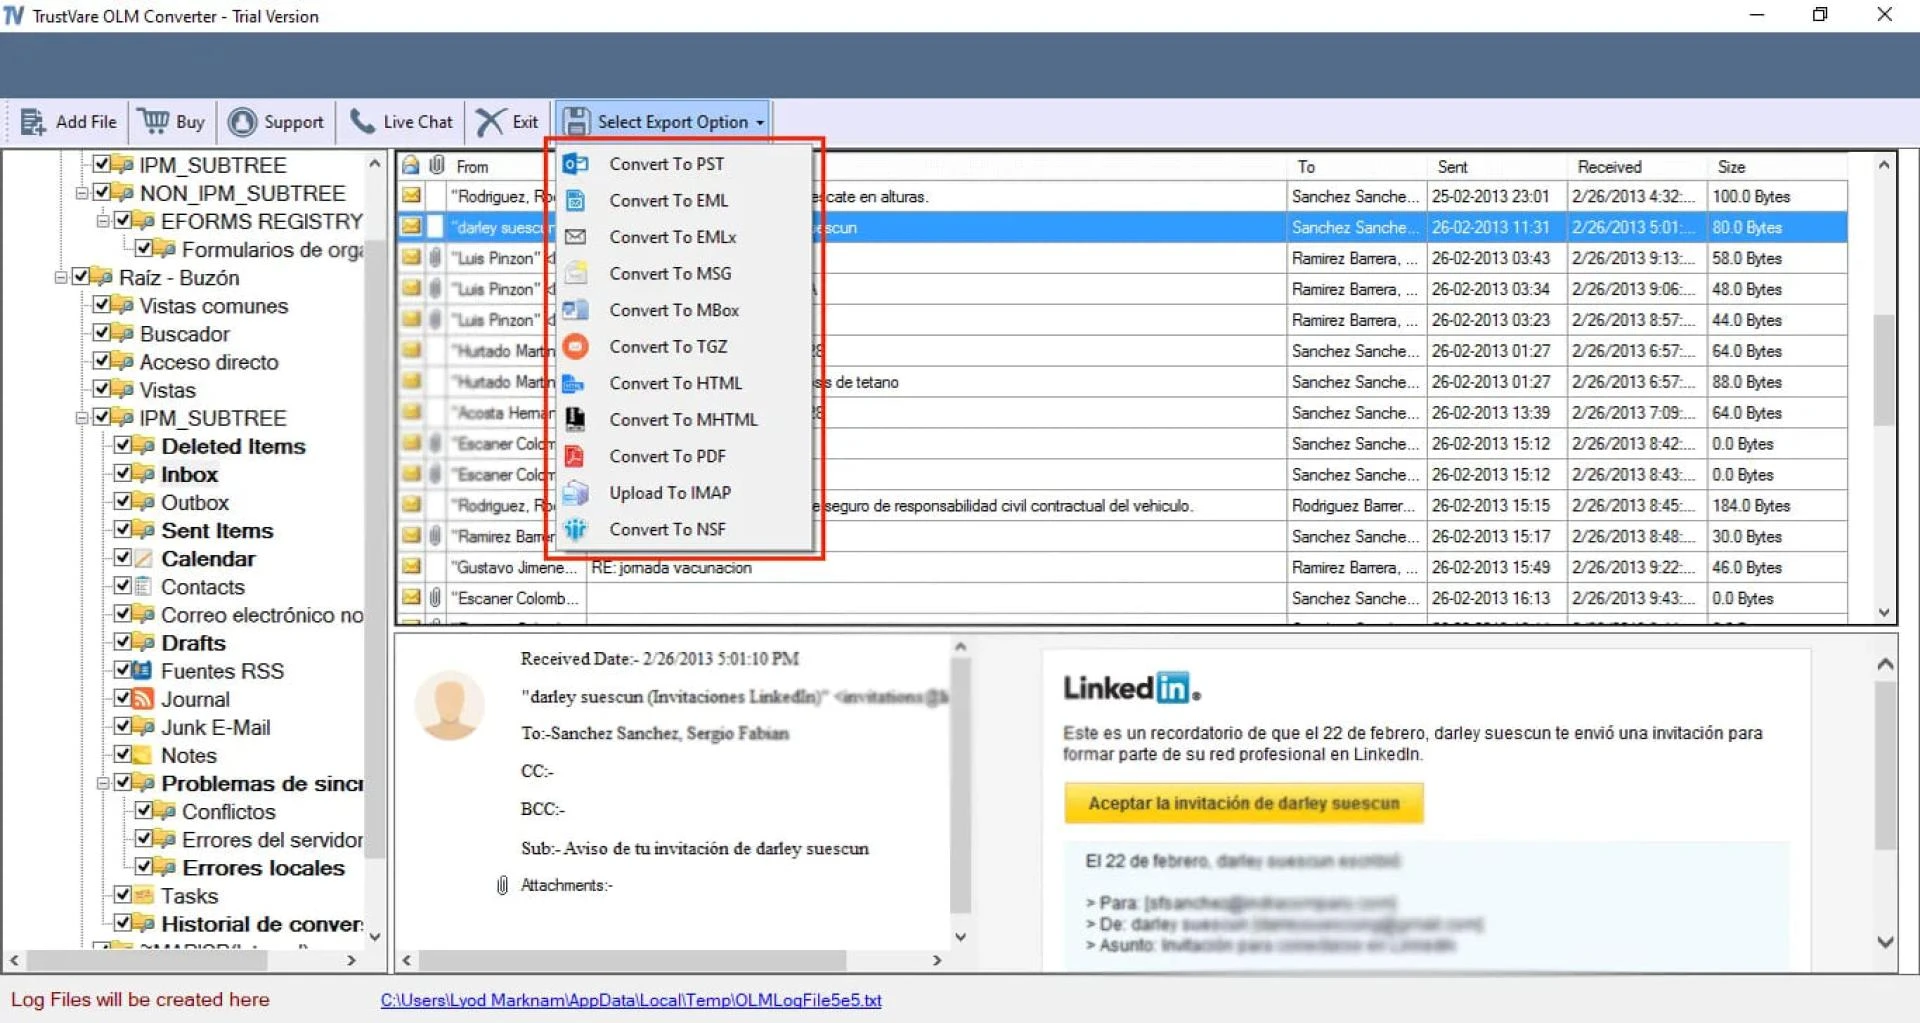
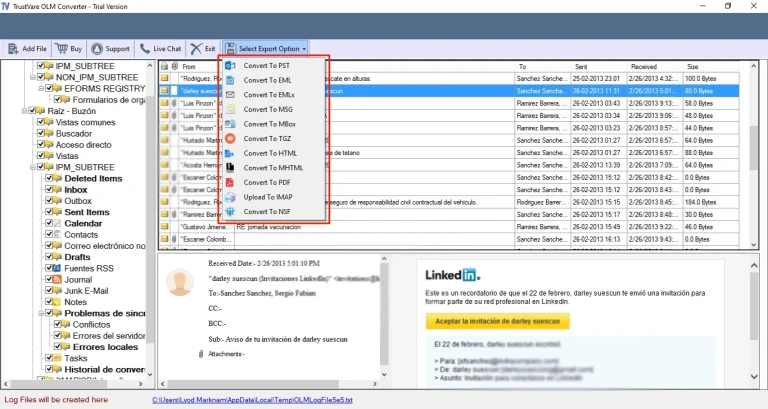
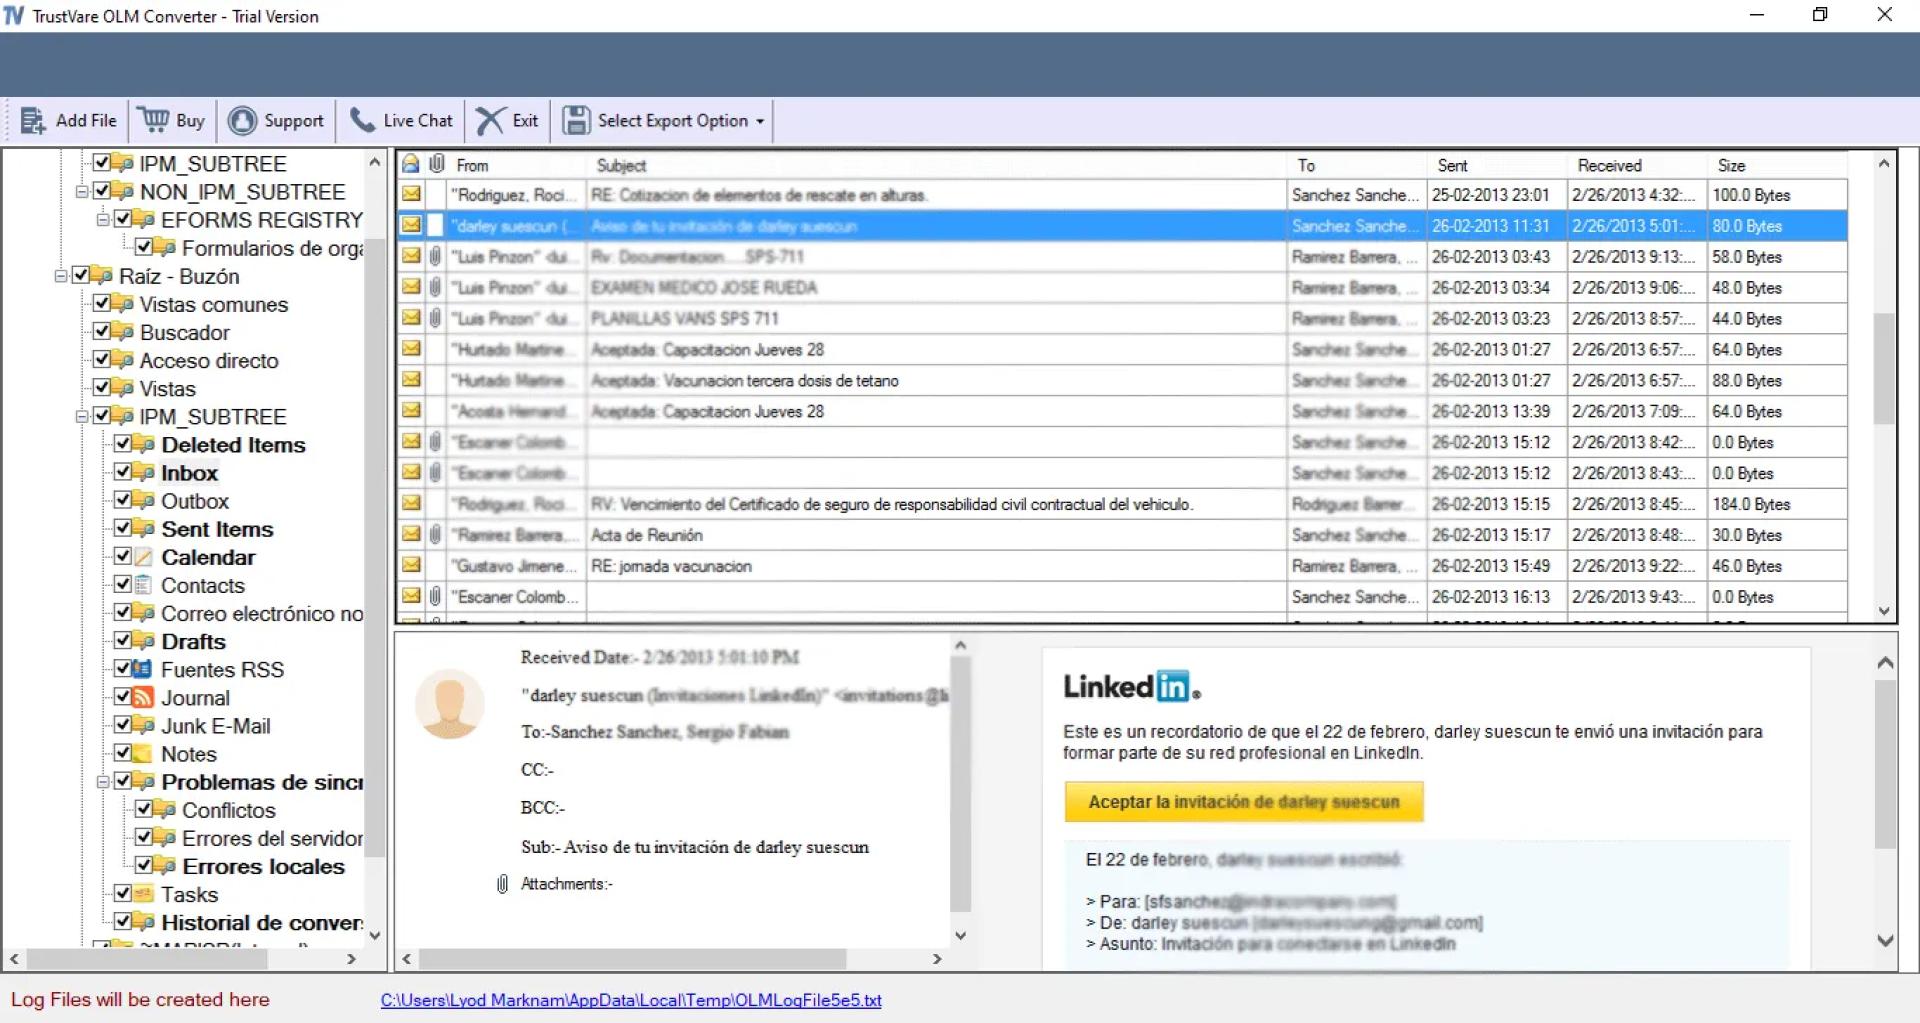
- Now add your OLM file. It will start scanning and previewing all the available folders.
- Select any particular folders or the full mailbox that you want to transfer.
- Then start the migration process by clicking on the Export button.
- In case of a successful migration, all those emails will turn up in your selected folders in the Office 365 inbox. You can check and verify it.
Conclusion
Mac users often need to migrate existing emails from Outlook OLM into Office 365 accounts. Since it lets you carry out everyday email conversations professionally.
You can either use the manual or an automated method to get your emails perfectly. However, the manual one is not suggested for non-technical people at all. Overall, I believe that using the OLM to Office 365 transfer software is the best. It will save you time and effort.


Sign in to leave a comment.