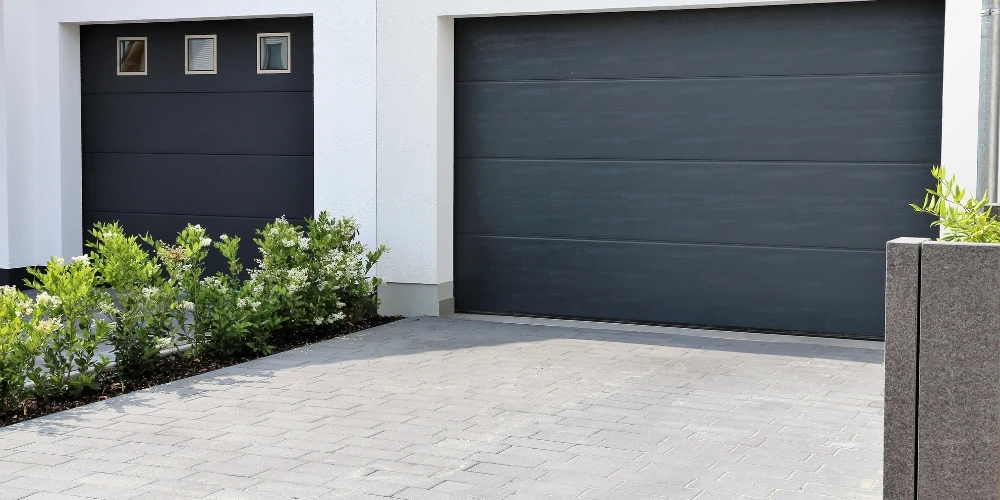
Garage door sensors are a crucial safety feature that ensures smooth and reliable operation. These small but essential devices prevent the door from closing if they detect an obstruction in its path, helping to protect people, pets, and valuable belongings from accidents or damage. They work by sending an infrared beam across the opening—if something interrupts the beam, the door will automatically stop or reverse its movement.
However, like any mechanical or electrical component, garage door sensors can develop issues over time. When they malfunction, your garage door may refuse to close completely, stop working intermittently, or even get stuck in an open position. These problems can be frustrating and may leave your home vulnerable to security risks, weather exposure, and inconvenience.
1. Check for Obstructions
Garage door sensors work by sending an infrared beam across the door's path. If an object blocks this beam, the door won't close. If your garage door refuses to shut completely, start by checking for obstructions like:
- Leaves or debris
- Toys or tools
- Cobwebs or dust buildup
Clearing any obstacles from the sensor’s path often resolves the issue quickly.
2. Clean the Sensor Lenses
Over time, dirt and dust can accumulate on the sensor lenses, preventing them from working correctly. A dirty lens can interfere with the infrared signal, making the sensors think there's an obstruction when there isn’t.
How to Clean the Sensors:
- Use a soft cloth to wipe the lenses gently.
- If necessary, dampen the cloth with mild soapy water.
- Dry the lenses completely before testing the garage door.
3. Check Sensor Alignment
For the garage door sensors to function properly, they must be perfectly aligned. If they are even slightly misaligned, the infrared beam may not connect properly, causing the door to malfunction.
How to Fix Misaligned Sensors:
- Find the two sensors on either side of the garage door.
- Check if the LED lights on both sensors are on. If one is off or blinking, alignment is likely the issue.
- Loosen the mounting brackets and gently adjust the sensor.
- Use a level tool to ensure the sensors are even.
- Tighten the brackets and test the door operation.
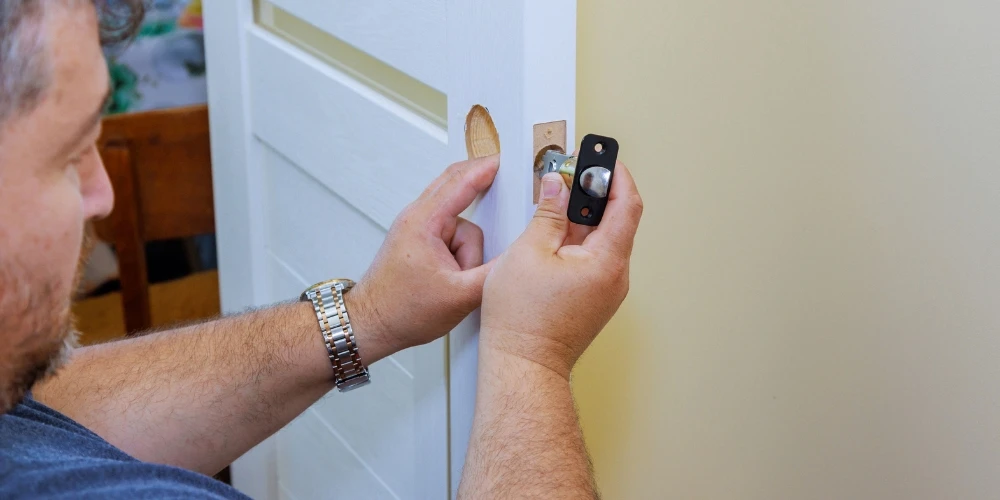
4. Inspect the Wiring
Faulty or disconnected wiring can also cause sensor issues. The sensors rely on a steady electrical connection to function properly.
Steps to Check Wiring:
- Inspect the wires for fraying or disconnections.
- Look for loose connections at the power source or control panel.
- If you notice damaged wires, consider replacing them or calling a professional.
- Secure any loose wires to prevent further damage.
5. Test the Power Supply
If your garage door sensors are not receiving power, they won’t function at all. Check the power supply by:
- Ensuring the garage door opener is plugged in.
- Checking your home’s circuit breaker for a tripped switch.
- Replacing dead batteries in wireless sensors if applicable.
- Reset the garage door opener by unplugging it for a few minutes before plugging it back in.
6. Adjust Sensor Sensitivity
Some garage doors have adjustable sensitivity settings that affect how the sensors respond. If the door is closing when it shouldn't or refusing to close when there's no obstruction, the sensitivity may need adjusting.
How to Adjust Sensitivity:
- Locate the sensitivity adjustment knobs on the garage door opener.
- Turn the knob slightly in small increments and test the door after each adjustment.
- Refer to your garage door manual for specific sensitivity settings.
7. Reset the Sensors
Sometimes, resetting the garage door sensors can resolve unexpected issues.
Steps to Reset:
- Turn off the electric garage door opener.
- Disconnect the sensors from the power source.
- Wait a few minutes before reconnecting them.
- Restart the electricity and test the door.
8. Replace Faulty Sensors
If you've tried all the troubleshooting steps and the sensors still don't work, they may be damaged beyond repair. In this case, replacing them is the best solution.
How to Replace Garage Door Sensors:
- Purchase new sensors compatible with your garage door model.
- Disconnect the faulty sensors and remove them from the brackets.
- Attach the new sensors and align them properly.
- Secure the wiring and test the garage door to ensure functionality.
9. Call a Professional
A skilled technician can inspect the sensors, identify the root cause of the malfunction, and provide a long-term solution to ensure your garage door operates smoothly and safely.
If you're dealing with a Garage Door Fix in Hollywood, hiring a professional service is the most efficient way to get the job done right. Trained experts have the necessary tools and expertise to handle complex sensor issues, whether it’s faulty wiring, damaged sensors, or alignment problems. Additionally, professionals can check for any underlying issues that might be affecting your garage door’s performance, preventing further breakdowns in the future.
Conclusion
Garage door sensor problems can be frustrating, but the good news is that most issues can be resolved with simple troubleshooting. Whether it’s cleaning the lenses, adjusting alignment, or checking the wiring, these steps can help restore your garage door’s functionality and ensure smooth operation. Ignoring sensor issues can lead to bigger problems, such as a garage door If you’re dealing with recurring sensor issues or need a Garage Door Fix in Hollywood, expert assistance might help you save time and avoid costly mistakes.
For expert repairs and reliable solutions, trust Garage Door Pros to get your garage door back in perfect working condition. Whether it’s a minor sensor adjustment or a complete Garage Door Fix in Hollywood, their experienced team is equipped to handle the job with precision and professionalism.


Sign in to leave a comment.