
A Clean Install QuickBooks Desktop is essential when experiencing persistent software problems, corrupted files, or preparing to upgrade to a new version. Understanding how to perform a Clean Install QuickBooks Desktop safely ensures your data remains protected while eliminating installation corruption. Many QuickBooks issues resolve completely through a proper clean installation process. This comprehensive guide walks through every step of performing a Clean Install QuickBooks Desktop without risking your valuable financial data.
Understanding Clean Install QuickBooks Desktop
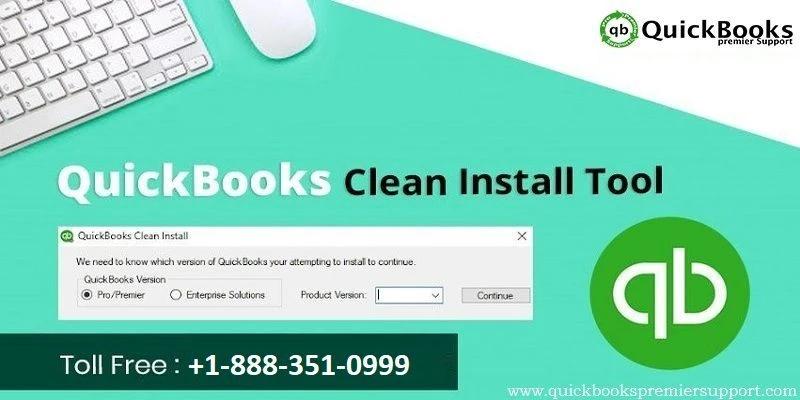
What is a Clean Install QuickBooks Desktop?
A Clean Install QuickBooks Desktop involves completely removing all QuickBooks files from your computer and then installing fresh software from scratch. This differs from repair installations that fix corrupted components. Clean Install QuickBooks Desktop eliminates accumulated corrupted files and system conflicts. A proper Clean Install QuickBooks Desktop removes registry entries, temporary files, and application components. This thorough approach resolves issues that simple repairs cannot fix. Clean Install QuickBooks Desktop provides a fresh start when the application becomes unstable.
Clean Install QuickBooks Desktop is particularly valuable when experiencing persistent errors that repair utilities cannot resolve. If QuickBooks error 12031 or QuickBooks Error 12002 persist despite repair attempts, Clean Install QuickBooks Desktop often provides permanent resolution. For guidance on whether Clean Install QuickBooks Desktop is appropriate for your situation, contact our support team at +1(800) 780-3064 available 24/7.
When to Perform a Clean Install QuickBooks Desktop
Clean Install QuickBooks Desktop becomes necessary after failed repair attempts or persistent crashes. Corrupted installations that cannot be repaired require Clean Install QuickBooks Desktop. Major version upgrades benefit from Clean Install QuickBooks Desktop for optimal performance. If QuickBooks Already Has a Company File Open errors persist, Clean Install QuickBooks Desktop may be necessary. Persistent QuickBooks Merchant Service Not Working often resolves through Clean Install QuickBooks Desktop. Understanding when Clean Install QuickBooks Desktop is needed helps you decide if this process is appropriate.
Preparation for Clean Install QuickBooks Desktop
Back Up Your Data
Before performing Clean Install QuickBooks Desktop, create comprehensive backups of all company files. Export your QuickBooks data to ensure you have recovery options. Save backup files to external storage devices. Multiple backup copies protect against accidental data loss during Clean Install QuickBooks Desktop. Verify backups are readable before proceeding with the clean installation.
Document Your Settings
Document QuickBooks preferences, user accounts, and custom settings before Clean Install QuickBooks Desktop. Note which add-ins and integrations you use. Record your user permissions configuration. Screenshot key settings for reference during Clean Install QuickBooks Desktop. This documentation helps restore your configuration after the clean installation completes.
Gather Installation Materials
Obtain your QuickBooks license number and product key for Clean Install QuickBooks Desktop. Download the latest QuickBooks installation file from the official website. Ensure you have a reliable internet connection for Clean Install QuickBooks Desktop. Have your product key available before beginning the clean installation process. If QuickBooks Error 15103 previously appeared, ensure you have complete installation media for Clean Install QuickBooks Desktop.
Step-by-Step Clean Install QuickBooks Desktop Process
Step 1: Complete Uninstallation
Open Control Panel and select Programs and Features. Find all QuickBooks entries and uninstall them completely. Restart your computer after uninstallation. This first step of Clean Install QuickBooks Desktop removes the main application. Restarting ensures system files release all QuickBooks locks.
Step 2: Remove Remaining Files
Delete remaining QuickBooks folders from Program Files directory. Remove QuickBooks entries from AppData folder. Delete temporary QuickBooks files from Windows temp folder. Clean Install QuickBooks Desktop requires thorough file removal to prevent conflicts. Manual file deletion ensures Clean Install QuickBooks Desktop starts completely fresh.
Step 3: Clean Registry Entries
Open Registry Editor by typing regedit in the search box. Search for QuickBooks entries carefully. Delete QuickBooks-related registry keys. Be cautious during Clean Install QuickBooks Desktop registry editing as errors can cause system problems. Use registry backup features before making changes. Proper registry cleaning prevents Clean Install QuickBooks Desktop conflicts.
Step 4: Restart Your Computer
Restart your computer completely after file and registry removal. This ensures all QuickBooks processes terminate completely before Clean Install QuickBooks Desktop. A full restart clears system memory of QuickBooks references. Allow several minutes for complete startup. Proper restart preparation ensures Clean Install QuickBooks Desktop success.
Step 5: Install Fresh QuickBooks
Download the latest QuickBooks installation file from the official website. Run the installer as Administrator. Follow all installation prompts carefully without skipping steps. Enter your product key when requested. Complete Clean Install QuickBooks Desktop installation fully. Allow system restart if the installer requests it.
Step 6: Restore Your Data
Open QuickBooks and restore your company file from the backup you created. Verify all your data restored correctly. Test key functions to ensure Clean Install QuickBooks Desktop completed successfully. Restore custom settings and preferences from your documentation. Contact support at +1(800) 780-3064 if your backup doesn't restore properly during Clean Install QuickBooks Desktop.
Verification and Testing
Testing Basic Functionality
After Clean Install QuickBooks Desktop, test opening your company file. Verify you can create new transactions. Test report generation to ensure calculations work properly. Open different modules like payroll or invoicing. Testing after Clean Install QuickBooks Desktop confirms the installation is complete and functional.
Checking for Previous Error Resolution
Test operations that previously caused errors to verify Clean Install QuickBooks Desktop resolved the problems. If errors previously appeared, perform those same operations now. Success indicates Clean Install QuickBooks Desktop addressed the underlying issue. If previous errors still occur, additional troubleshooting may be needed after Clean Install QuickBooks Desktop.
Performance Monitoring
Monitor QuickBooks performance for the first few days after Clean Install QuickBooks Desktop. Watch for any unusual behavior or recurring crashes. Ensure Clean Install QuickBooks Desktop improved stability. Most users notice significant performance improvement after Clean Install QuickBooks Desktop. If Clean Install QuickBooks Desktop doesn't improve performance, professional support may be needed.
Post-Installation Configuration
Restore Custom Settings
Use your documented settings to restore custom preferences after Clean Install QuickBooks Desktop. Configure user accounts and permissions. Reinstall necessary add-ins and integrations. Restore custom templates and forms. Proper post-installation configuration ensures Clean Install QuickBooks Desktop results in your original working environment.
Update QuickBooks
Check for QuickBooks updates after Clean Install QuickBooks Desktop. Go to Help menu and select Check for Updates. Install all available updates and patches. Updates after Clean Install QuickBooks Desktop ensure you have the latest fixes and security patches. Restart QuickBooks after installing updates.
Schedule Regular Backups
Set up automatic backups after Clean Install QuickBooks Desktop to prevent future data loss. Configure daily backup schedules. Store backups securely. Regular backups protect your data should issues develop after Clean Install QuickBooks Desktop. Automatic backups ensure consistent data protection.
Frequently Asked Questions
Will Clean Install QuickBooks Desktop delete my data?
No, Clean Install QuickBooks Desktop removes the application but not your company files if properly backed up. Your financial data remains safe if you back up before the clean installation.
How long does Clean Install QuickBooks Desktop take?
Clean Install QuickBooks Desktop typically takes 1-2 hours including preparation, removal, and fresh installation. Full removal and file cleanup may require additional time.
Can you do Clean Install QuickBooks Desktop yourself?
Yes, most users can perform Clean Install QuickBooks Desktop by following proper steps carefully. However, registry editing requires caution. If uncomfortable with the process, professional support is available.
Should you restart after Clean Install QuickBooks Desktop?
Yes, always restart your computer after Clean Install QuickBooks Desktop and after installing updates. Restarting ensures all system changes take effect properly.
What if problems occur during Clean Install QuickBooks Desktop?
Stop immediately and contact support at +1(800) 780-3064 if unexpected issues occur during Clean Install QuickBooks Desktop. Professional support can help resolve problems safely.
Clean Install QuickBooks Desktop is a powerful solution for resolving persistent software problems. Follow the comprehensive steps in this guide for a safe, successful clean installation. If you need assistance with any step or encounter issues during Clean Install QuickBooks Desktop, our expert support team is available 24/7 at +1(800) 780-3064 to help you complete the process safely.


Sign in to leave a comment.