Installing a new roof is one of the most important home improvement projects you can undertake. Whether you’re replacing an old roof or installing a new one on a newly constructed property, a smooth and successful roof installation ensures the long-term protection and durability of your home. 🏠🌧️
However, a roof installation can be a complex process that requires careful planning and attention to detail. In this article, we provide a complete roof installation checklist to help you ensure everything goes according to plan and your new roof provides the protection you need.
1. Choose the Right Roofing Material 🏗️💡
The first and most important step in roof installation is choosing the right roofing material. The type of material you choose will affect not only the aesthetic of your home but also its durability, energy efficiency, and cost. Below are some common options to consider:
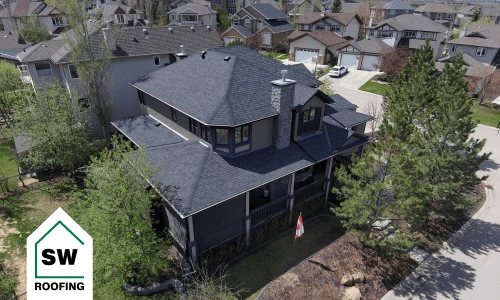
- Asphalt Shingles: The most common roofing material, affordable, and comes in a wide variety of styles and colors. Ideal for residential homes and provides good protection against the elements.
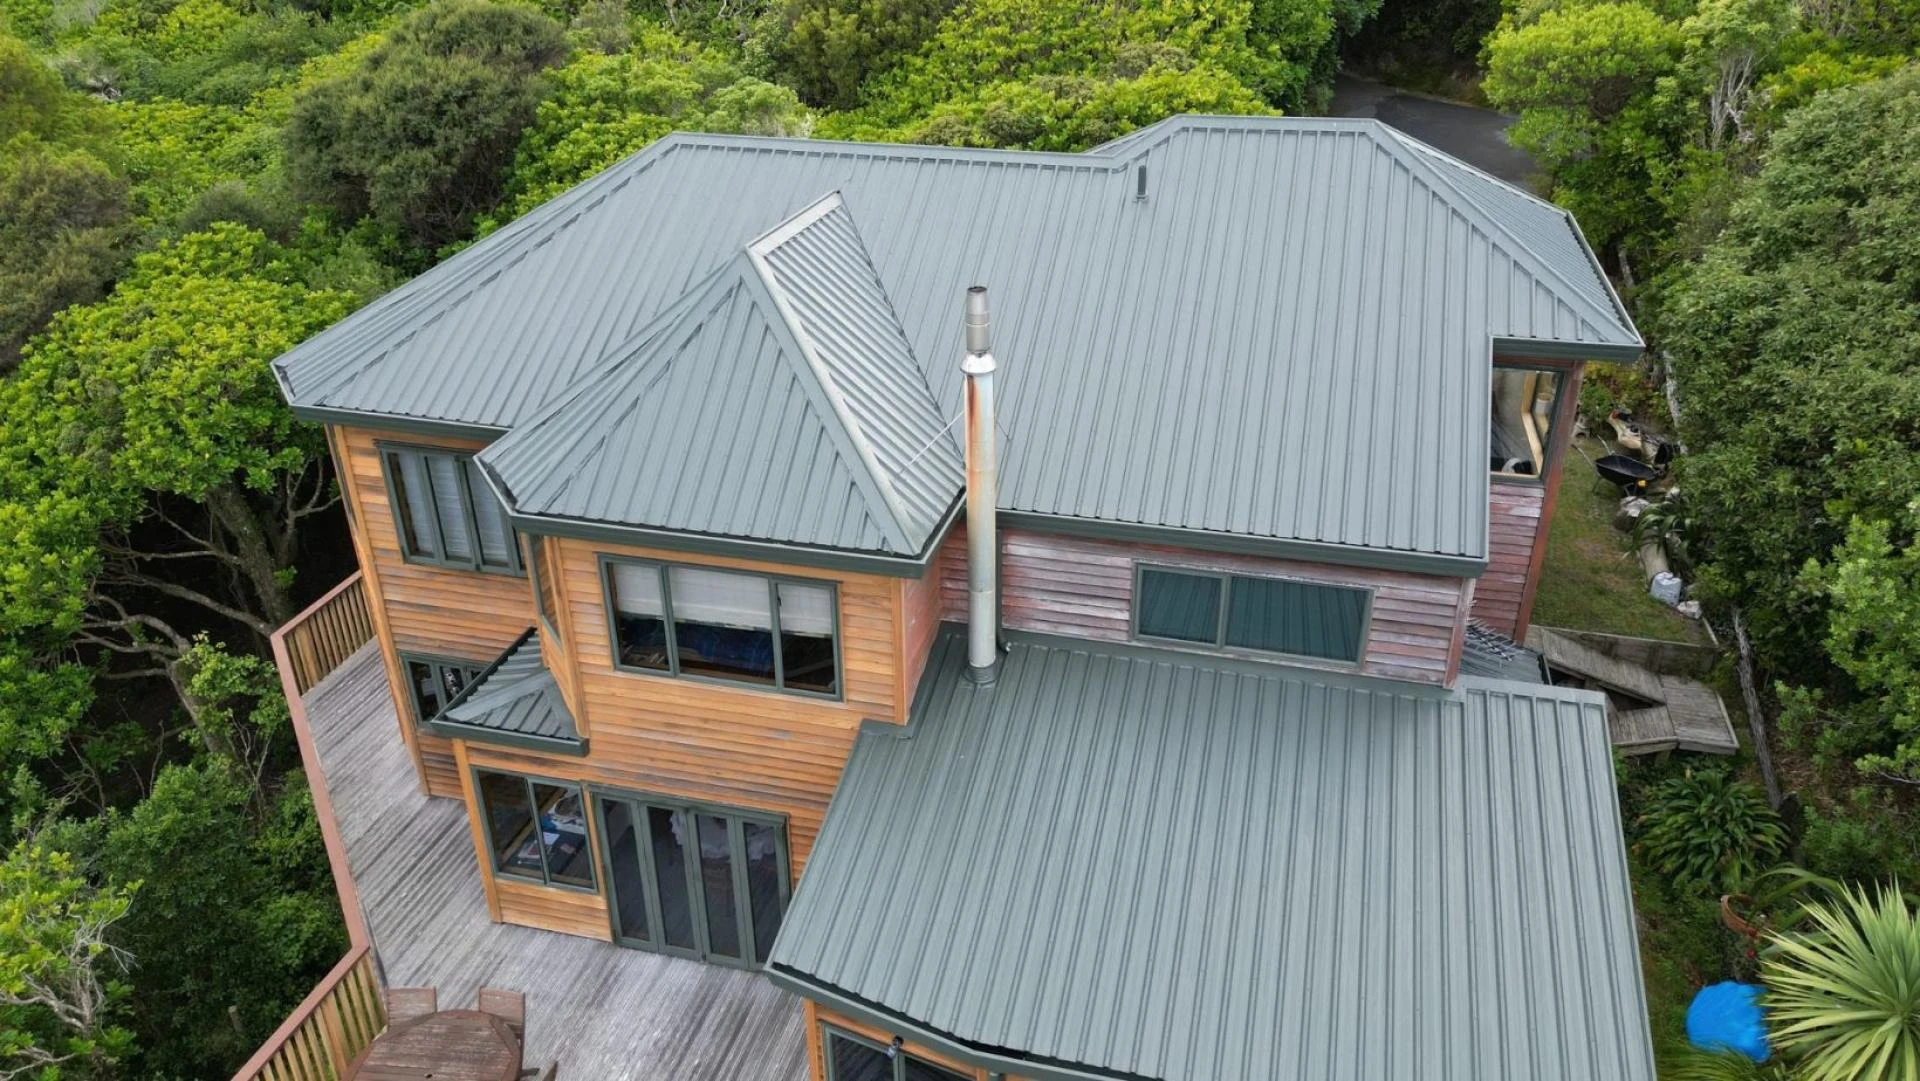
- Metal Roofing: A durable and energy-efficient option, ideal for homes in areas that experience extreme weather, such as high winds and heavy rain. 🌪️
- Clay or Concrete Tiles: Known for their durability and aesthetic appeal, tile roofs are great for warmer climates and homes with a Mediterranean style. They are heavy and may require additional structural support.
- Wood Shingles or Shakes: These offer a natural look and excellent insulation but require more maintenance over time, especially in areas prone to humidity.
- Slate or Synthetic Slate: A long-lasting and premium option, offering a classic aesthetic, though it tends to be more expensive and heavy.
Before deciding, consult with a roofing contractor from Kustom Roofing to ensure the material is suited to your local climate and building regulations. 🧑🔧
2. Hire a Professional Roofing Contractor 👷♂️🔧
Once you’ve selected your roofing material, the next critical step is to hire a professional roofing contractor. While DIY roof installation is possible for experienced individuals, hiring a reputable and experienced contractor ensures the job is done correctly and safely.
- Research Roofing Companies: Look for contractors who are licensed, insured, and have positive reviews. Check their portfolio for previous roof installations, and ask for references from past clients.
- Get Multiple Quotes: It's always a good idea to obtain at least three quotes from different contractors to compare prices, materials, and timelines. Don’t settle for the cheapest option; focus on the quality of the work and the reputation of the company.
- Ask About Warranties: Reputable contractors will offer warranties on their work. Make sure to ask about the details of the warranty, including the coverage period and what it includes.
- Verify Insurance: Ensure that the contractor has both liability insurance and worker’s compensation insurance to protect you in case of an accident during the installation process.
Hiring the right contractor ensures a smooth installation and avoids costly mistakes. 🛠️
3. Prepare Your Home for Roof Installation 🏡🧹
Before the installation crew arrives, you’ll need to prepare your home and property for the work ahead. Proper preparation helps ensure the project runs smoothly and reduces the risk of damage to your home and belongings.
- Clear the Area Around Your Home: Move any vehicles, outdoor furniture, and other objects away from the work area to give the crew plenty of space to work safely.
- Protect Your Interior: Roofing projects can be noisy and dusty. Consider covering or removing valuables inside the house, especially in attic spaces, to protect them from debris and vibrations. 🏠💨
- Secure Pets and Children: Roofing work can be dangerous, so keep children and pets indoors or in a safe area while the installation is in progress.
- Ensure Easy Access to the Roof: Clear any obstacles, such as trees or bushes, that might hinder the roofing crew’s ability to safely access your roof.
Proper preparation helps the project proceed smoothly and safely for both the roofing crew and your family. 🌳
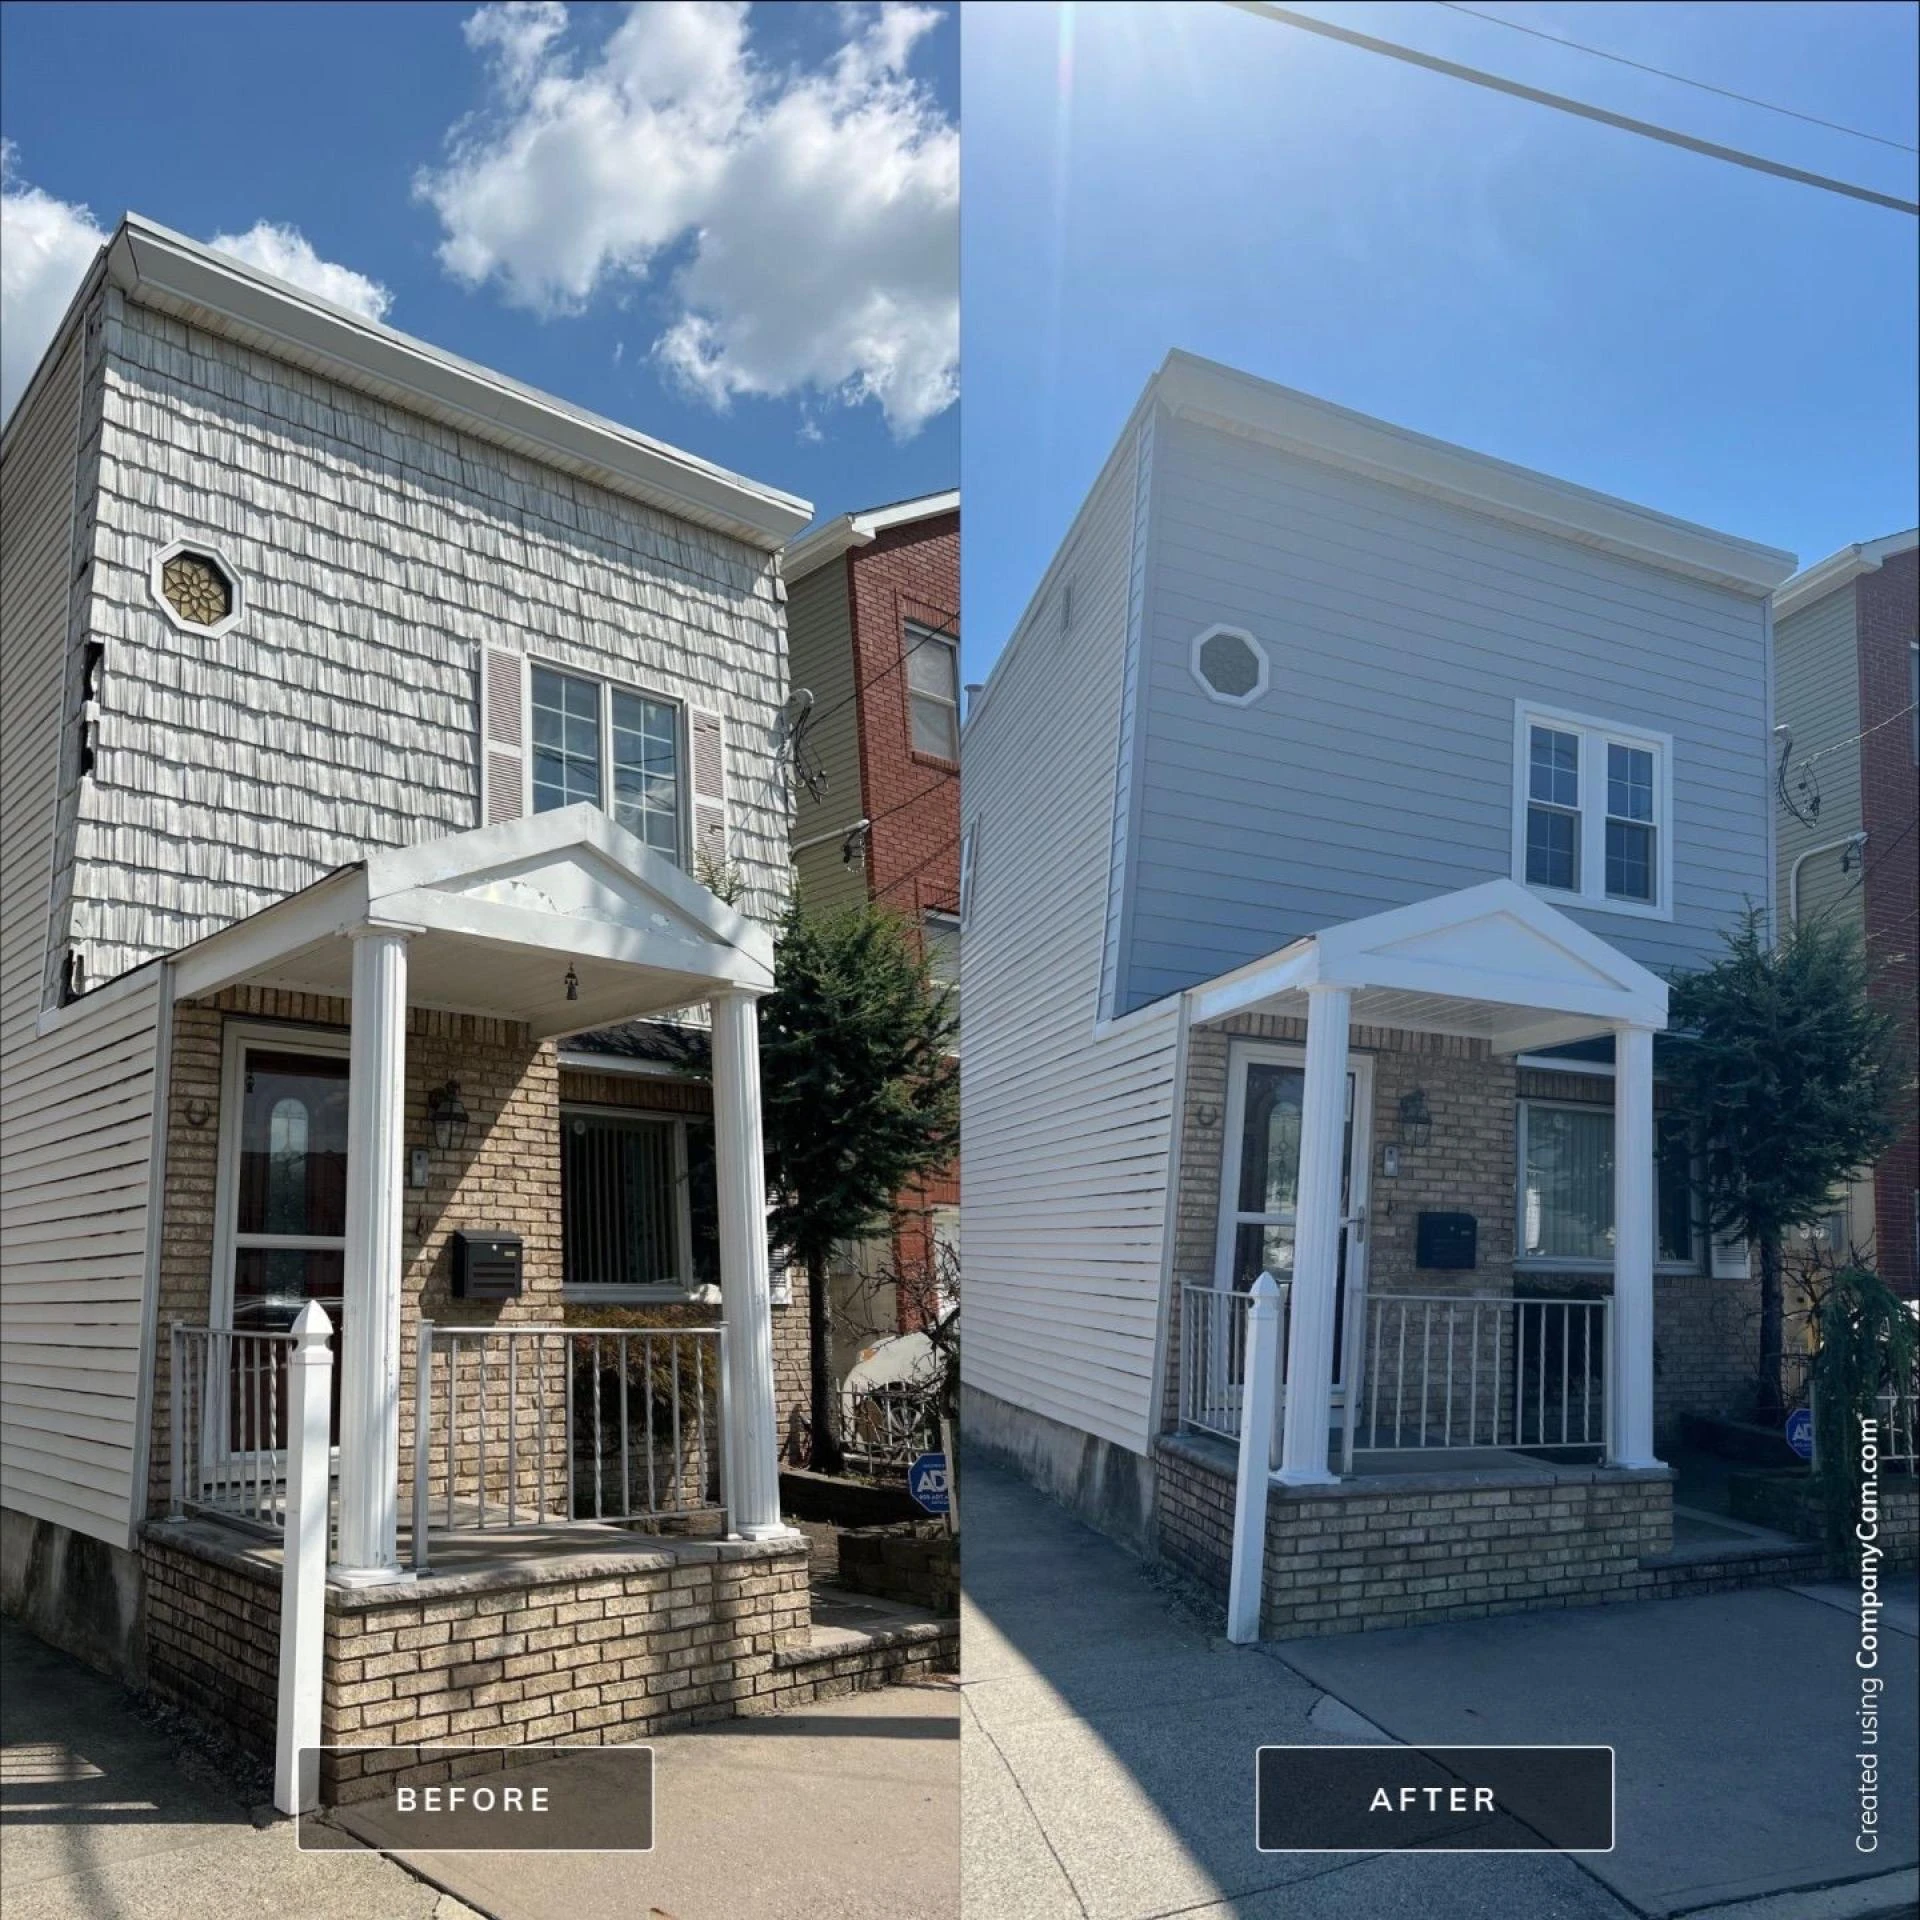
4. Roof Removal and Installation Process 🏚️➡️🏠
When the roofing crew arrives, the first step is usually to remove the old roof (if you’re replacing it). This process can take anywhere from a day to a few days, depending on the size of your roof and the type of materials being replaced.
- Remove Old Roofing Materials: If you’re replacing an existing roof, the crew will start by stripping off the old shingles, tiles, or other roofing materials. This may involve removing nails, underlayment, and flashing.
- Inspect the Decking: After the old materials are removed, the roofing contractor will inspect the roof decking for any damage. If there are areas of rotting wood or damage, they may need to be repaired or replaced.
- Install New Underlayment: Once the roof decking is in good condition, the crew will install a waterproof underlayment to create a barrier between the roof decking and the new roofing material. This layer adds extra protection against leaks and moisture.
- Install New Roofing Materials: The final step is the installation of the new roofing material. This can include laying down shingles, tiles, or metal panels. The crew will follow manufacturer specifications to ensure proper installation and durability.
Make sure to ask questions about the installation process and ensure the contractor is adhering to the highest standards. 🏗️
5. Post-Installation Cleanup and Final Inspection 🧹✔️
After your new roof has been installed, it’s important to conduct a final inspection and cleanup. This ensures that the job is completed to your satisfaction and that no debris or damage has been left behind.
- Inspect the Roof: Take a walk around your property with the contractor to check the new roof. Look for any signs of poor workmanship, such as improperly aligned shingles or exposed nails.
- Check for Leaks: Inspect the attic and interior of your home to ensure no water is leaking through the new roof. This is a good time to check the roof for potential weak spots that need further attention.
- Roof Cleaning: The installation crew should clean up all debris, including old roofing materials, nails, and dust. A professional crew will ensure your property is left tidy and safe. 🔨🧽
- Discuss Maintenance: Ask the contractor about maintenance tips for your new roof. This could include how often to clean gutters, inspect for damage, and what to look for in case of storms or heavy weather.
A thorough post-installation inspection ensures the longevity and quality of your new roof. ✔️
Conclusion: Achieving a Smooth and Successful Roof Installation 🏠
By following this complete roof installation checklist, you can ensure that your roofing project goes smoothly from start to finish. From selecting the right materials and hiring a reliable contractor to preparing your home and overseeing the installation, each step plays a vital role in ensuring a durable, functional, and beautiful new roof. Don’t rush the process—take the time to do it right and enjoy the benefits of a roof that will protect your home for many years to come. 🛡️


Sign in to leave a comment.