In the world of packaging, presentation matters just as much as protection. Custom printed tuck top mailer boxes offer the perfect blend of style, strength, and branding. Whether you're running an e-commerce business or shipping products to stores, these boxes make a big impact.
Let’s break down the journey of these boxes—from the first idea to the final delivery.
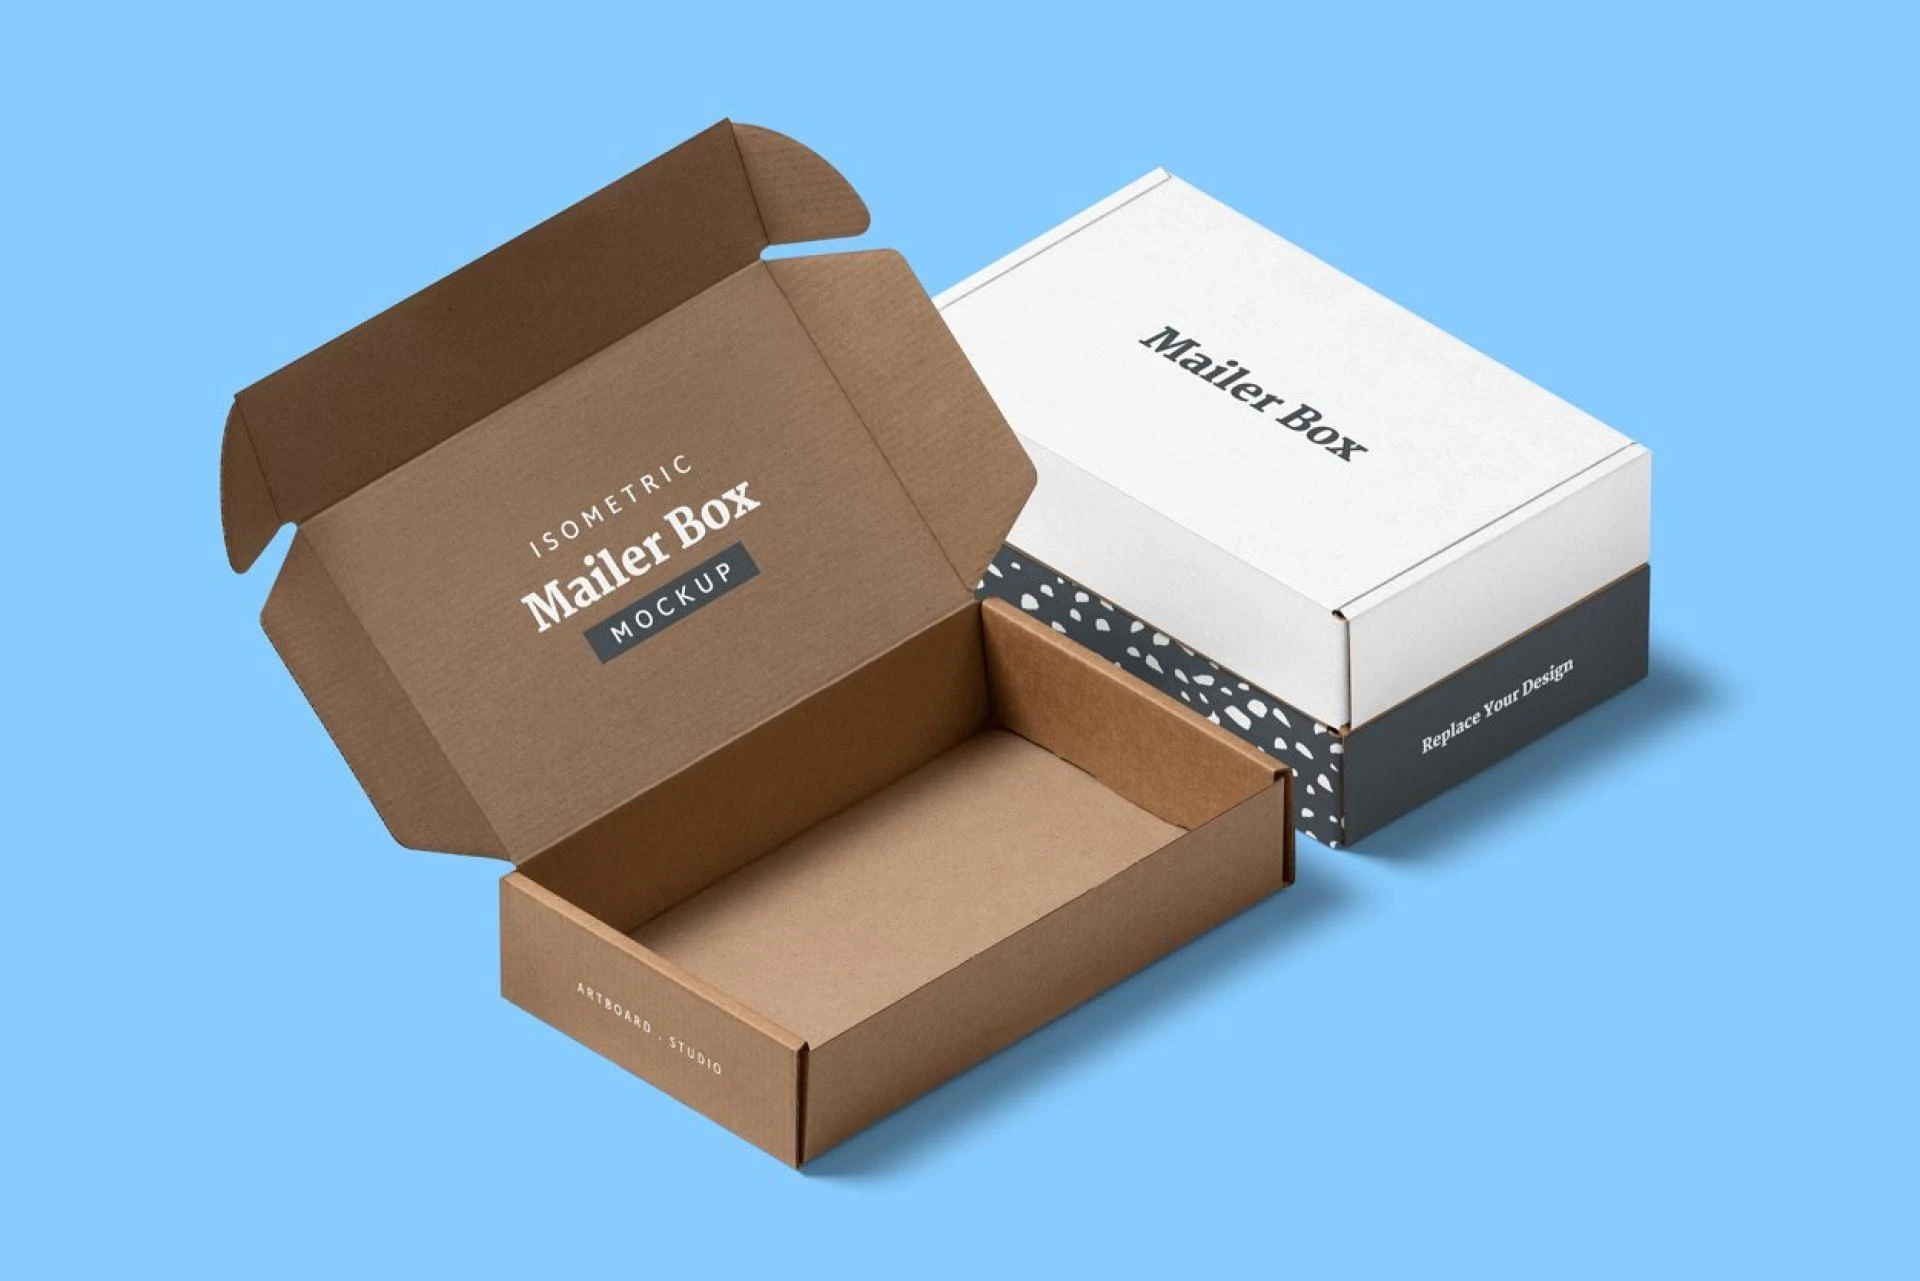
What Are Tuck Top Mailer Boxes?
Tuck top mailer boxes are a type of packaging box with a fold-over top flap that tucks into the front of the box. They are strong, easy to assemble, and ideal for shipping and branding.
Key features:
- Front tuck-in flap for secure closing
- Durable corrugated or cardstock material
- Flat-packed for easy storage
- Can be fully customized with colors, logos, and text
Step 1: Start with a Concept
Before you start making the boxes, you need a clear idea of what you want.
Things to consider:
- Box size: What are you packaging? Small items like cosmetics or larger products like clothing?
- Target audience: Who will receive these boxes? Keep the design appealing to them.
- Brand identity: Colors, logos, and fonts should match your brand.
Tip: Sketch your ideas on paper or use online design tools to visualize your box.
Step 2: Design the Box
Once you know what you want, it’s time to design.
Important design elements:
- Logo placement: Keep your logo visible, usually on the lid.
- Color scheme: Use colors that reflect your brand mood.
- Message or slogan: Add a short, memorable phrase if needed.
- Product info: Include product name or website if useful for the customer.
Most packaging companies offer design templates you can use. Some even provide free design help.
Step 3: Choose Materials and Finishes
Your box needs to look good and be strong enough to protect what’s inside.
Popular materials:
- Cardstock: Best for lightweight items.
- Corrugated cardboard: Strong and perfect for shipping.
Common finishes:
- Matte or gloss coating
- Spot UV for shiny logos
- Embossing for texture
- Foil stamping for a premium look
Step 4: Printing and Production
Once the design is approved, it moves to the production stage.
What happens here:
- The flat sheets are printed with your custom design.
- The boxes are cut, folded, and glued.
- Samples may be created for approval (optional but useful).
- The boxes are flat-packed for delivery.
Production time can vary, usually 7–15 business days depending on quantity and finish.
Step 5: Quality Check and Delivery
Before the boxes are shipped to you, a quality check is done to make sure everything looks right.
Final steps:
- Boxes are counted and packed.
- Delivered to your address, ready for use.
- You fold and assemble them as needed when packing your products.
Benefits of Custom Tuck Top Mailer Boxes
- ✅ Strong and secure for shipping
- ✅ Easy to open and reseal
- ✅ Professional and branded appearance
- ✅ Affordable in bulk
- ✅ Recyclable and eco-friendly options available
Final Thoughts
Custom printed tuck top mailer boxes are more than just packaging—they’re part of your customer’s first impression. From the first concept to the final delivery, every step matters. With the right design and materials, you can create boxes that protect your product and promote your brand at the same time.
Ready to bring your packaging idea to life? Start your custom box journey today with htcustomboxes!


Sign in to leave a comment.