In the world of smoking, aficionados are always on the lookout for new ways to enhance their experience. One trend that's been gaining popularity is the art of crafting your own blunt wraps at home. Not only does this allow for customization, but it also adds a personal touch to your smoking routine. In this guide, we'll delve into the step-by-step process of creating DIY blunt wraps, exploring various techniques, flavors, and the equipment you'll need.
Understanding the Basics: What is a Blunt Wrap?
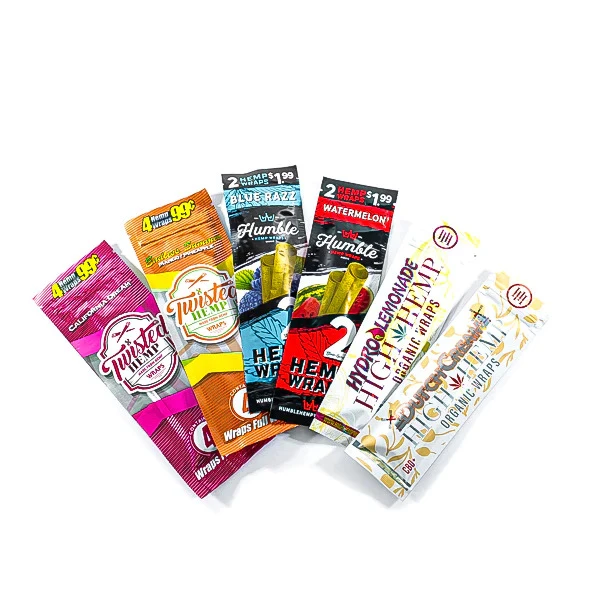
Before we dive into the DIY process, let's establish a common ground. A blunt wrap is essentially a tobacco leaf or a tobacco-based paper that is used to roll cigars and blunts. Unlike traditional rolling papers, blunt wraps tend to be larger, allowing for a more significant amount of tobacco or herbal blend to be rolled.
Why DIY Blunt Wraps?
1. Customization: Tailoring to Your Taste
Crafting your own blunt wraps enables you to customize the flavor and intensity of your smoking experience. Experiment with different types of tobacco leaves and flavor infusions to find the perfect blend that suits your preferences.
2. Cost-Effective Alternative
Purchasing pre-made blunt wraps can be pricey. By opting for the DIY route, you not only save money but also gain a sense of accomplishment from creating something unique.
Getting Started: Essential Tools and Ingredients
1. Tobacco Leaves or Rolling Paper
Choose quality tobacco leaves or rolling paper as the foundation of your DIY blunt wrap. Experiment with different types to discover the one that best complements your chosen smoking material.
2. Flavor Enhancements
Infuse your DIY blunt wraps with flavors that tantalize your taste buds. From fruity extracts to herbal infusions, the possibilities are endless. Make sure to choose flavors that complement the smoking material.
3. Rolling Equipment
Invest in a good rolling tray, grinder, and rolling machine for a smoother and more efficient DIY blunt wrap creation process. These tools will help you achieve a tight and evenly rolled wrap.
Step-by-Step Guide: Crafting Your Own Blunt Wraps
1. Preparation
Gather all your materials and ensure your workspace is clean. Having everything at arm's reach will make the process more enjoyable and efficient.
2. Selecting and Preparing Tobacco Leaves
Choose fresh and pliable tobacco leaves. Trim any excess stems and veins, leaving only the smoothest parts. This step is crucial for achieving a seamless and enjoyable smoking experience.
3. Flavor Infusion
Experiment with different flavor infusions. Whether you prefer the sweetness of fruit or the earthiness of herbs, use a dropper to evenly apply the chosen flavor to the tobacco leaves.
4. Rolling Technique
Mastering the art of rolling is essential. Use a rolling machine or practice the classic hand-rolling method until you achieve a tight, even, and well-sealed blunt wrap.
5. Drying Process
Allow your DIY blunt wraps to dry thoroughly. This not only sets the flavors but also ensures a smooth burn. Patience is key during this step.
Tips and Tricks for the Perfect DIY Blunt Wrap
1. Experiment with Different Flavors
Don't be afraid to mix and match flavors until you find your signature blend. The beauty of DIY blunt wraps lies in the ability to create a personalized smoking experience.
2. Practice Makes Perfect
Rolling can be tricky, especially for beginners. Dedicate some time to practice, and soon you'll be rolling perfect blunt wraps with ease.
3. Store Properly
Keep your DIY blunt wraps in an airtight container to preserve their freshness and flavors. This ensures that each smoking session is as enjoyable as the first.
Conclusion: Elevate Your Smoking Ritual
Crafting your own blunt wraps is not just a practical skill; it's a way to elevate your smoking ritual. From choosing the perfect tobacco leaves to infusing unique flavors, the DIY process allows for a level of customization that enhances the overall experience. So, why settle for store-bought when you can roll your own and enjoy a truly personalized smoking journey?
Ready to Elevate Your Smoking Experience? Roll your own unique Banana Backwoods-inspired DIY blunt wraps with Tobacco Stock - where customization meets quality. Craft, Relax, Enjoy!
FAQs (Frequently Asked Questions)
1. Can I use any type of tobacco leaves for DIY blunt wraps?
Absolutely! Experiment with different varieties to find the one that suits your taste preferences.
2. How long does it take for DIY blunt wraps to dry?
The drying time can vary, but it's recommended to let them dry for at least 24 hours for optimal results.
3. Can I add more than one flavor to my DIY blunt wrap?
Certainly! Mixing flavors can lead to unique and delightful smoking experiences. Just be mindful not to overpower the natural taste of the tobacco.
4. Are there alternatives to tobacco leaves for DIY blunt wraps?
Yes, you can explore alternatives like hemp wraps or even edible leaves, depending on your personal preferences.
5. Can I store my DIY blunt wraps for an extended period?
When stored in an airtight container in a cool, dark place, DIY blunt wraps can stay fresh for an extended period, ensuring a great smoking experience every time.


Sign in to leave a comment.