
Installing and maintaining a reliable gate opener is essential for both convenience and security. The Eagle 1 gate opener manual is a necessary companion for homeowners and property managers looking to keep their gate systems running smoothly. In this guide, we’ll walk you through the installation, setup, and troubleshooting process to ensure your Eagle 1 gate opener functions efficiently.
Whether you’re a first-time installer or troubleshooting common issues, this post offers actionable advice and touches on related challenges, such as LiftMaster gate opener problems.
Getting Started: Understanding the Eagle 1 Gate Opener
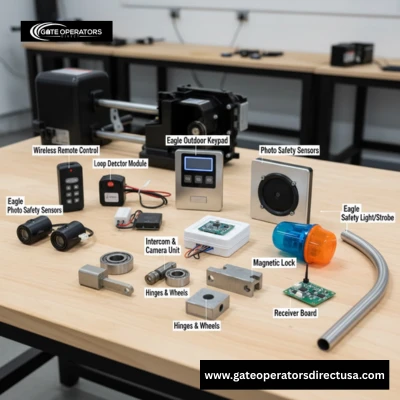
Before diving into installation, it’s important to familiarize yourself with the components included in the Eagle 1 gate opener manual. Typically, a kit comes with:
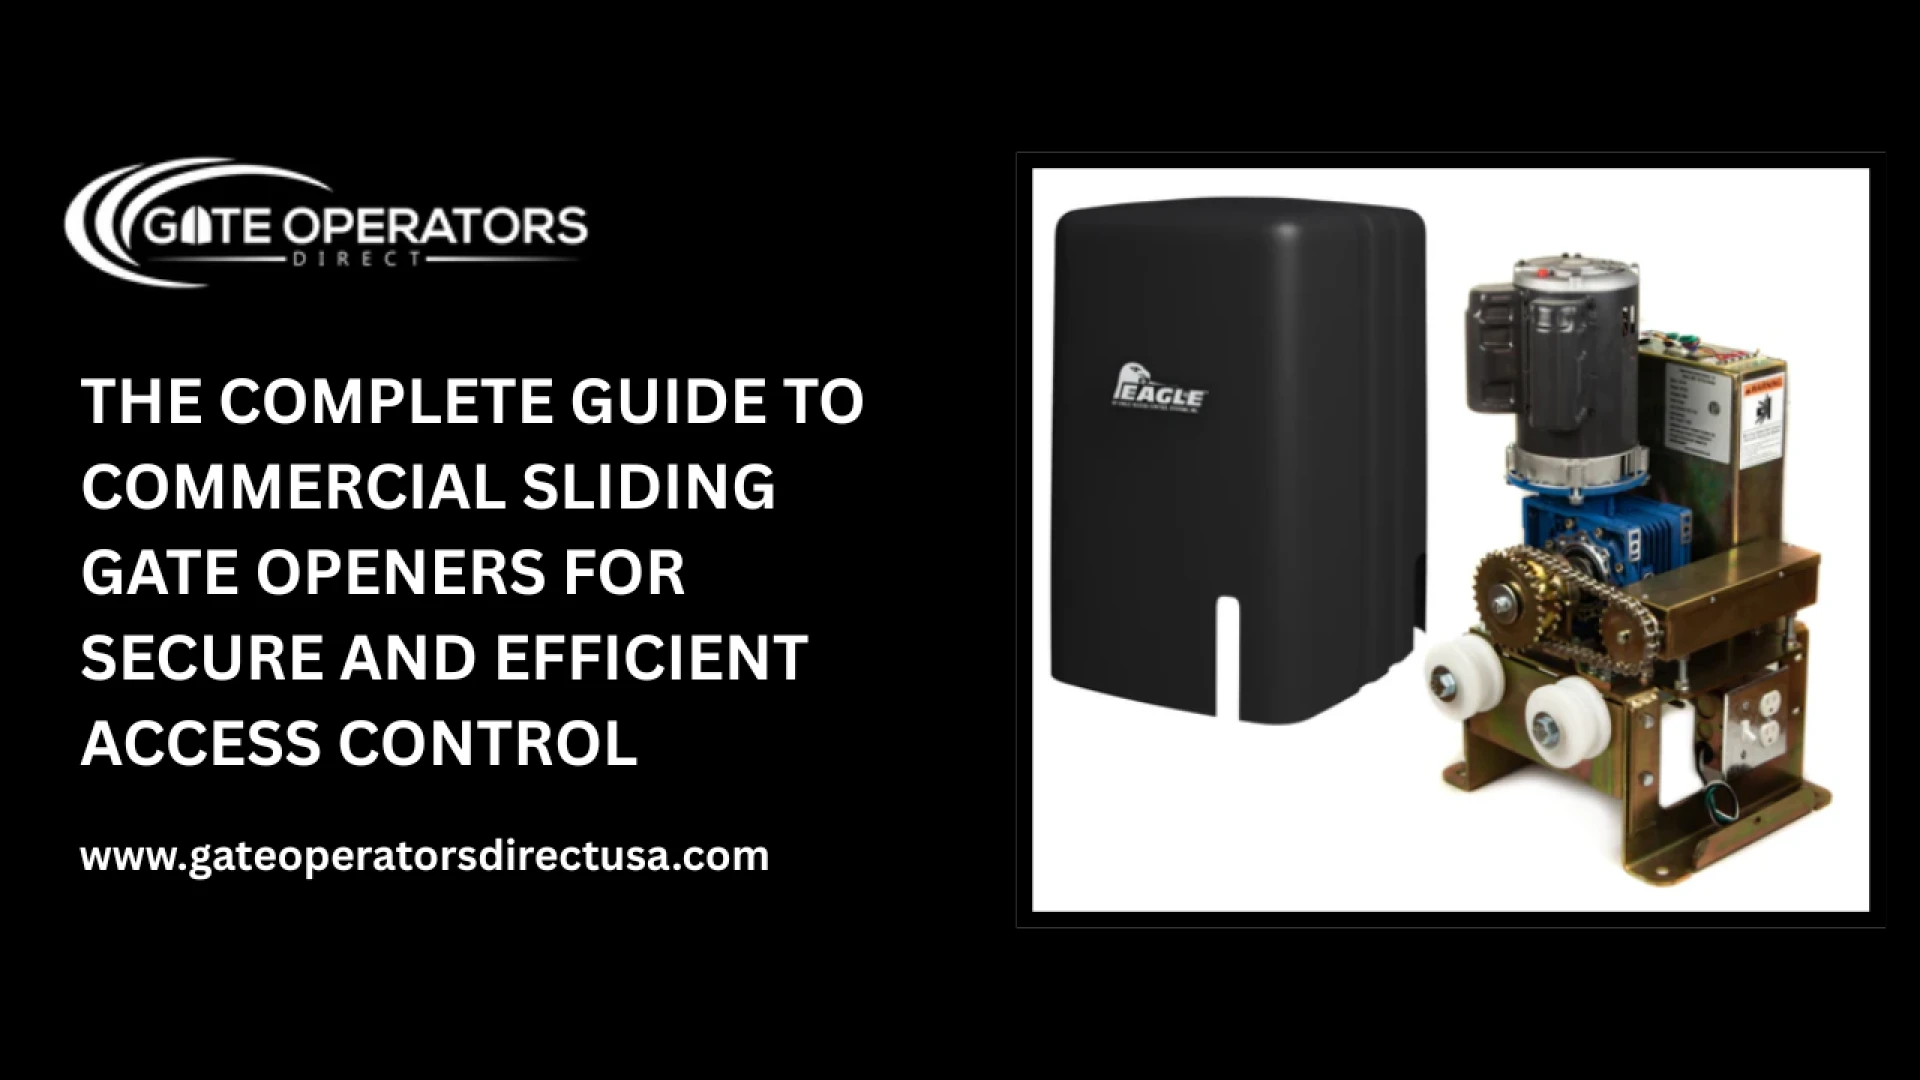
- The motor unit
- Mounting hardware
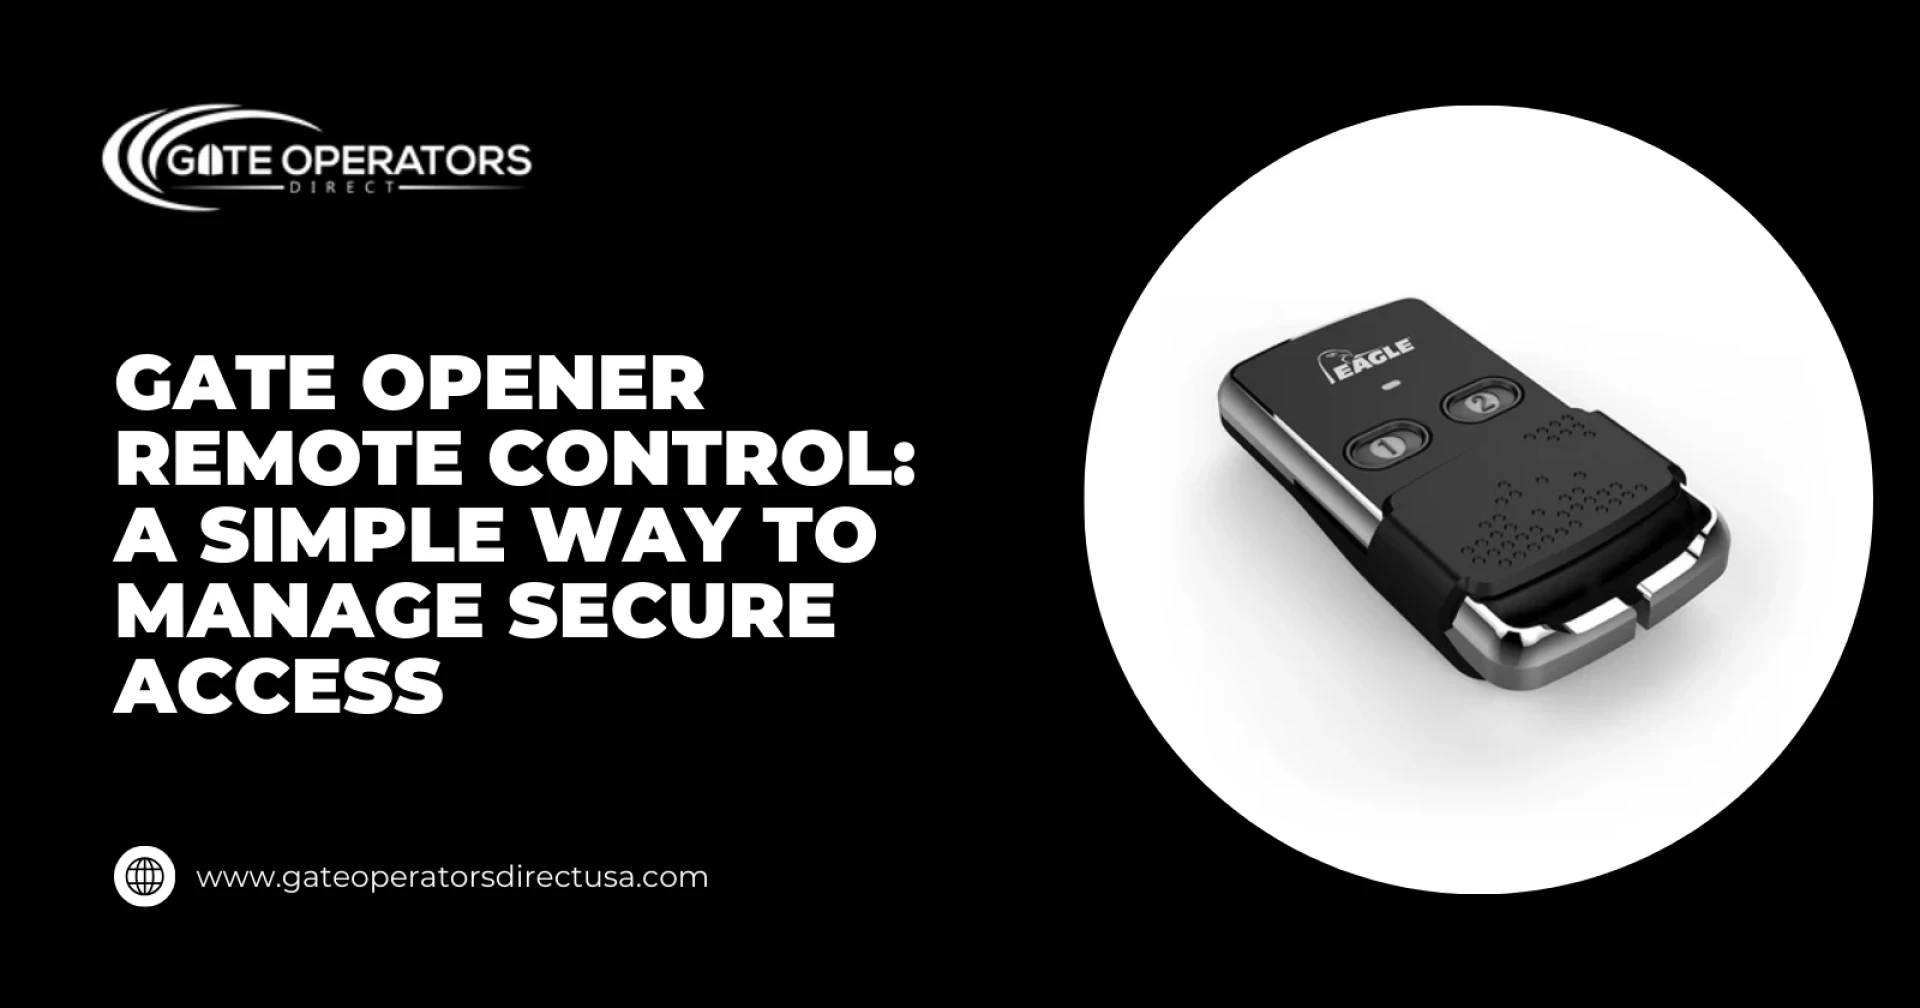
- Remote control or keypad
- Safety sensors
- Wiring and control boards
Reading the manual thoroughly before installation cannot be overstated. It not only provides the sequence of assembly but also outlines safety precautions that prevent damage and injuries. Many common issues arise from skipping these initial steps, so invest the time upfront—it saves hours later.
Step 1: Preparing for Installation
The first step is site preparation. Make sure the gate is structurally sound and moves freely by hand. Check for:
- Rusted or damaged hinges
- Uneven ground
- Obstacles along the gate path
Once you confirm the gate’s mechanical integrity, plan the placement of the motor unit. Most Eagle 1 models require a flat, stable base, usually adjacent to the gate’s hinge side. Ensure there’s enough clearance for the arm or slide mechanism to operate without obstruction.
Pro tip: Mark all drill points and test-align the components before drilling or bolting anything in place. This prevents misalignment that could cause operational problems later.
Step 2: Installing the Motor
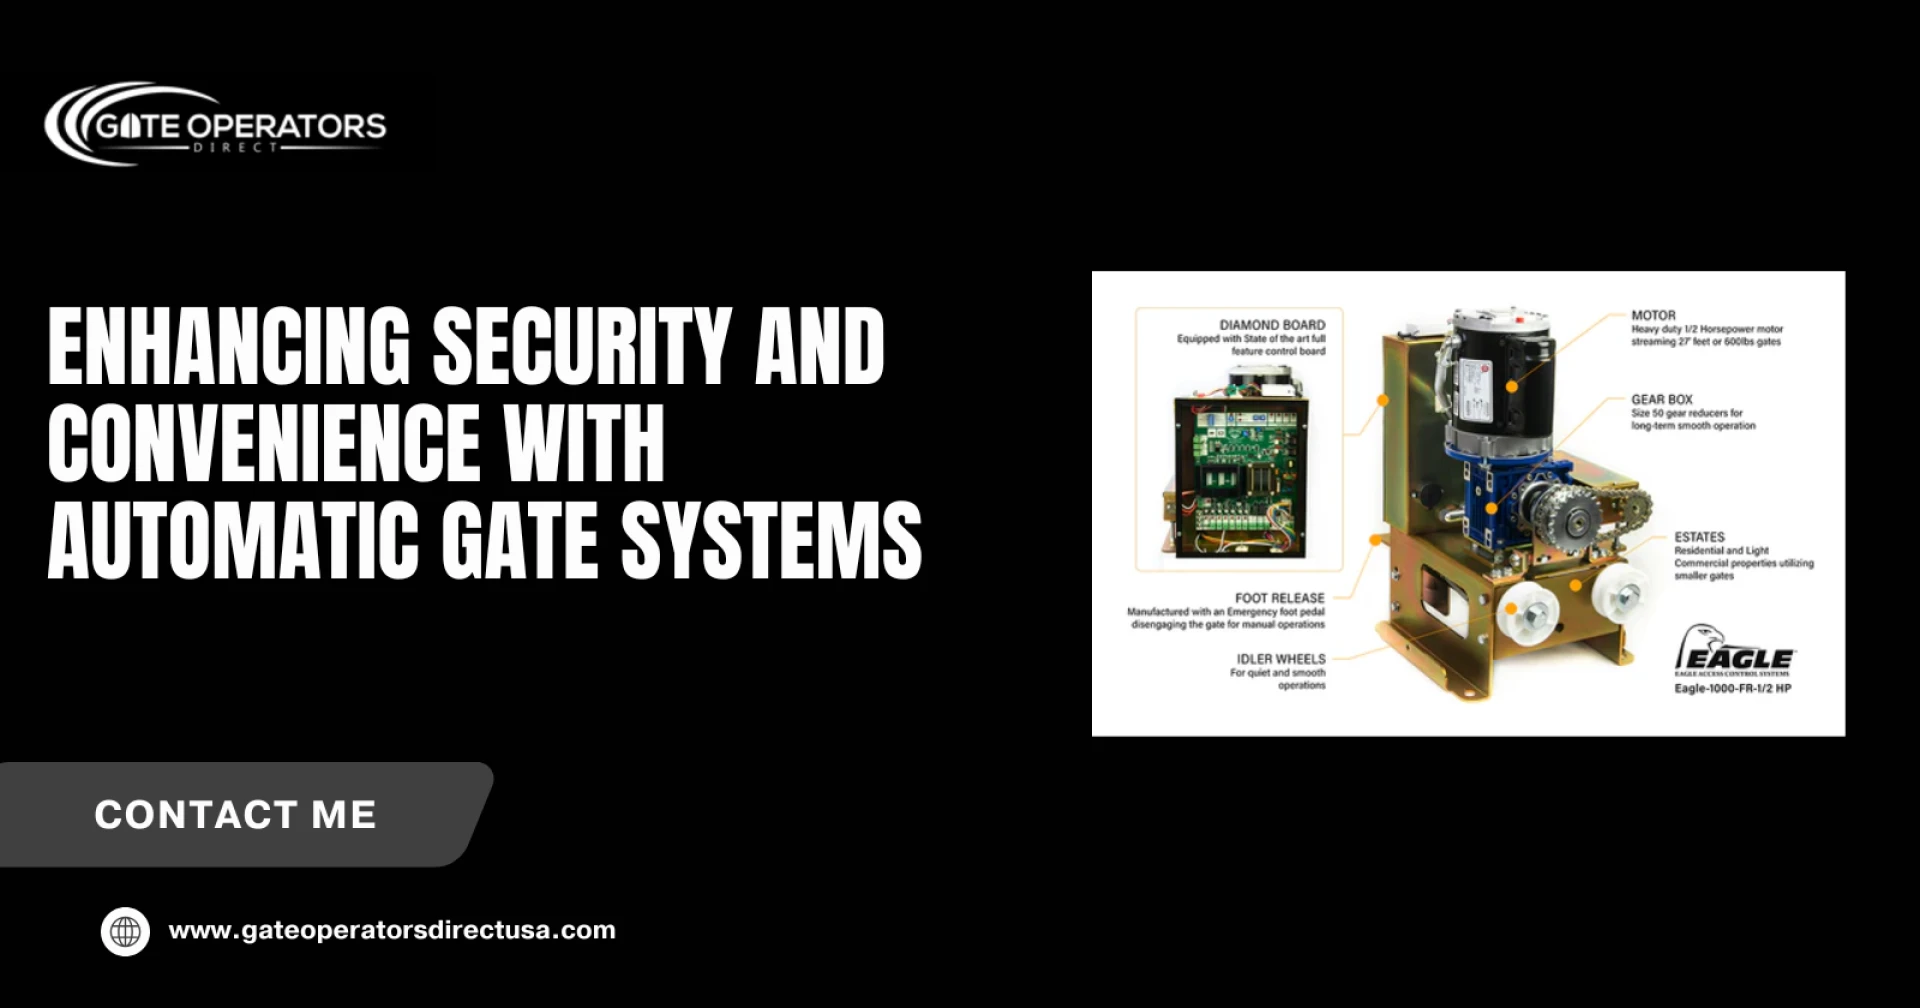
With the site prepared, follow the motor installation instructions from the Eagle 1 gate opener manual. The key steps generally include:
- Mount the base plate securely to the foundation.
- Attach the motor to the base plate and ensure it is level.
- Connecting the arm or slide rail to the gate, adjusting tension as needed.
It’s crucial to follow the torque specifications for bolts and screws mentioned in the manual. Loose or over-tightened hardware can lead to operational failures.
Step 3: Electrical Setup
Once the motor is in place, it’s time for electrical connections. Most Eagle 1 systems operate on standard 110–120V power, though some models may use 24V DC. Key considerations include:
- Ensuring proper grounding
- Avoiding pinched wires in moving parts
- Following the wiring diagram exactly
If you’re unfamiliar with electrical work, it’s always safer to hire a licensed electrician. Incorrect wiring is a leading cause of gate opener malfunctions, including some problems that people mistakenly attribute to the motor itself.
Step 4: Programming and Remote Setup
After the physical installation, you’ll program your remote control or keypad according to the Eagle 1 gate opener manual. Typically, this involves:
- Placing the system in programming mode
- Pressing buttons on the remote to sync with the motor
- Testing multiple open and close cycles
This step ensures smooth operation and prevents interference with neighboring gate systems.
Common Troubleshooting Tips
Even with a careful installation, you may encounter issues. Here are a few practical troubleshooting tips:
1. Gate Won’t Open or Close
Check for:
- Obstructions along the gate path
- Loose or disconnected wires
- Blown fuses or tripped breakers
2. Motor Runs, but Gate Doesn’t Move
This usually indicates a mechanical alignment issue. Revisit the arm or rail alignment and ensure mounting bolts are tight but not over-tightened.
3. Remote or Keypad Not Responding
Resetting the system and reprogramming the remotes often solves this. Double-check battery levels as well.
Many of these problems mirror common LiftMaster gate opener problems, such as sensor misalignment, remote signal interference, or mechanical wear over time. Understanding these parallels can help you diagnose issues faster.
Maintaining Your Eagle 1 Gate Opener
Regular maintenance extends the life of your gate opener and keeps it operating safely. Key steps include:
- Lubricating moving parts every six months
- Inspecting and cleaning safety sensors
- Testing the auto-reverse feature regularly
- Tightening any loose hardware
Maintenance also helps prevent small issues from turning into costly repairs. Many users find that following the Eagle 1 gate opener manual closely prevents recurring headaches.
Where to Find Support
If you encounter problems that aren’t addressed in the manual, you can turn to reliable suppliers like Gate Operators Direct LLC. They provide customer support, replacement parts, and advice tailored to your gate system without the pressure of unnecessary sales pitches.
Additionally, online forums and user groups dedicated to Eagle 1 or LiftMaster gate openers can be excellent resources. Sharing your experience often helps identify solutions faster than trial-and-error alone.
Conclusion
The Eagle 1 gate opener manual is more than just a booklet—it’s your roadmap to a secure and smoothly functioning gate system. By carefully following installation steps, performing proper electrical setup, and troubleshooting common issues, you can enjoy reliable gate operation for years.
Remember, even if you encounter issues similar to LiftMaster gate opener problems, a structured approach using the manual as your guide will save time and frustration. Regular maintenance, attention to alignment, and proper programming are key. For support, reputable suppliers like Gate Operators Direct LLC offer guidance and resources that complement your manual, ensuring your gate operates safely and efficiently.
Investing the time to understand your gate system fully pays off in convenience, security, and peace of mind.

Sign in to leave a comment.