information. Capturing food is more enthusiasm than it appears. My photographs have improved with training (endlessly heaps of it). Here are the best tips and deceives I can propose about food photography and gear.
Kindly note that a portion of the connections on this page are member joins. I just connect to items I trust and suggest. Much obliged to you for your help.
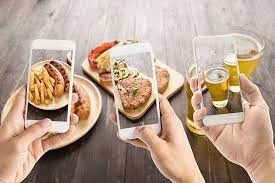
Ways to take incredible food photographs
Everything really revolves around the light! My best tip for amateurs is to become mindful of the power of the light and how it stirs things up around town and figure out how to likewise change. Here are a few ways to get everything rolling. Pop over to this website for more information.
• Take photographs under normal light. Try not to utilize elevated lights or lights or your implicit glimmer. Ever!
• Move around to track down the best light source. Try not to feel bound to take photographs in your kitchen. Maybe the light is best in your room in the first part of the day, and in your parlour in the early evening.
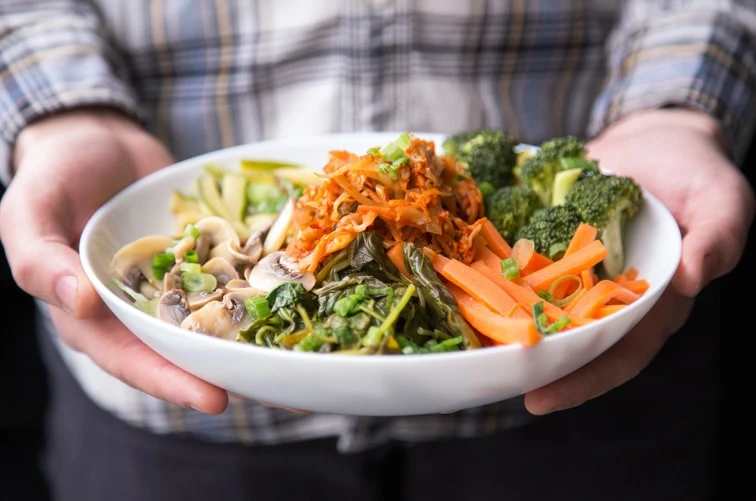
• Have a go at taking photographs from various points. A few plates of food look better from a higher place (like pizza), from the side (burgers), or at a 45-degree point (drinks). Have a go at moving around the plate and taking photographs at different points so you can pick your most loved ones later.
• Limit mess. Assuming that spoon, napkin or occupied foundation doesn't add to the photograph, it brings down the photograph. Centre around what is generally significant, however, don't zoom in so close that watchers can't determine what the food is.
Investigating normal food photography issues
Disappointed by how your food photographs are ending up? Peruse on for likely arrangements.
• Your photographs are hazy. Hazy photographs are brought about by camera shake. Arrangements include: 1) hold your camera steadier (far from simple or easy), 2) utilize a mount with a remote so your camera remains totally still while you're shooting, 3) utilize a quicker shade speed, which will require opening up your gap or potentially moving to an area with all the more light, or 4) raise your ISO to diminish how much light required (this will lessen picture quality, notwithstanding).
• Your varieties aren't consistent with life. At the point when you're altering your photographs, assuming your plate of food looks bright blue, yellow, pink or green, utilize your product's white equilibrium apparatuses to fix it! Colours wake up when the white equilibrium is set appropriately. In the event that you shoot in the Crude organization, you'll make some more straightforward memories changing the variety balance later.
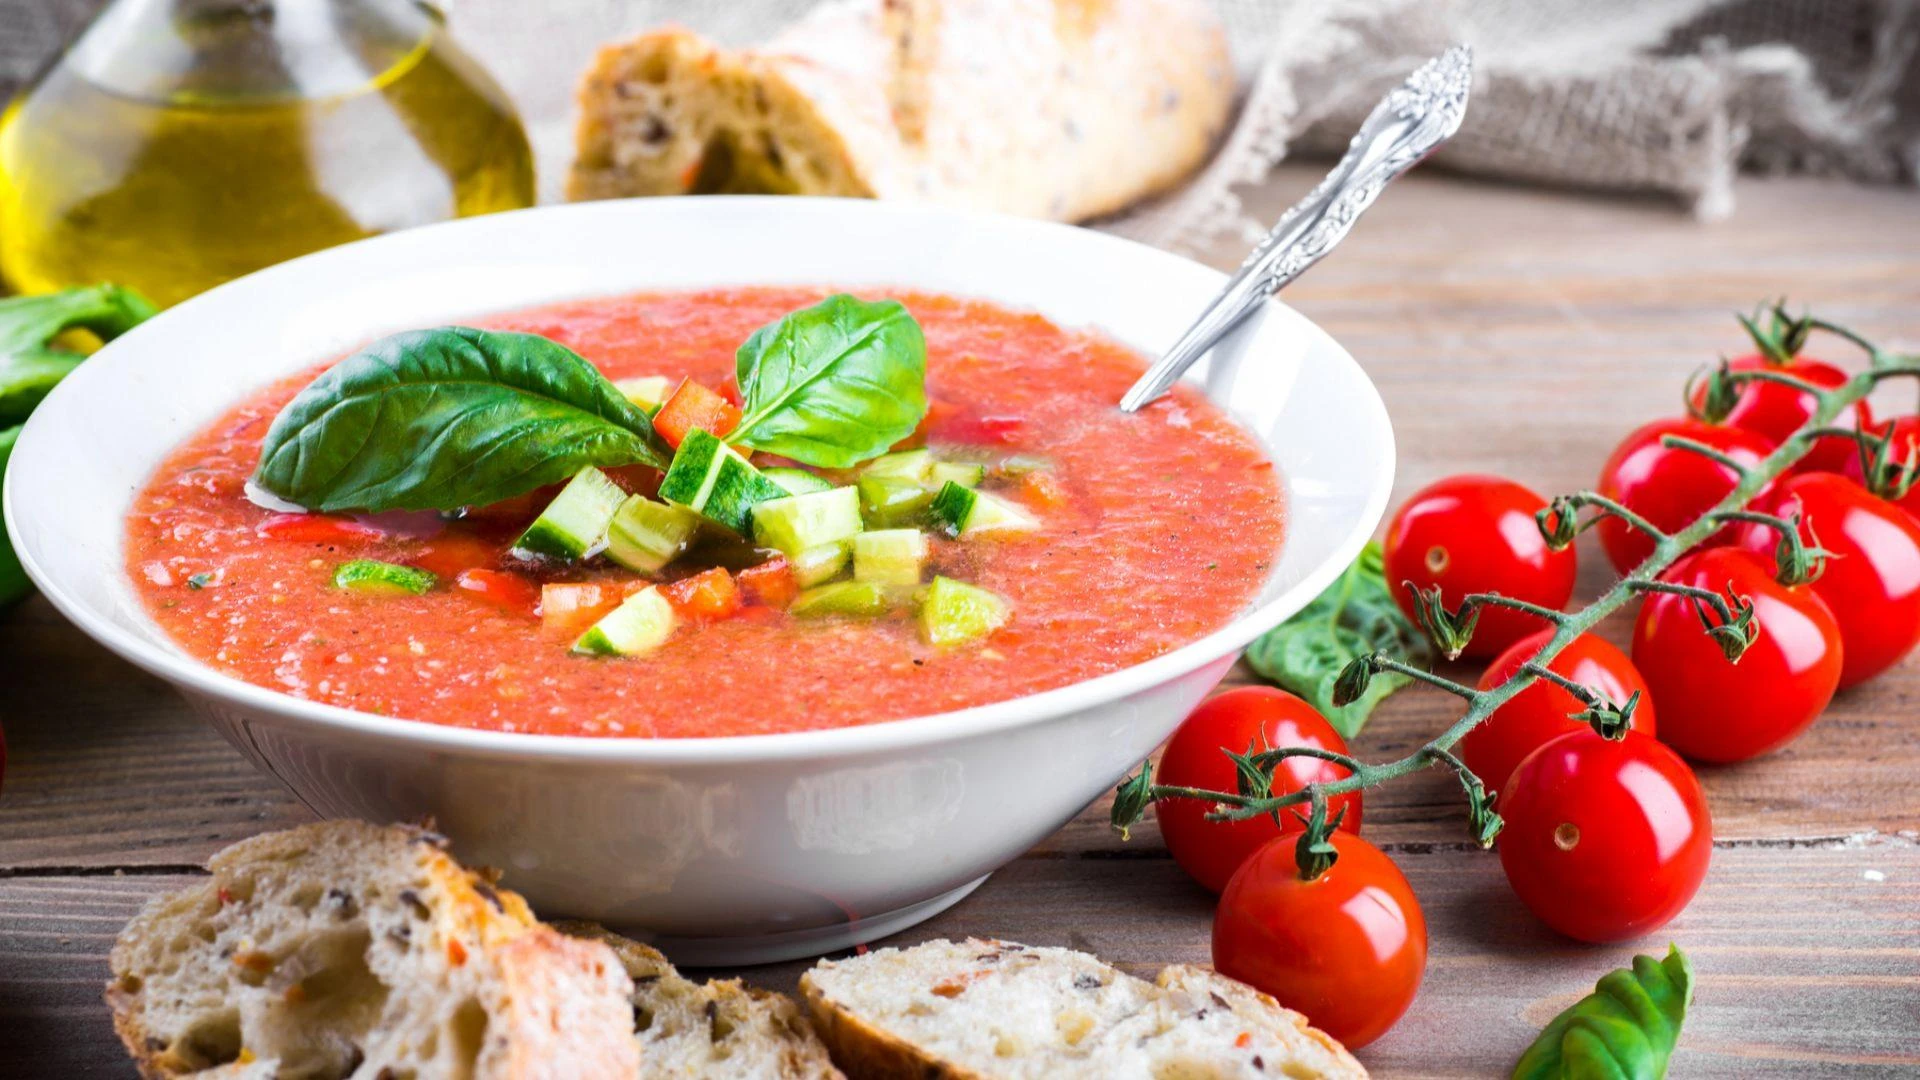
• Your photographs simply don't "pop" like proficient food photographs. Experienced food picture takers use focal points that permit them to limit their profundity of the field to feature the subject of the photograph. Then they use photography programming to change the differentiation, levels and sharpness of their photographs. At times a couple of little alters can truly make a photograph pop.
Peruse on for somewhat reasonable focal points and programming proposals that can assist you with tackling these issues and take astonishing food photographs.
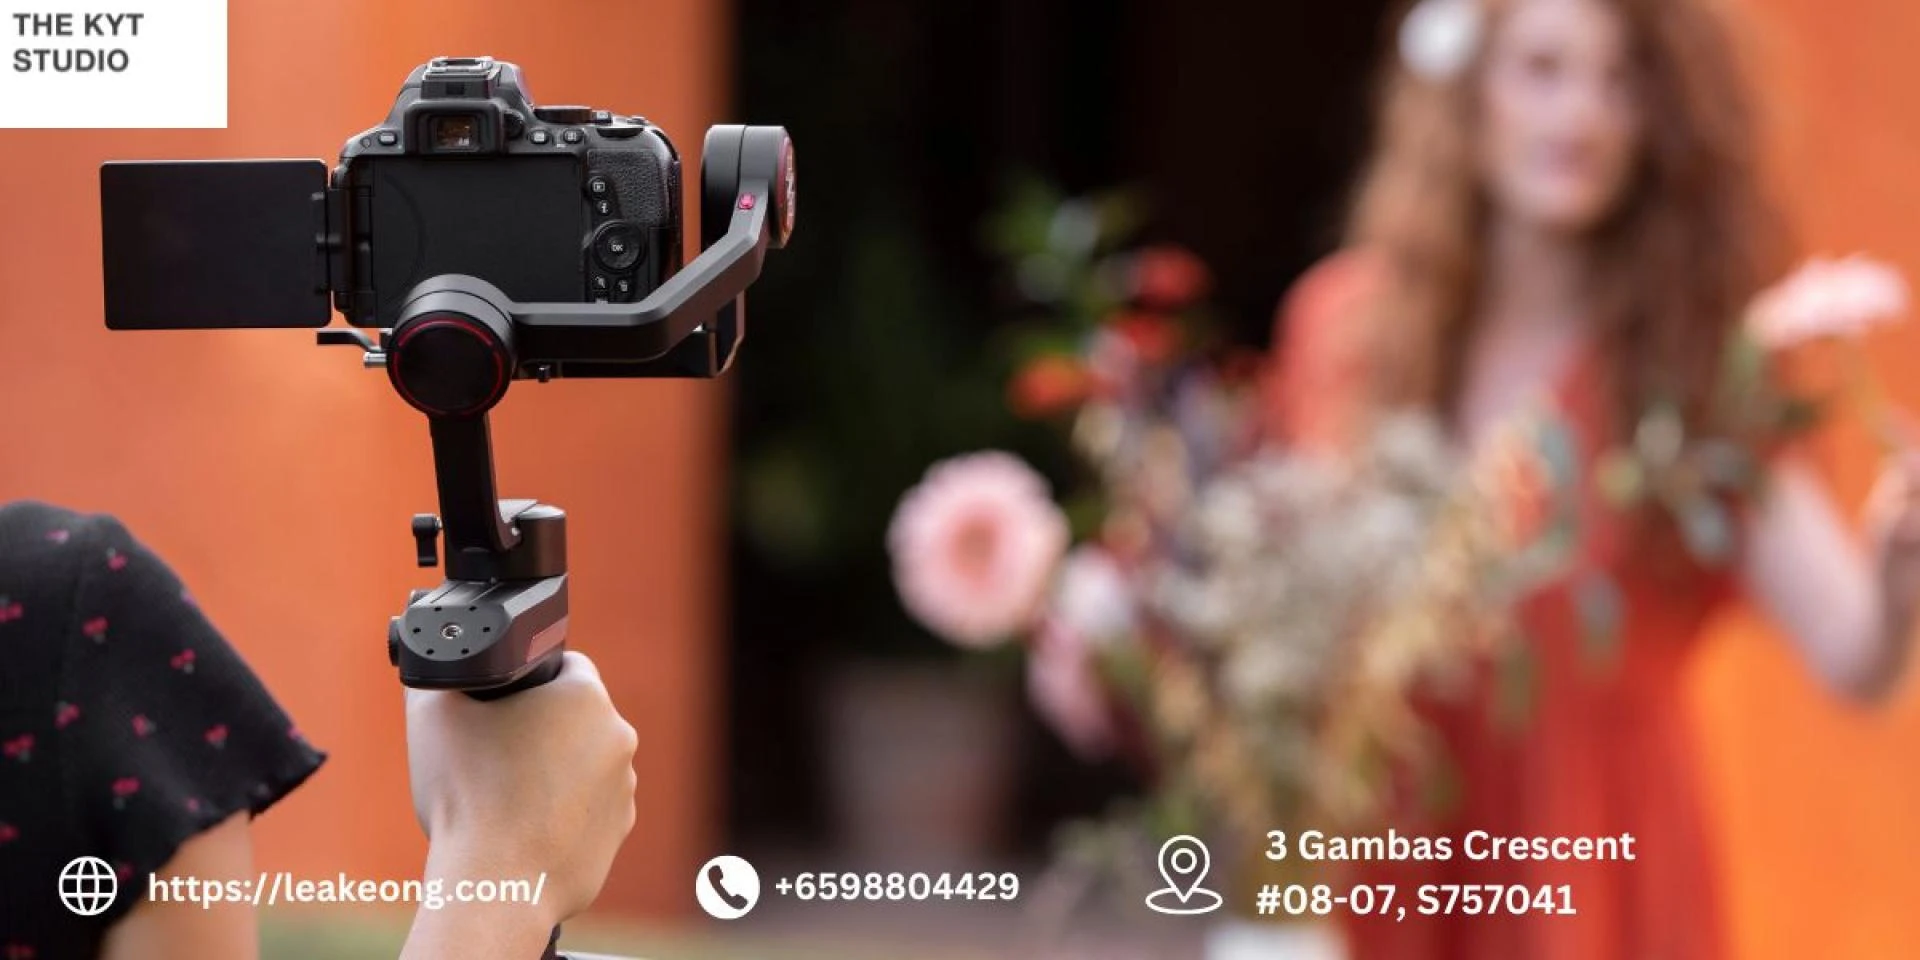
Cameras for food photography
You won't be guaranteed to require an extravagant camera to take engaging food photographs. You can presumably get by with a simple-to-use camera for some time. Counsel the client manually, utilize the large-scale setting and practice!
At the point when you are prepared to have full command over your openness and central length, set something aside for a DSLR camera (that is short for a computerized single-focal point reflex camera). It's a speculation, really! I ordinarily update my camera about like clockwork and presently utilize a Nikon Z6. It's astonishing.
In the event that you can't settle on a Nikon DSLR or Standard DSLR, the distinctions between the two are really negligible. Practically identical models will create photographs of tantamount quality, so pick the most ideal camera that anyone could hope to find in your cost range.
Before you purchase, read surveys and go to a neighbourhood
photography store to give them a shot face to face. Assuming one brand's cameras appear to be easier to understand and feel greater in your grasp, go for that one. The focal point you use for food photographs will have a greater amount of an effect than the DSLR itself, so I suggest purchasing the camera body and focal point independently.
Focal points for food photography
I like to utilize conservative fixed focal points. Fixed implies that the focal points don't zoom in or out, so I need to genuinely draw myself nearer or farther away from the subject.
I love fixed focal points since they are for the most part more modest, less expensive and quicker than long-range focal points. They frequently offer more extensive gaps, which gives me more prominent command over the profundity of the field and greater adaptability while I'm shooting.
On my old edited configuration camera, I utilized Nikon's 35mm f1.8 and adored it. It delivered more keen photographs than my old 50mm and was sufficiently simple to use for the above photographs of food on my table.
Now that I've moved up to a costly full-outline camera, I principally utilize Nikon's Nikkor Z 50mm f1.8 focal point. This focal point is planned explicitly for Nikon's Z-design cameras. On the off chance that you have one of Nikon's other full-design cameras, I'd suggest the 50mm f1.4 focal point (the 50mm f1.8G focal point is nearly as great).
In any case, pause, for what reason did I move to a more extended central length when I updated the cameras? A 35mm focal point on an edited organization camera successfully goes about as a 50mm focal point on a full-outline camera. It's befuddling, I know. Except if you've burned through a great many dollars on a camera, your camera is presumably an edited organization, yet twofold check no doubt.
Other photography gear
Reflectors and diffusers: I for the most part utilize modest white froth sheets to skip light back onto the plate and decrease shadows. You can likewise bring out additional shadows by utilizing a dark froth board. I purchase my froth sheets at Create stores or Target. At times I drape a transparent white texture over the window to relax the lighting source, as well. Check out food consultants in mumbai.
Quality mount: I like to shoot with my camera in my grasp for the most extreme opportunity, yet I've at long last yielded that my stand gives me more prominent command over my settings and guarantees an excellent (not grainy or hazy) photo. To shoot my cookbook, I purchased the Manfrotto Studio Master Triman Stand and a strong arm that allows me to shoot above. I LOVE this arrangement!
You'll likely have to get a mounting head for your stand, as well — I decided on the Manfrotto 322RC2 Joystick Head Short, which is much a ton simpler to change than other stand heads. Only one trigger rather than three handles!
Suggested photography programming
I use Adobe Lightroom to sort out and alter my advanced photographs. I don't have any idea what I would manage without it! I favour Photoshop on the grounds that it assists me with keeping my records coordinated and simple to find, and gives outstanding command over openness changes. It is likewise fundamentally more affordable than Photoshop.
Sign in to leave a comment.