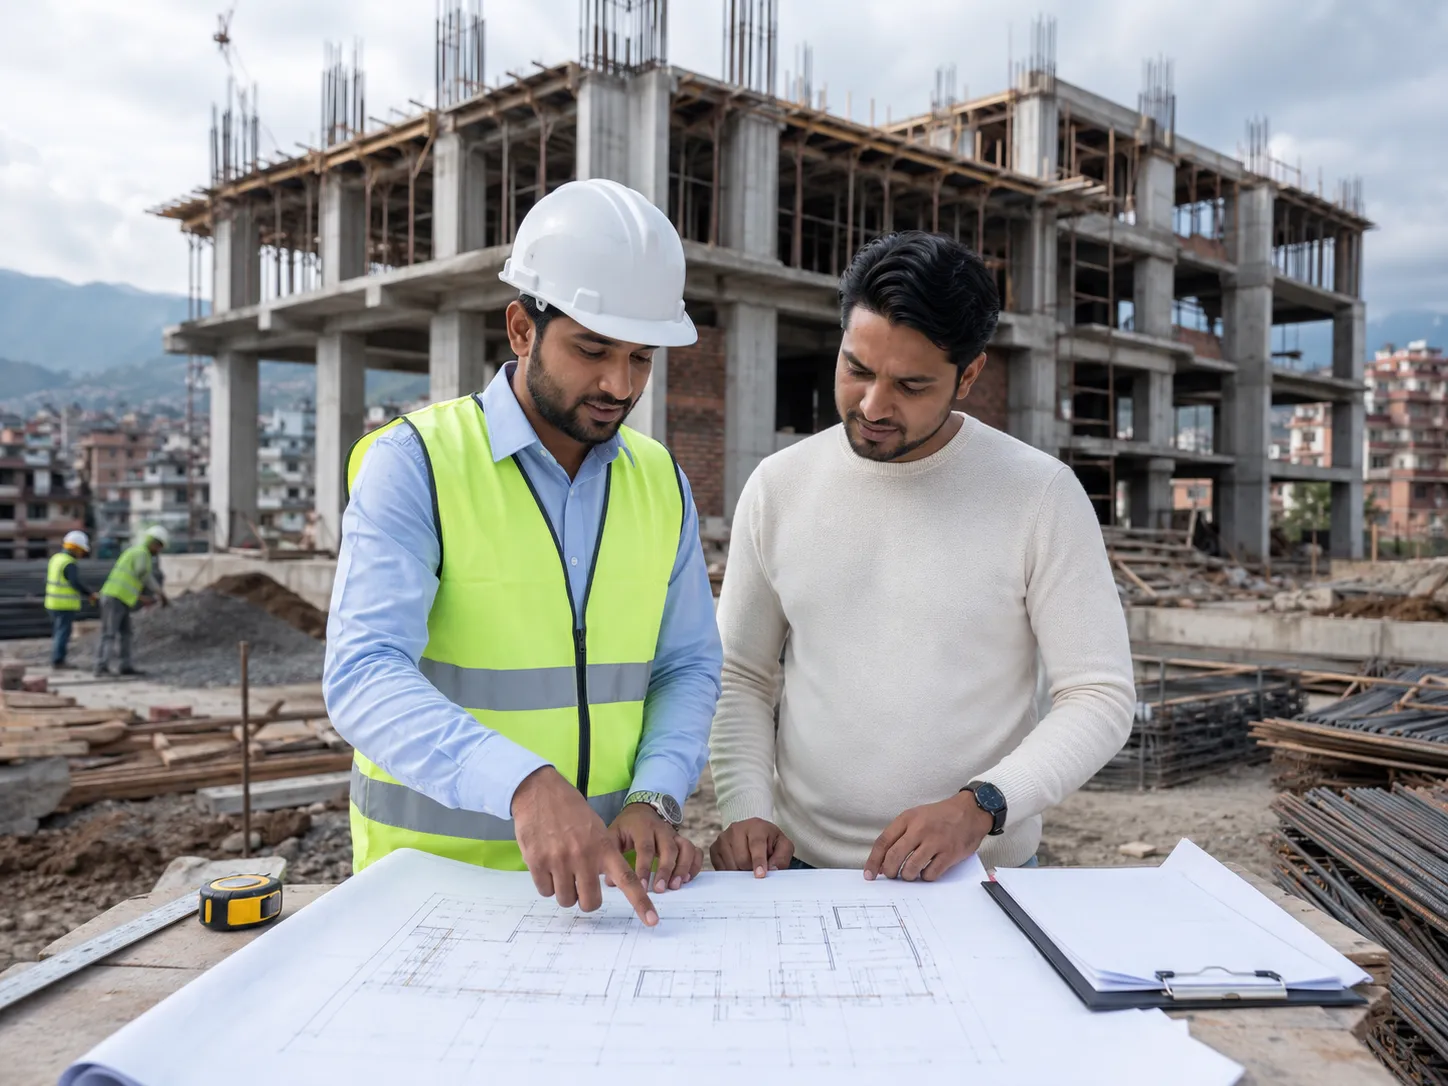

Building a home in Nepal is one of the biggest decisions a family can make. It is not only about creating a place to live. It is also about safety, comfort, legal approval, future value, and long-term peace of mind.
For many homeowners, the journey starts with excitement. They buy land, imagine the design, think about room layouts, and discuss budgets with family members. However, once the actual process begins, many realize that home construction involves much more than drawings and materials.
You need legal documents. You need municipal approval. You need architectural and structural drawings. You need a realistic budget. You need quality materials, proper site supervision, and skilled workers. More importantly, you need a clear checklist so you do not miss important steps.
Nepal’s housing demand is growing as more families move toward urban and semi-urban areas. As a result, construction in cities like Kathmandu, Lalitpur, Bhaktapur, Pokhara, Bharatpur, Biratnagar, Butwal, and Itahari has become more complex. Land is expensive, municipal rules are stricter, and homeowners are more aware of earthquake safety, waterproofing, and long-term durability.
This guide gives you a practical checklist for planning, designing, budgeting, and building a home in Nepal.
Why a Home Construction Checklist Matters
A house is not built in one step. It goes through many stages, and each stage affects the next one. If land documents are unclear, Naksapass can be delayed. If design planning is weak, the construction cost can increase. If structural work is not supervised, the building may become unsafe. If waterproofing is ignored, leakage may appear after the first monsoon.
Therefore, a checklist helps homeowners stay organized.
A good checklist helps you:
- Prepare legal documents early
- Avoid approval delays
- Plan the design properly
- Estimate the budget more realistically
- Choose better materials
- Reduce hidden costs
- Monitor construction quality
- Improve safety
- Avoid disputes with contractors
- Complete the project with confidence
In simple words, a checklist reduces confusion.
Legal Checklist Before Starting Construction
Before construction begins, legal preparation is very important. Many homeowners focus on design and cost first, but legal issues can stop the entire project. Therefore, you should confirm your land and approval documents before finalizing construction plans.
1. Verify Land Ownership
The first step is to confirm that the land is legally yours and free from major disputes. Check the ownership certificate, commonly called Lalpurja, along with related land records.
You should verify:
- Owner name
- Plot number
- Land area
- Boundary details
- Land type
- Road access
- Land tax status
- Ownership transfer records
- Any legal disputes or restrictions
If there is a mismatch between documents, fix it before starting design work. Even a small mistake in plot number or ownership details can create problems during municipal approval.
2. Check the Cadastral Map
A cadastral map shows the shape, boundary, and plot location of your land. It helps your architect and engineer understand the actual site condition. It is also important for municipal approval.
Before design planning, compare the cadastral map with the actual site. If the land shape is irregular or the boundary is unclear, consult a surveyor.
3. Confirm Road Access and Setback Rules
Road access affects building design, vehicle entry, parking, and municipal approval. In many municipalities, road width also affects how much setback you need to leave.
Setback means the required open space between the building and land boundary. If you ignore setback rules, your drawing may not pass.
Check:
- Road width
- Road expansion possibility
- Right of way
- Front setback
- Side setback
- Rear setback
- Parking access
- Drainage connection
This step is especially important in Kathmandu Valley, where many roads are narrow and future road widening may affect land use.
4. Prepare for Naksapass
Naksapass, also called Naksa Pass or building permit approval, is the official approval process for building construction. It confirms that your proposed building follows local bylaws and building standards.
Commonly required documents may include:
- Lalpurja
- Citizenship certificate
- Cadastral map
- Land tax clearance
- Architectural drawings
- Structural drawings
- Site plan
- Engineer or designer certification
- Application form
- Municipal fee payment records
Some municipalities use online systems, while others may still require physical submission. Kathmandu Metropolitan City, for example, uses an electronic building permit system for application review and tracking.
The best approach is to work with a designer or construction team that understands the permit process in your municipality.
Design Checklist for Home Construction in Nepal
Design is not only about how the house looks. It also affects comfort, cost, safety, ventilation, lighting, privacy, and future use.
A beautiful elevation is good, but a practical layout is more important.
1. Decide the Main Purpose of the House
Before starting the design, ask yourself how the house will be used.
Will it be only for your family? Will you rent out one floor? Do you need parking? Do you need space for parents or elderly family members? Will you add more floors later?
Common home types in Nepal include:
- Single-family residential homes
- Rental houses
- Mixed-use homes
- Ground-floor parking with upper residential floors
- Owner-occupied homes with 1BHK or 2BHK rental units
- Small homes on 3–5 anna land
- Larger family homes with garden and parking
Once the purpose is clear, the design becomes more practical.
2. Plan Room Requirements
List the rooms you need before meeting the architect.
Common spaces include:
- Parking
- Living room
- Kitchen
- Dining area
- Bedrooms
- Bathrooms
- Puja room
- Store room
- Laundry area
- Balcony
- Terrace
- Multipurpose room
- Rental unit
- Home office
This helps the designer create a layout that matches your lifestyle.
3. Focus on Natural Light and Ventilation
Good homes feel open, bright, and fresh. Natural light and ventilation improve comfort and reduce dampness.
When planning the design, consider:
- Window placement
- Cross ventilation
- Sunlight direction
- Kitchen ventilation
- Bathroom ventilation
- Staircase lighting
- Balcony placement
- Open space around the building
In dense urban areas, natural light can be difficult because nearby buildings may block sunlight. Therefore, the design should solve this from the beginning.
4. Keep the Structure Simple and Balanced
Simple and balanced designs are often safer and more cost-effective. Complex shapes, large cantilevers, irregular column placement, and unnecessary projections can increase structural cost and risk.
For earthquake-prone Nepal, the structural system should be planned carefully. A good design should allow columns, beams, and walls to work together.
5. Plan for Future Expansion
Many homeowners in Nepal build two floors first and add more floors later. If this is your plan, tell your engineer from the beginning.
Future expansion affects:
- Foundation design
- Column size
- Beam design
- Staircase planning
- Water tank location
- Plumbing routes
- Electrical capacity
- Municipal approval
Never add extra floors later without structural review. It may create serious safety risks.
Budget Checklist for Home Construction
Budget is one of the most stressful parts of construction. Many projects start with one estimate but finish at a much higher cost. This usually happens because the initial budget is incomplete.
A realistic budget should include more than just cement, steel, and labour.
1. Include All Major Cost Categories
Your budget should cover:
- Design fees
- Engineering fees
- Municipal approval fees
- Soil test if required
- Site clearing
- Excavation
- Foundation
- RCC frame
- Brickwork or blockwork
- Plaster
- Plumbing
- Electrical
- Waterproofing
- Flooring
- Doors and windows
- Painting
- Railings
- Fixtures
- Boundary wall
- Gate
- Drainage
- Septic tank or sewer connection
- Water tank
- Site supervision
- Contingency amount
If you only calculate the structure cost, your budget will feel low at first but become stressful later.
2. Keep a Contingency Fund
Construction often includes unexpected expenses. Soil condition may require extra foundation work. Material prices may change. You may upgrade tiles, windows, or fixtures. Weather may delay work.
Therefore, keep at least a small contingency amount. Many experts recommend keeping around 10% to 15% extra for unexpected costs, depending on the project size and complexity.
3. Compare Quotes Carefully
Do not compare contractors only by total price. One quote may include waterproofing, electrical work, and plumbing, while another may exclude them.
Before choosing a contractor, compare:
- Scope of work
- Material quality
- Labour cost
- Structural work inclusion
- Finishing level
- Site supervision
- Payment terms
- Timeline
- Warranty or defect support
- Exclusions
The cheapest quote is not always the best value.
4. Use Stage-Wise Payment
Avoid paying too much in advance. A better payment structure follows construction progress.
Common stages may include:
- Agreement signing
- Site preparation
- Foundation completion
- Plinth level
- First slab
- Second slab
- Masonry completion
- Plaster completion
- Finishing stage
- Final handover
Stage-wise payment protects both the client and the construction company.
Construction Material Checklist
Material quality directly affects the strength and life of the building. Therefore, homeowners should understand the basic materials used in construction.
Structural Materials
Important structural materials include:
- Cement
- Steel reinforcement
- Sand
- Aggregate
- Concrete
- Bricks or blocks
- Binding wire
- Formwork materials
Do not compromise on structural materials. Poor-quality steel, weak concrete, or bad sand can create long-term safety problems.
Finishing Materials
Finishing materials affect appearance, comfort, and maintenance.
These include:
- Tiles
- Paint
- Doors
- Windows
- Railings
- Kitchen materials
- Bathroom fixtures
- Electrical fixtures
- Plumbing fixtures
- Ceiling materials
- Wall panels
You can adjust finishing materials based on budget. However, choose durable materials for high-use areas such as bathrooms, kitchens, stairs, and exterior walls.
Waterproofing Materials
Waterproofing is very important in Nepal because monsoon rain can quickly expose weak construction.
Focus on waterproofing for:
- Bathrooms
- Roof slabs
- Balconies
- Terraces
- Water tank areas
- External walls
- Retaining walls
- Basement areas
Good waterproofing may not be visible after completion, but it protects the building for years.
Structural Safety Checklist
Nepal is located in a high seismic-risk region. The 2015 earthquake showed how important safe construction is. Therefore, structural safety should be the highest priority in any home construction project.
1. Hire a Qualified Structural Engineer
A structural engineer should design:
- Foundation
- Columns
- Beams
- Slabs
- Staircase
- Reinforcement details
- Load transfer system
- Earthquake-resistant features
Do not rely only on mason experience. Skilled workers are important, but structural design must be prepared by qualified professionals.
2. Check Reinforcement Before Concrete Casting
Before concrete is poured, the supervisor should check:
- Steel bar diameter
- Steel placement
- Stirrups spacing
- Lap length
- Cover blocks
- Beam-column joints
- Shuttering alignment
- Electrical sleeves
- Plumbing sleeves
Once concrete is poured, mistakes become hidden. Therefore, pre-casting inspection is one of the most important quality checks.
3. Avoid Soft-Storey Problems
Many urban homes have open parking on the ground floor and rooms above. This can create a soft-storey problem if not designed properly.
If you need ground-floor parking, ask your structural engineer to design the frame carefully. Additional columns, shear walls, or strengthening measures may be needed.
Construction Process Checklist
After design, budget, and approval, actual construction begins. A stage-wise checklist helps you monitor progress.
Stage 1: Site Preparation
- Clear the site
- Mark the boundary
- Arrange temporary water and electricity
- Prepare material storage area
- Plan worker access
- Protect neighbour property
- Check road access for material delivery
Stage 2: Layout and Excavation
- Mark building layout
- Check dimensions
- Confirm foundation points
- Excavate according to drawings
- Check soil condition
- Keep excavation safe
Stage 3: Foundation Work
- Check foundation depth
- Place reinforcement correctly
- Use proper concrete mix
- Maintain alignment
- Cure concrete properly
- Protect foundation from waterlogging
Stage 4: RCC Frame Work
- Construct columns, beams, slabs, and staircase
- Check steel details before casting
- Use proper shuttering
- Ensure concrete compaction
- Maintain curing period
- Avoid unnecessary structural changes
Stage 5: Masonry Work
- Use good-quality bricks or blocks
- Maintain wall alignment
- Check door and window openings
- Use proper mortar mix
- Tie masonry properly with structural members where required
Stage 6: Plumbing and Electrical Work
- Plan routes before plastering
- Use quality pipes and wires
- Keep inspection access where possible
- Avoid random wall cutting later
- Test water lines before closing
- Check electrical load requirements
Stage 7: Plaster and Waterproofing
- Clean surfaces before plastering
- Maintain proper plaster thickness
- Apply waterproofing in wet areas
- Check roof and bathroom slopes
- Protect waterproofing before tiling
Stage 8: Finishing Work
- Install tiles carefully
- Check door and window alignment
- Apply primer before paint
- Install fixtures properly
- Check drainage flow
- Test electrical points
- Inspect final surface finish
Stage 9: Final Handover
Before accepting handover, check:
- Plumbing function
- Electrical points
- Leakage signs
- Door and window operation
- Paint quality
- Tile alignment
- Bathroom slope
- Roof drainage
- Stair and railing safety
- Cleaning and finishing
If possible, make a written snag list and ask the construction team to complete corrections before final payment.
Legal Completion Checklist
Many homeowners stop after construction is complete. However, legal completion is also important.
After building, apply for a completion certificate where required. This confirms that the building was constructed according to approved drawings and municipal rules.
A completion certificate may help with:
- Property records
- Bank valuation
- Loan processing
- Future sale
- Utility connections
- Legal clarity
- Insurance or renovation planning
Keep all construction documents safely. These records may be useful many years later.
Practical Example: A 5 Anna House in Kathmandu Valley
Imagine a family owns 5 anna land in Kathmandu Valley. They want ground-floor parking, one 2BHK unit for themselves, one rental unit, and a small multipurpose room on the top floor.
A weak approach would be to start construction with a rough sketch and verbal estimate. The family may later face approval delays, cost confusion, and design changes.
A better approach would begin with legal verification. The team checks land documents, road access, setbacks, and municipal rules. Then the architect prepares a practical layout. The structural engineer designs the foundation and RCC frame for safety and possible future expansion. The budget includes structure, finishing, waterproofing, electrical, plumbing, and contingency. After Naksapass approval, construction starts stage by stage with supervision.
The second approach is more organized, safer, and easier to manage.
For homeowners planning professional home construction in Nepal, working with an experienced team can make legal preparation, design coordination, budgeting, site supervision, and quality control much smoother.
Common Mistakes to Avoid
Avoid these mistakes before and during construction:
- Buying land without checking access and documents
- Starting design before checking municipal rules
- Ignoring soil condition
- Choosing a contractor only by lowest price
- Not preparing structural drawings
- Changing design during construction without review
- Using poor-quality materials
- Skipping waterproofing
- Paying too much in advance
- Not supervising reinforcement before concrete casting
- Adding floors later without engineering review
- Not applying for completion certificate
Most construction problems are easier to prevent than fix.
Final Thoughts
Home construction in Nepal is a major investment. It needs legal preparation, thoughtful design, realistic budgeting, safe structural planning, good materials, skilled workers, and proper supervision.
A home should not only look good on the day of handover. It should remain safe, dry, comfortable, and valuable for many years. Therefore, every homeowner should follow a clear checklist before starting construction.
Start with legal documents. Then plan the design carefully. Prepare a realistic budget. Choose quality materials. Follow building codes. Supervise important construction stages. Finally, complete the legal handover process.
When every step is handled properly, building a home becomes less stressful and more rewarding.

















Sign in to leave a comment.