
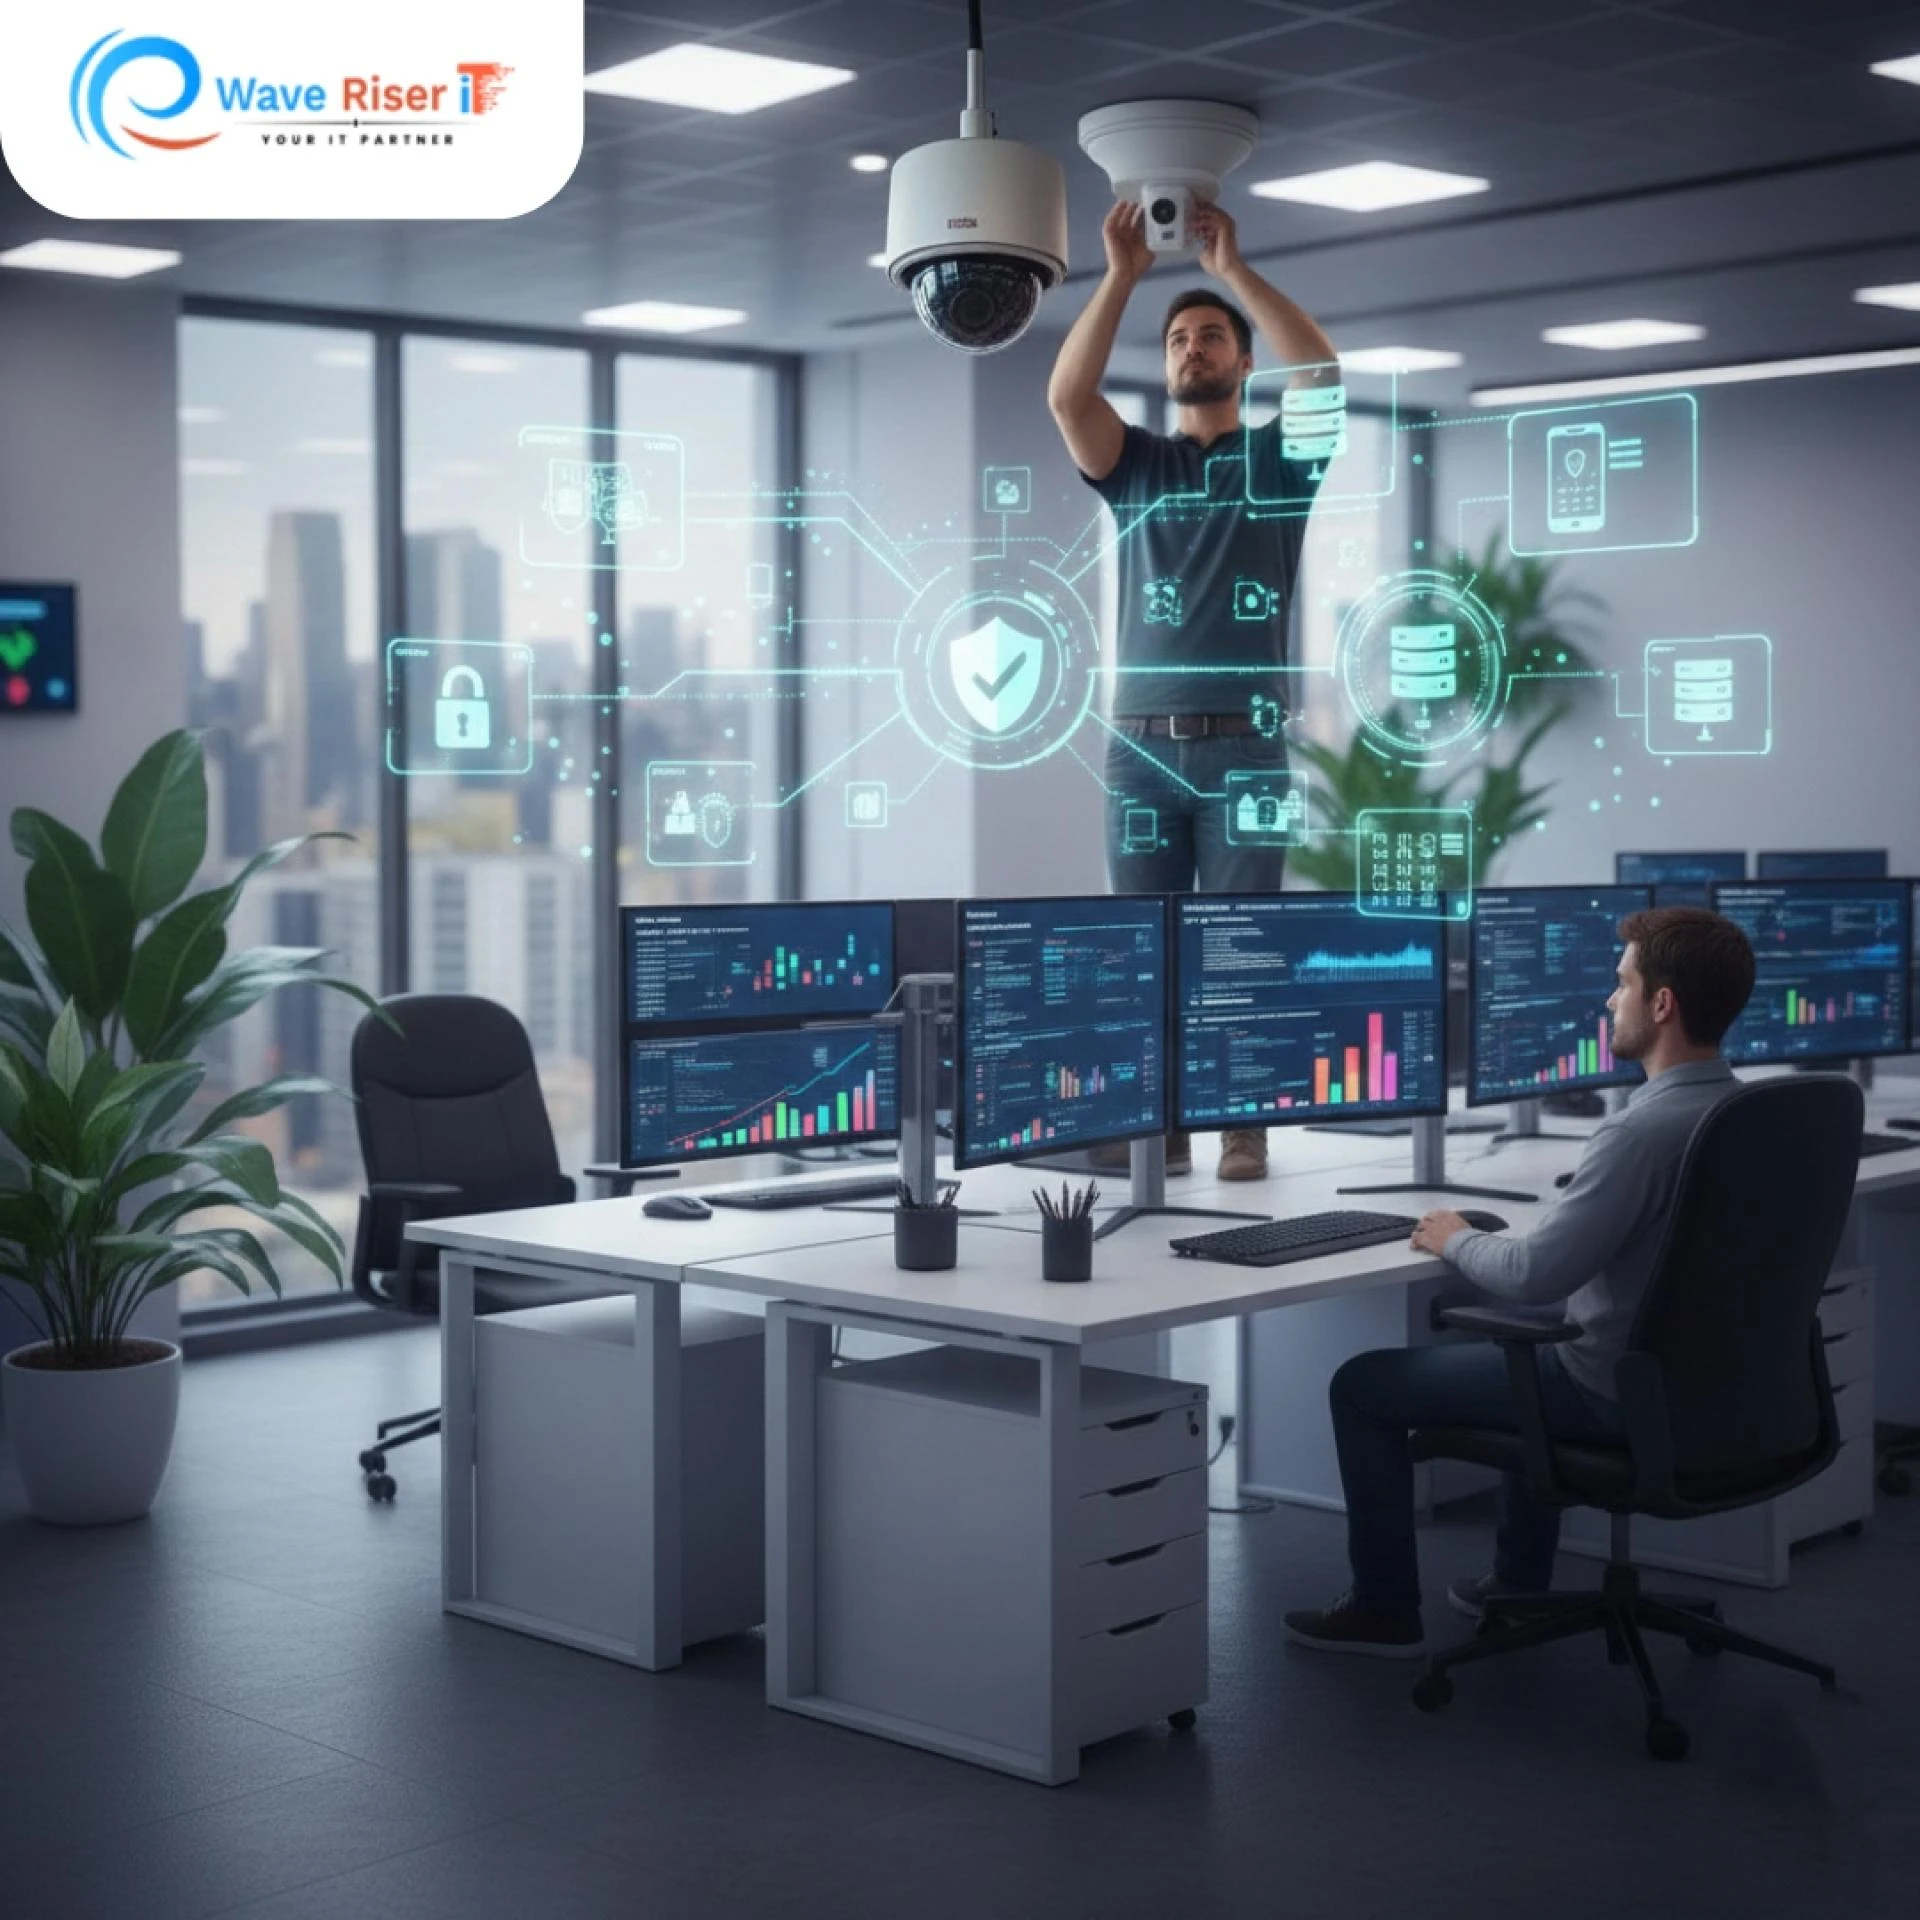
Installing CCTV cameras is not just about fixing a few devices on the wall. For homes and businesses looking for reliable camera installation and support, the process involves planning, technical checks, careful execution, and long-term usability. Understanding how a CCTV camera installation service works from beginning to end helps you know what you are paying for and why professional involvement matters.
This blog explains the whole process in a clear, practical way so you can make informed decisions when choosing a service provider.
Understanding the Need for Surveillance
Every CCTV project begins with a reason. Some clients want to monitor entry points, others want to keep an eye on daily activity, and many want recorded evidence in case of incidents. A professional service starts by listening rather than selling.
During the first interaction, the installer tries to understand:
- The type of property involved
- Areas that require monitoring
- Whether cameras are needed indoors, outdoors, or both
- If live remote viewing is required
- Storage expectations for recorded footage
This discussion sets the direction for the entire setup. Without it, even a high-end system may not meet real needs.
Site Visit and Property Evaluation
After the initial discussion, a physical site visit is usually scheduled. This step plays a key role in deciding how effective the final setup will be.
During the inspection, technicians look at:
- Entry and exit points
- Lighting conditions during the day and night
- Corners and blind spots
- Wall strength and ceiling height
- Distance between camera locations and recording units
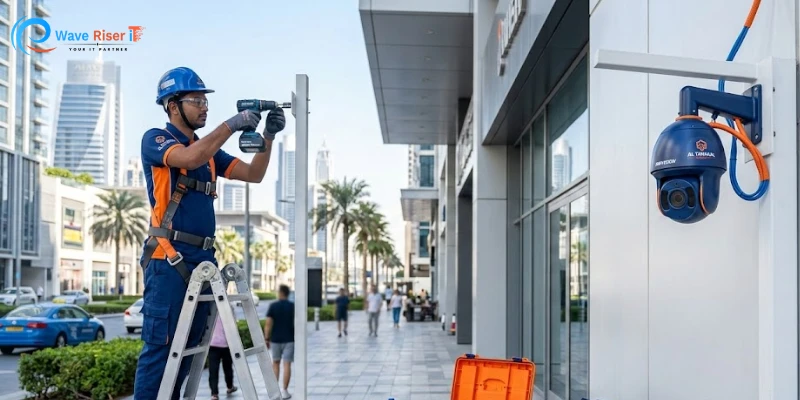
They also consider environmental conditions such as heat, dust, rain exposure, and vibration. For businesses, this stage is critical, which is why many companies rely on experienced Commercial CCTV camera services to handle complex spaces like offices, warehouses, and retail outlets.
Choosing the Right Camera Types
Not all cameras work the same way in every environment. Based on the site visit and requirements, the installer suggests suitable camera options.
These may include:
- Indoor or outdoor cameras
- Bullet cameras for long-range viewing
- Dome cameras for discreet indoor coverage
- Wired or wireless systems
- Cameras with night vision or motion detection
The goal is to match camera features with actual usage rather than unnecessary extras. This keeps the system practical and cost-aware.
Designing the Coverage Plan
Before any drilling or wiring starts, a camera placement plan is created. This plan shows exactly where each camera will be positioned and what area it will cover.
Professionals ensure:
- All critical areas are covered
- Camera angles capture clear visuals
- Faces and movement paths are visible
- Overlapping footage is minimised
This planning phase is a core part of Security camera installation, as poor placement can make even good cameras ineffective.
Wiring and Power Arrangements
Once the plan is approved, on-site execution begins. In wired systems, cables are carefully routed from each camera to the recording unit.
This stage includes:
- Running cables through walls or conduits
- Keeping wiring concealed for a clean appearance
- Connecting cameras to stable power sources
- Labelling cables for easier future maintenance
For wireless systems, signal strength is tested to ensure consistent connectivity. Power connections are still required, so electrical planning remains essential.
Mounting and Adjusting Cameras
After the cabling is ready, cameras are mounted in their designated locations.
Technicians:
- Fix mounts securely to prevent movement
- Adjust camera angles for clarity
- Check focus and field of view
- Seal outdoor cameras against weather exposure
Minor adjustments at this stage can make a big difference in video quality. This is why experience matters during installation.
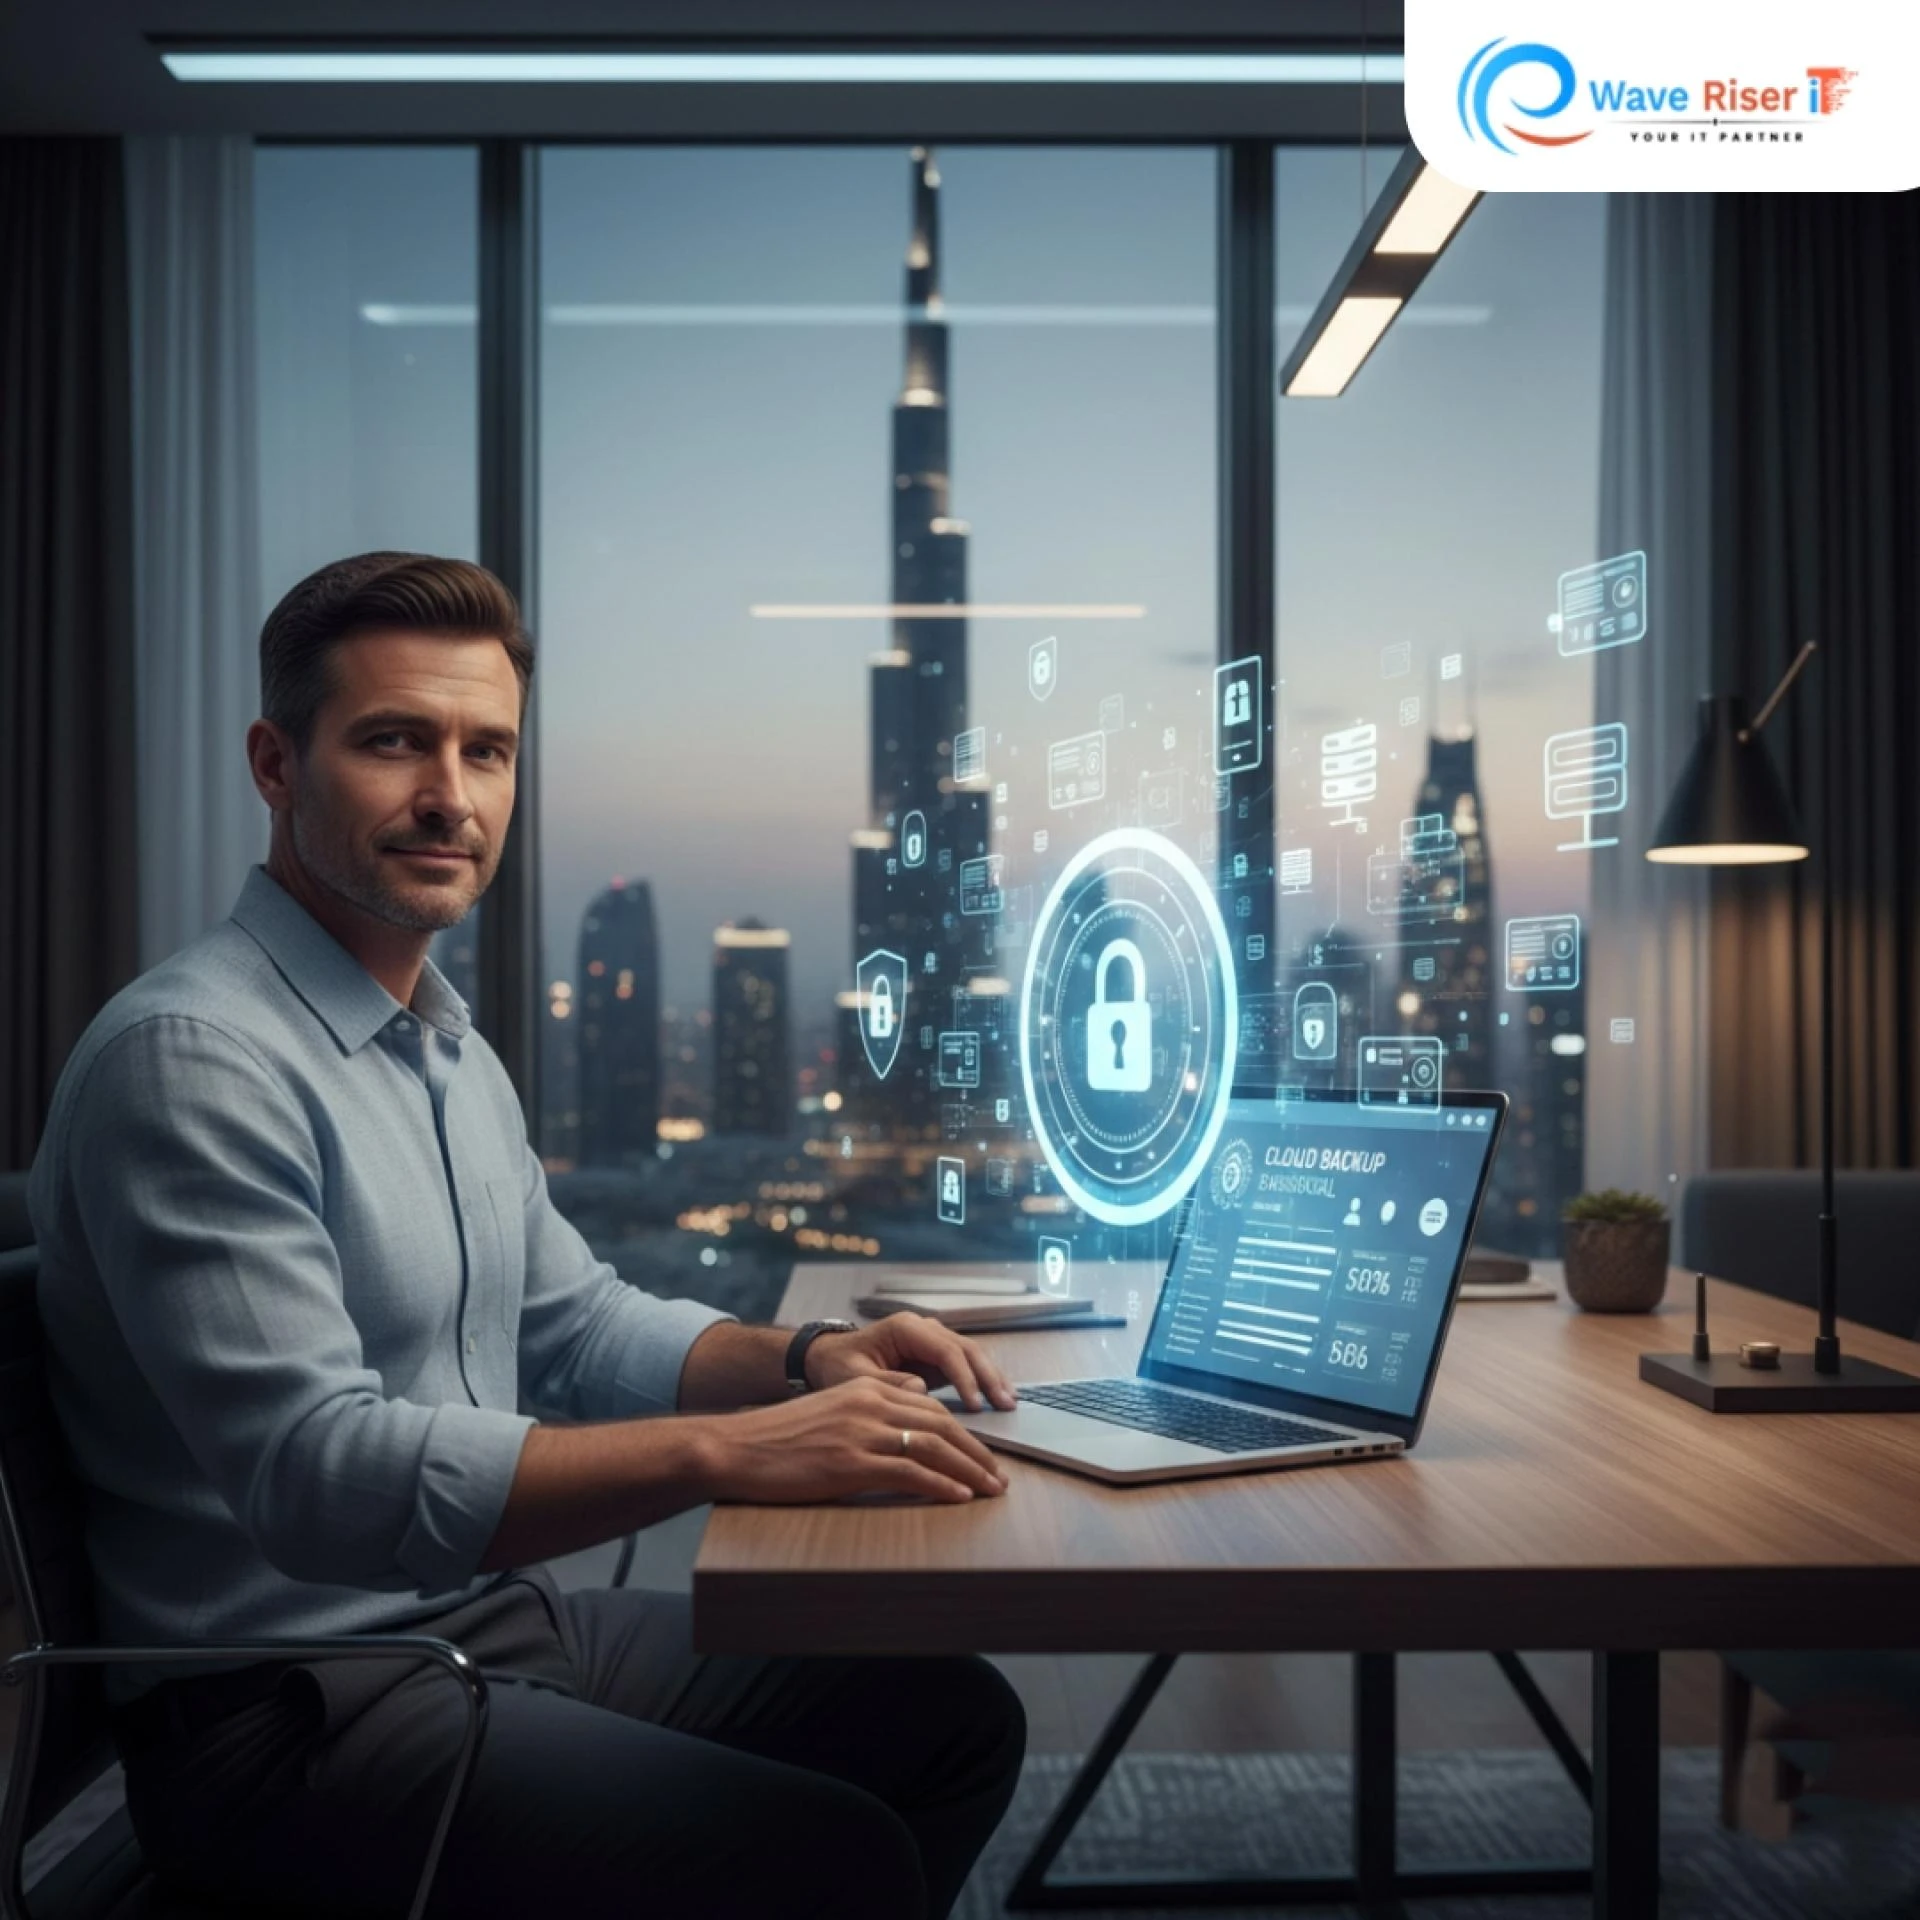
Recording System Configuration
Cameras need a place to store footage. This could be a DVR, NVR, or cloud-based system, depending on the setup.
During configuration, the installer:
- Connects cameras to the recording unit
- Sets recording schedules
- Adjusts resolution and frame rates
- Configures storage limits and overwrite rules
Clients are informed about how long footage will be stored and how to retrieve recordings when needed. Transparency here helps set realistic expectations.
Internet and Remote Viewing Setup
Most modern systems allow live viewing through mobile apps or desktop software. To enable this, the system is connected to the internet.
This step involves:
- Network configuration
- Creating secure login credentials
- Testing live streaming on phones or computers
- Ensuring stable remote access
For people searching for Security camera installation services nearby, this feature is often a top priority, especially for business owners who travel or manage multiple locations.
Testing and System Checks
Before the installation is considered finished, thorough testing is done.
Technicians check:
- Live feeds from all cameras
- Recording playback
- Night vision clarity
- Motion alerts are enabled
- Remote access reliability
Any issues found during testing are corrected immediately. This step ensures the system works correctly in real conditions, not just on paper.
User Training and Handover
A system is only helpful if the user knows how to operate it. After testing, the installer walks the client through daily usage.
This includes:
- Viewing live footage
- Searching recorded videos
- Backing up important clips
- Understanding basic settings
- Knowing when to contact support
This practical explanation makes users comfortable with the system from day one.
Documentation and Support Details
At the end of the process, clients receive essential information such as:
- Login credentials
- Warranty details
- Maintenance tips
- Support contact numbers
Reliable providers of CCTV setup services also explain what ongoing support is available if issues arise later.
After-Installation Support and Maintenance
Sound camera installation does not end on installation day. Over time, cameras may need cleaning, realignment, or software updates.
Post-installation support may include:
- Periodic system checks
- Firmware updates
- Replacement of faulty components
- Troubleshooting assistance
This ongoing support is especially valuable for businesses where downtime can cause operational issues. Companies like Waveriser-it are often chosen for their ability to provide both installation and long-term technical support.
Why Professional Installation Is Worth Considering
While DIY camera kits are available, professional services offer practical advantages. Trained technicians understand coverage planning, wiring safety, and system configuration. This reduces the risk of blind spots, unstable connections, or future repair costs.
For anyone looking for dependable camera installation and support, professional involvement often results in a smoother experience and fewer issues over time.
Conclusion
A CCTV camera installation service follows a structured process that starts with understanding your needs and ends with a fully functional surveillance system. Each stage, from site inspection to training and support, plays a vital role in ensuring reliable monitoring.
Knowing how the process works helps you choose the right service provider and ensures your investment delivers consistent results. Whether for a home or business, careful installation makes all the difference in daily security operations.
FAQs
1. How long does a CCTV installation usually take?
Small setups may take a few hours, while larger properties may require one or two days.
2. Can CCTV cameras record without internet access?
Yes, recording works locally, but remote viewing requires an internet connection.
3. Is night recording available in all cameras?
No, night vision depends on the camera model and should be confirmed in advance.
4. Do CCTV systems require regular maintenance?
Basic checks every few months help ensure clear footage and stable performance.
5. Can cameras be relocated later if needed?
Yes, professional installers can reposition cameras if requirements change.


Sign in to leave a comment.