Deep scratches and gouges can make an otherwise attractive floor look worn and neglected. Unlike light surface marks, these deeper defects can remain visible after sanding and refinishing if they are not repaired correctly first. For homeowners searching for floor refinishing near me in Palm Desert, professional evaluation can help determine the most appropriate repair approach. A proper repair starts with checking how deep the damage goes and whether the surrounding wood is stable. Careful preparation creates a smoother surface and helps the new finish look evener.
Start by Checking the Damage
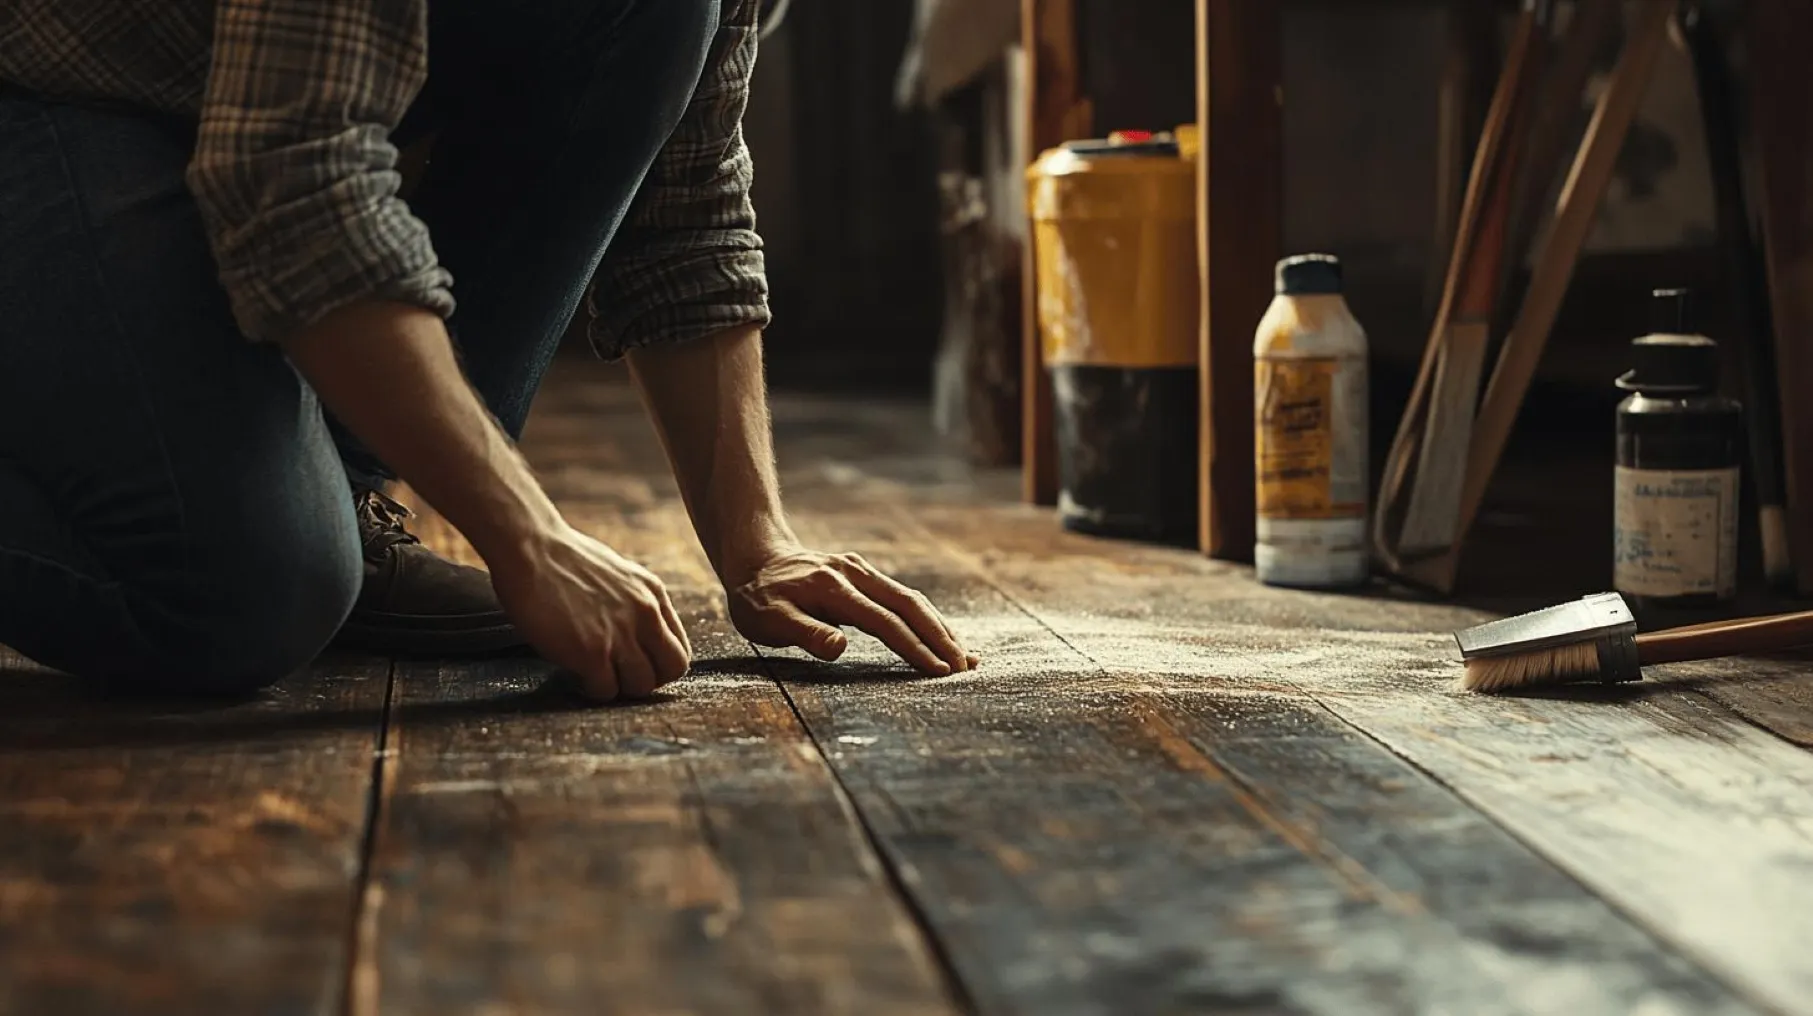
Before reaching for a filler or sanding tool, inspect each damaged area closely. A scratch that only affects the finish can often be handled with light sanding. A gouge that removes part of the wood requires more work.
Run your fingers gently across the damaged spot. If you can clearly feel a deep channel or missing section of wood, the defect should be repaired before the final refinishing process.
Also check for:
- Loose wood fibres
- Splintered edges
- Cracked boards
- Dark stains inside the gouge
- Areas where the wood has been crushed
Do not assume every mark needs the same repair method. The depth and condition of the damaged wood should guide your approach.
Clean the Area Before Repairing It
Dirt and old floor products can collect inside scratches and gouges. These materials can prevent a repair compound from bonding properly. Vacuum the damaged area carefully, then wipe it with a suitable wood-floor cleaning product. Avoid soaking the floor with water. Excess moisture can enter gaps and affect the wood.
Allow the area to dry completely before moving to the next step. If the floor has wax, polish, or another coating, it may also need to be removed before refinishing. A new finish cannot bond well to certain old surface products.
Sand Away Loose Fibres
Deep scratches often have rough or raised edges. These loose fibres should be removed before filling the damaged area. Use fine to medium sandpaper and work carefully around the gouge. The goal is not to remove a large amount of good wood. Instead, smooth the broken edges so the repair material can sit properly.
Always sand with the grain of the wood when possible. Sanding aggressively across the grain can create additional marks that may become visible after refinishing.
Choose the Right Repair Material
The type of repair compound matters. For small defects, a quality wood filler may be enough. Larger gouges may require a stronger repair product designed for deeper damage.
Choose a filler that is suitable for the specific type of wood floor and compatible with the planned finish. A useful rule is to avoid filling a large structural gap with a product designed only for tiny surface defects. The filler may crack, shrink, or fall out as the floor experiences normal movement.
Fill Deep Gouges in Layers
A common mistake is trying to fill a deep gouge in one thick application. Thick filler can dry unevenly and may shrink as it cures. For a deeper repair, applying the material in controlled layers can produce a more stable result.
Press the filler firmly into the damaged area so there are no obvious air pockets. Keep the surrounding floor as clean as possible. Let the material cure according to the manufacturer's instructions before adding another layer. Do not rush this stage. Sanding filler before it has fully cured can pull it out of the gouge and create an uneven repair.
Sand the Repaired Area Smooth
Once the filler has cured, sand the repaired spot until it is level with the surrounding wood. Start with the appropriate grit for the repair and gradually move to a finer grit. Avoid creating a depression around the repaired area.
Place a straight edge or flat object over the repair to check whether it is level. If you can see or feel a dip, the repair may need another small application of filler. The goal is a smooth transition rather than a noticeable patch.
What If the Gouge Is Too Deep?
Some damage is too extensive for simple filler. If a gouge has removed a large piece of a board, the surrounding wood is cracked, or the damaged area reaches deeply into the flooring, a professional may recommend replacing part of the board.
Board replacement takes more skill because the new piece must match the existing floor in thickness, wood type, and appearance. Trying to hide major structural damage under filler can produce a repair that looks acceptable at first but fails later.
Match the Wood Before Refinishing
One challenge with deep repairs is colour. A filler may not absorb stain in exactly the same way as natural wood. This can make the repaired area stand out after staining or refinishing.
Before applying the final finish, test the stain or colour treatment on an inconspicuous area or spare piece of matching wood when available. For valuable hardwood floors, professional advice can be useful because colour differences become easier to notice after the new finish is applied.
Sanding the Whole Floor Matters
Repairing individual gouges is only part of the preparation. The entire floor may need proper sanding before refinishing. Professional sanding removes the old finish and creates a suitable surface for the new coating.
However, sanding should not be used as an excuse to aggressively remove deep damage. Excessive sanding can reduce the useful thickness of the flooring. A skilled contractor knows when sanding is enough and when a damaged board needs additional repair.
Avoid Common DIY Repair Mistakes
Deep floor damage can become more difficult to fix when the wrong products or methods are used.
Try to avoid these common mistakes:
- Applying filler over dirt or old wax
- Using too much filler at once
- Sanding before the filler has cured
- Using coarse sandpaper too aggressively
- Ignoring loose wood around the gouge
- Applying finish before checking the repair
- Trying to hide severe board damage with surface products
Taking extra time during preparation is usually better than trying to correct an uneven repair after refinishing.
When Professional Help Makes Sense
If you are dealing with several deep gouges, widespread damage, expensive hardwood, or boards that are cracked or unstable, professional help can be a safer choice.
Searching for floor refinishing near me in Palm Desert can help you find professionals who can inspect the condition of the flooring before recommending a repair method. A professional can determine whether the damage needs filling, board repair, replacement, or simply deeper sanding.
Prepare the Floor Before the New Finish
After the damaged areas have been repaired and sanded, remove all dust from the floor. Fine sanding dust can settle into cracks and interfere with the finish.
Use suitable vacuuming and cleaning methods recommended for the flooring system. The surface should be clean, dry, and free of loose particles before staining or applying a protective coating. This final preparation step is easy to overlook, but small particles trapped beneath a new finish can affect the final appearance.
Consider the Floor's Age and Condition
Deep scratches may be more than a cosmetic issue. If a floor has many gouges, worn areas, dark stains, loose boards, and repeated repairs, refinishing may not be the best solution. A professional inspection can help determine whether the floor still has enough usable wood for sanding and refinishing.
When looking for floor refinishing near me, ask the contractor to evaluate the floor before work begins rather than assuming every damaged floor can be refinished.
Final Thoughts
Deep scratches and gouges should be repaired before refinishing because a new finish will not magically remove deep damage. Clean the area, remove loose fibres, use a suitable filler when appropriate, allow it to cure, and sand the repair carefully. Severe damage may require board replacement instead of filler. If you are unsure about the condition of your floor, a professional floor refinishing near me in Palm Desert service can help identify the right repair approach and prepare the surface for a smoother, longer-lasting finish.
FAQs
1. Can deep scratches and gouges be removed before floor refinishing?
Yes. Deep scratches and gouges should be addressed during surface preparation before refinishing. The appropriate method depends on the flooring material and damage. Deeper surface problems may require restoration rather than simply polishing over the affected areas.
2. Should I polish a floor with deep scratches or refinish it?
Polishing may improve minor surface scratches, but deeper damage can require more extensive restoration. Totally Restored Inc. explains that polishing can fill scratches, while restoration addresses underlying floor-surface problems for a more complete repair.
3. How are deep scratches removed from marble and natural stone floors?
Deep scratches in marble and natural stone may require surface correction before polishing. The process can involve specialized pads and progressive restoration techniques selected according to the stone type, damage level, and existing floor finish.
4. Can gouges be repaired without replacing the entire floor?
In many cases, floor damage can be treated without replacing the entire surface. The correct approach depends on the material, depth of the gouge, and overall condition. A floor inspection helps determine whether localized repair or broader restoration is appropriate.
5. Why should deep gouges be fixed before floor refinishing?
Deep gouges can remain noticeable if refinishing is performed without properly correcting the damaged surface first. Preparing the floor helps create a more consistent base for polishing, sealing, or refinishing and can improve the overall appearance of the finished floor.





















Sign in to leave a comment.