Your Guide to Making the Perfect Gallery Wall in your Living Room
The living room is often regarded as the most active and social part of any household. If you wish to have a gallery wall then your living room is the best place for it. A well-planned gallery wall acts as an artful narrative and its highly curated nature breathes life to your walls while making space vibrant.
Stuck on making the first move? Don’t worry you can follow our guide here, which has steps that are straightforward and fun.
Immerse Yourself on The Gallery Wall Idea
Before you begin hammering nails into your wall, take time to ascertain the loose “theme”. Is it modern and cozy or boho-themed? Is it bold or classic with chic fittings? Your gallery wall should speak to your identity and the emotions of your space.
Popular Gallery Wall Styles:
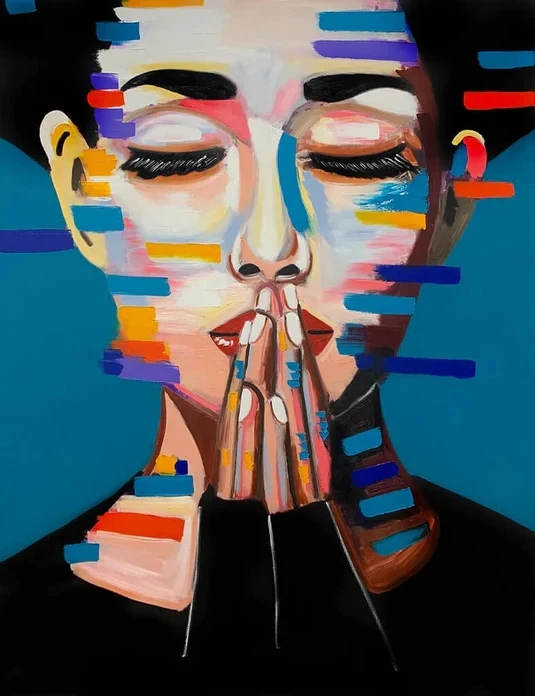
Modern Minimalist: Contains stark white photos like genres and line art enclosed in simple frames.
- Chic Classic: Includes calm yet complex landscapes, portraits in classic and ornate frames. Adding gold to a portrait adds glamor.
- Abstart Prints: Including posters of vintage pieces.
Pick Ideal Wall
Not every wall that has space needs a gallery. As such pick the right one it ideally should contain elements such as blank spaces, ease of visibility and not contain too mach competing pieces of furniture.
Top Areas:
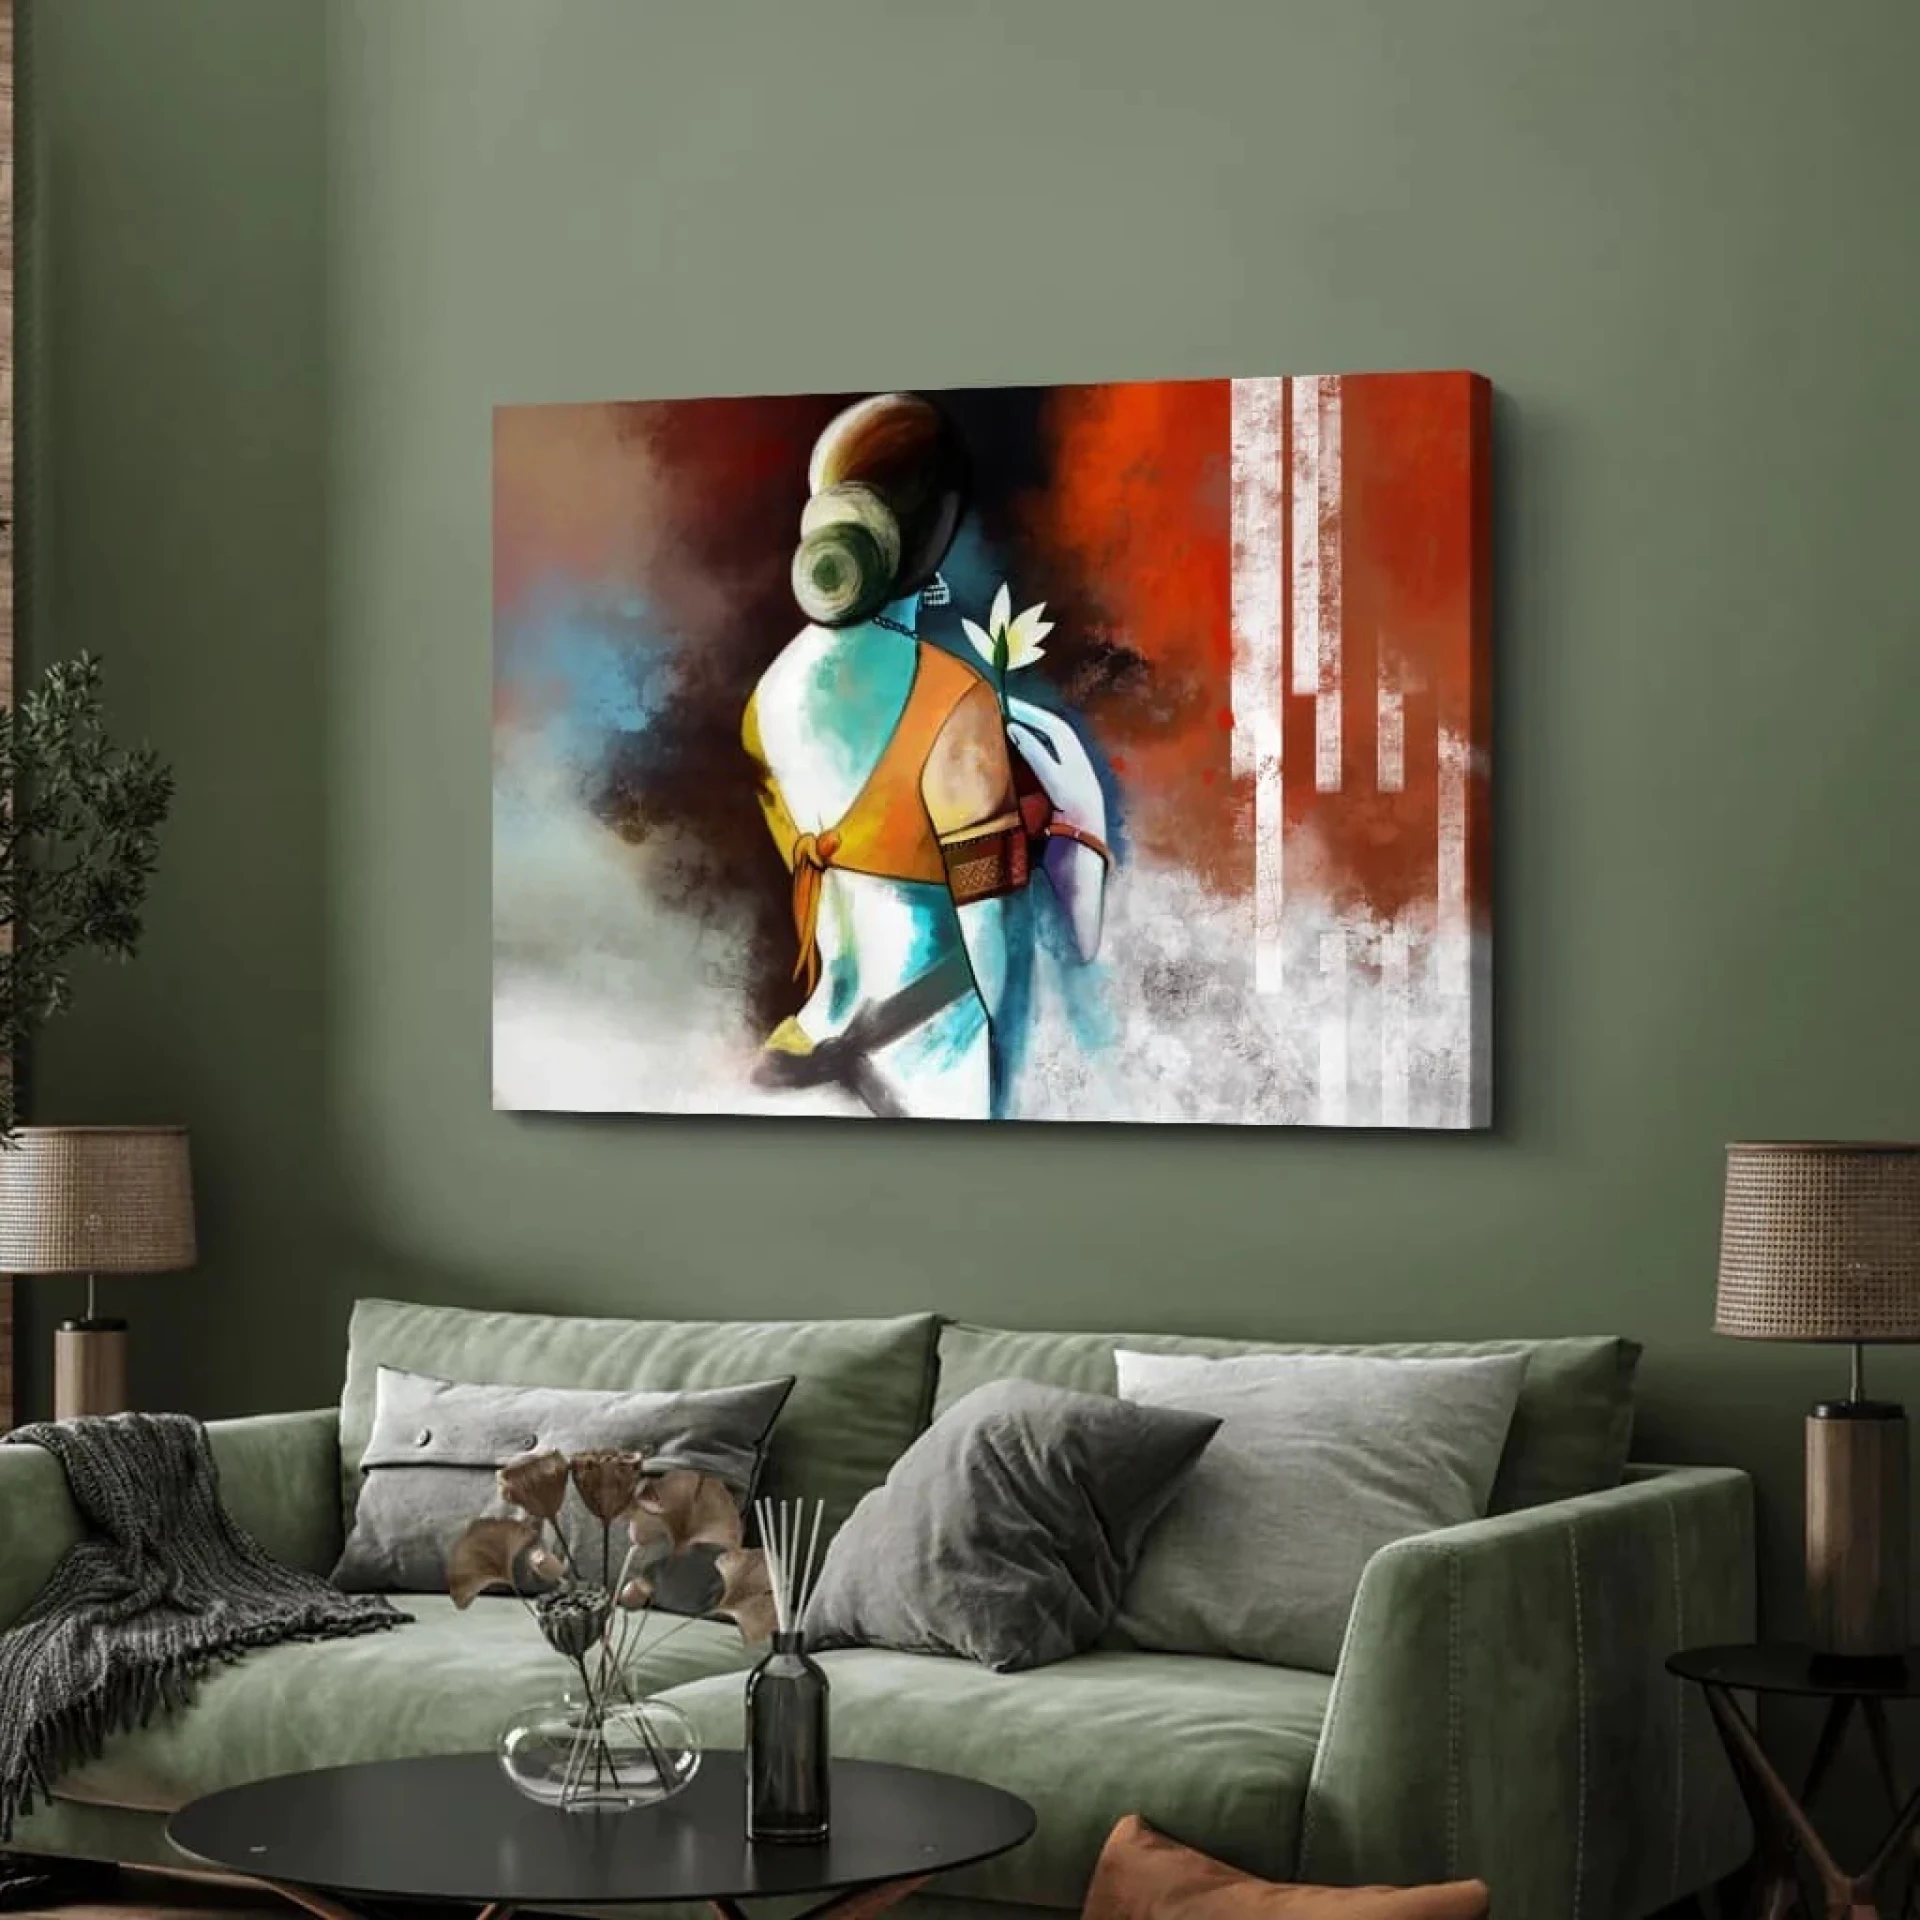
- Behind your couch.
- Above a console or sideboard.
- Across from windows for a light bouncing view.
- Staircase wall adds interest to the overall design.
Gather Your Artwork (Add Some Spice!)
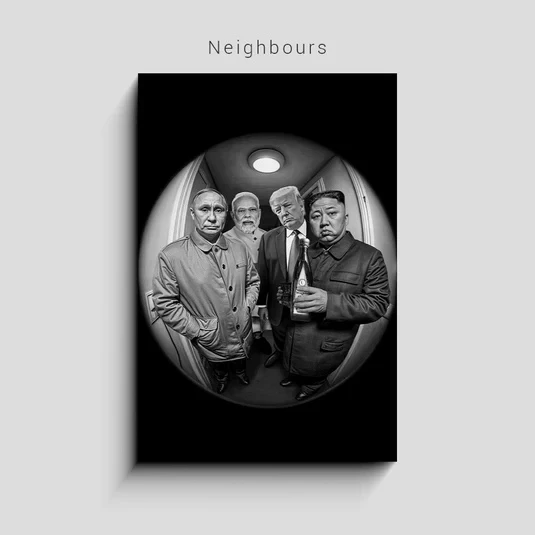
Now comes the exciting part, picking the pieces to actually add to the wall. In fact, a gallery wall does not need to be all paintings or prints. Combine different texture, shapes and color for a more stunning impression.
Things you can include:
- Colored prints and illustrations.
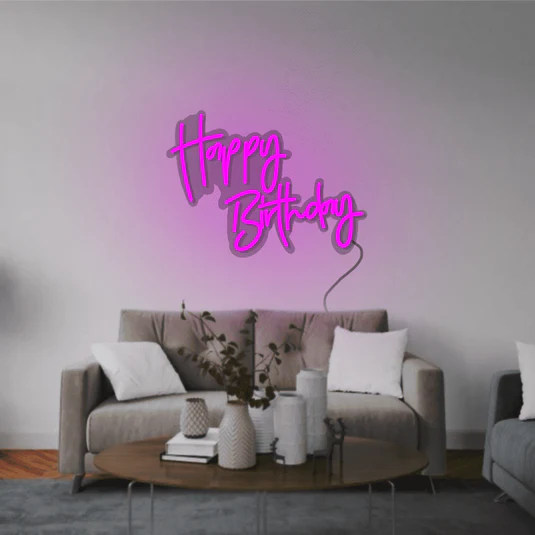
- Framed quotes or poems.
- Images, both personal and vintage.
- Tapestry or woven artwork.
- Mirrors or clocks.
- Wall plates, mini shelves or tiny objects.
- The magic happens in the blend!
Plan Out The Layout (Follow The Floor First)
Before you get to drilling, use masking tape to simulate the outline of your wall art on the floor. That way, you can play with layouts and adjust until you're fully satisfied with the visual aspect.
Popular Layout Styles:
- Grid: Symmetrical rows or columns (great for a clean, modern look)
- Salon Style: Assorted sizes and spacing (great for a warm, artistic feel)
- Linear Row: Ideal for narrow walls or long spaces
- Centered Cluster: Provides strong focus
Keep Spacing Consistent
After coming up with a layout, keep the distance between frames uniform, that’s the secret of a well polished gallery wall.
Pro tip: With the help of a measuring tape or masking tape, make sure to mark each frame with 2 - 3 inches of spacing in a way that is uniform.
Start with the Anchor Piece
Decide which piece will act as your ‘anchor’. You may choose a framed picture, a bold photograph, or art print as the first piece. Arrange the rest of the pieces based on where this will be placed.
This makes sure that the entire set composition stays unified.
Mix Frames like a Pro
In art, it’s not uncommon for frames to be matching. Uniform frames provide a nice touch. Mismatched frames give a chic touch. Either option is acceptable but do consider your personal preferences.
All white or all black for a minimalistic look.
Mix wood, metal and vintage frames for a rustic or boho touch.
Go frameless for a relaxed, modern gallery.
Hang with Care (But Don't Stress! )
Choose the right tools, be it hooks, nails, or even adhesive strips depending on the gravity of the frames and the material used for the walls. To make life easier for yourself, trace the frame sizes on paper and tape them on the wall until they hang on the wall at the perfect angle.
And if something’s off? That is fine! That is the beauty of art, it does not need to be symmetrical.
Light It Up
Your gallery wall revels in good lighting. Remember to accentuate your art with wall-mounted sconces, picture lights, or ensure that the artwork is exposed to natural sunlight during the day.
Add a Personal Touch
Pieces of artwork that truly reflect you should definitely be included. It could either be a postcard from somewhere you went, a picture of your pet, or some art you did yourself. These are the pieces that will make your gallery wall more appealing.
Additional Tips for a Pinterest-Worthy Gallery Wall:
- Enhance visual hierarchy by ensuring that the lower edge of the picture frame sits 6-8 inches above the furniture.
- Ensure that there is logic in your work by sticking to a predetermined focus color.
- If there is a need to defy rules then do so, for after all, art is about expressing oneself!
Last Thoughts: Wall, But Make It Art
Turning your living room into a gallery that exhibits your memories is bound to leave a lasting impression on your guests. Unlike just decorating, it tells a story, sets the mood, and invokes emotions that bring everything together beautifully.
With this idea in mind, it is time to achieve balance between creativity and structure by grabbing those picture frames you may have stored!


Sign in to leave a comment.