
Creating a realistic walk cycle is a fundamental skill in 3D animation. Whether you’re working on video games, animated films, or commercials, a believable walk cycle is essential for bringing your characters to life. Animating a character's walk may seem simple, but achieving a natural and fluid movement requires attention to detail, physics, and timing.
If you're looking to master animation, enrolling in a 3D animation course with Placement in Delhi can provide you with the skills and industry insights needed to create professional-quality animations.
In this guide, we will break down the process of creating a realistic walk cycle in 3D animation, covering key principles, workflow, and pro tips to enhance your animation skills.
Understanding the Fundamentals of a Walk Cycle
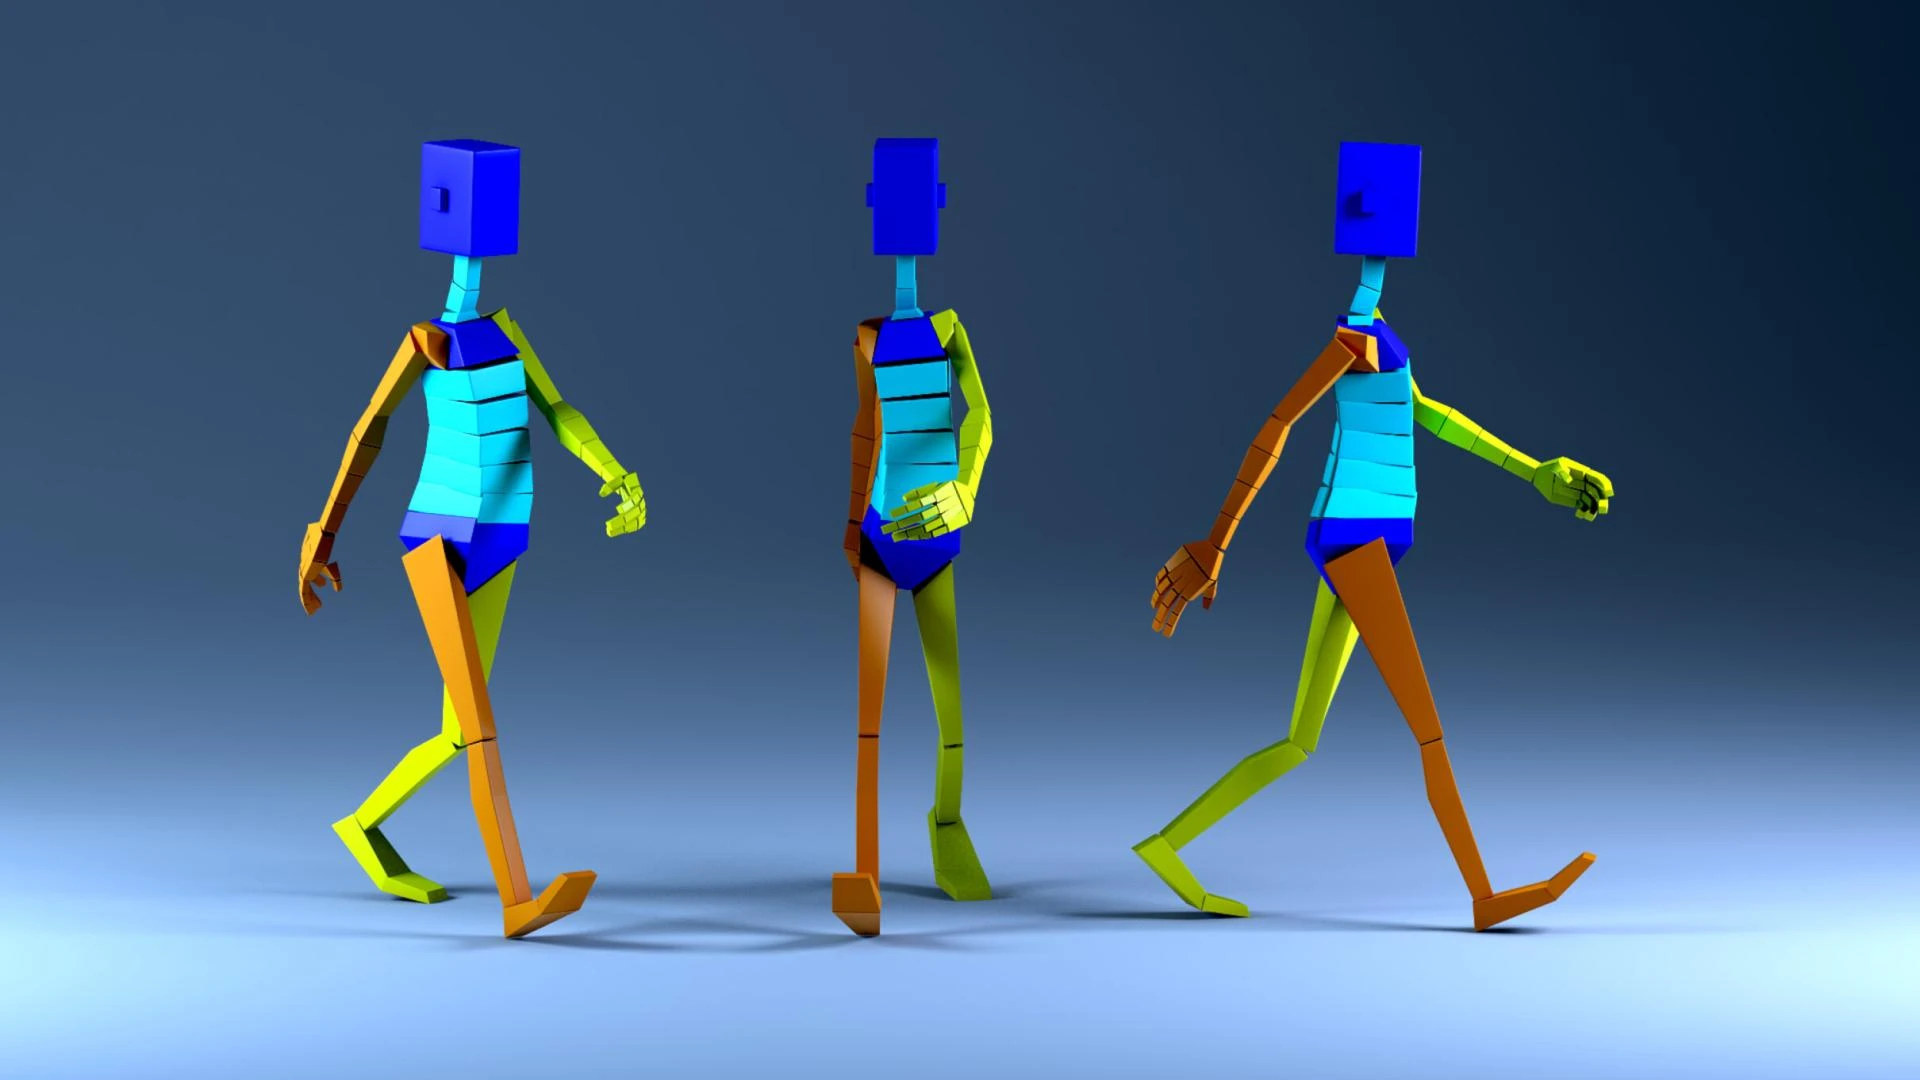
1. The Four Main Poses in a Walk Cycle
A walk cycle consists of four key poses that define the movement:
- Contact Pose: The leading foot touches the ground while the trailing foot is still behind.
- Down Pose: The character’s weight shifts downward as the leading leg absorbs impact.
- Passing Pose: The trailing leg moves forward while the body remains at its midpoint.
- Up Pose: The character lifts slightly as the trailing foot prepares to land.
How to Get It Right
- Study real-life walking movements or use video references.
- Use a mirror or record yourself walking to observe natural body mechanics.
- Keep in mind that different walking styles (casual, fast, heavy, sneaky) have distinct characteristics.
Step-by-Step Guide to Animating a Walk Cycle
2. Blocking the Keyframes
Blocking involves setting up the major poses of your animation before refining the details.
Steps to Block Your Walk Cycle
- Start with the Contact Pose by placing the feet correctly.
- Set the Down Pose with slightly bent knees and lowered torso.
- Move to the Passing Pose, shifting the weight naturally.
- Finalize with the Up Pose, where the body slightly rises.
- Loop the animation to ensure a seamless transition.
Pro Tips
- Ensure proper weight shifting between the legs to avoid robotic movements.
- Maintain a smooth rhythm and timing between steps.
- Test the animation in different playback speeds to adjust natural pacing.
3. Adding Secondary Motion and Refinements
A walk cycle isn’t just about moving the legs; the entire body contributes to a realistic motion.
Key Elements to Consider
- Hip Movement: The hips should subtly shift up and down and rotate naturally.
- Arm Swing: Arms should move opposite to the legs to maintain balance.
- Head Bobbing: A slight up and down movement adds realism.
- Overlapping Action: Let parts of the body (like fingers or clothing) lag slightly behind to create fluidity.
Refining the Animation
- Use animation curves in the graph editor to smooth out jerky movements.
- Adjust easing and timing for a more lifelike feel.
- Add subtle variations in each cycle to avoid mechanical repetition.
4. Polishing and Rendering Your Animation
Once your walk cycle looks natural, it’s time to polish it and prepare for final rendering.
Final Checks Before Rendering
- Playblast Your Animation: Use a low-resolution preview to catch any unnatural movements.
- Check Silhouettes: Ensure the character's movement reads well in a simple outline.
- Adjust Camera Angles: Experiment with different views to enhance the animation’s appeal.
- Light and Shade: Proper lighting helps highlight the motion fluidity.
If you’re serious about animation, taking 2D animation courses in Delhi can give you hands-on training in industry-standard tools like Maya, Blender, and Cinema 4D.
Conclusion
Mastering a realistic walk cycle in 3D animation takes practice, patience, and a keen eye for detail. By understanding key poses, refining secondary motions, and polishing your animation, you can create smooth and natural character movements.
Are you currently working on a walk cycle animation? Share your challenges and tips in the comments below!


Sign in to leave a comment.