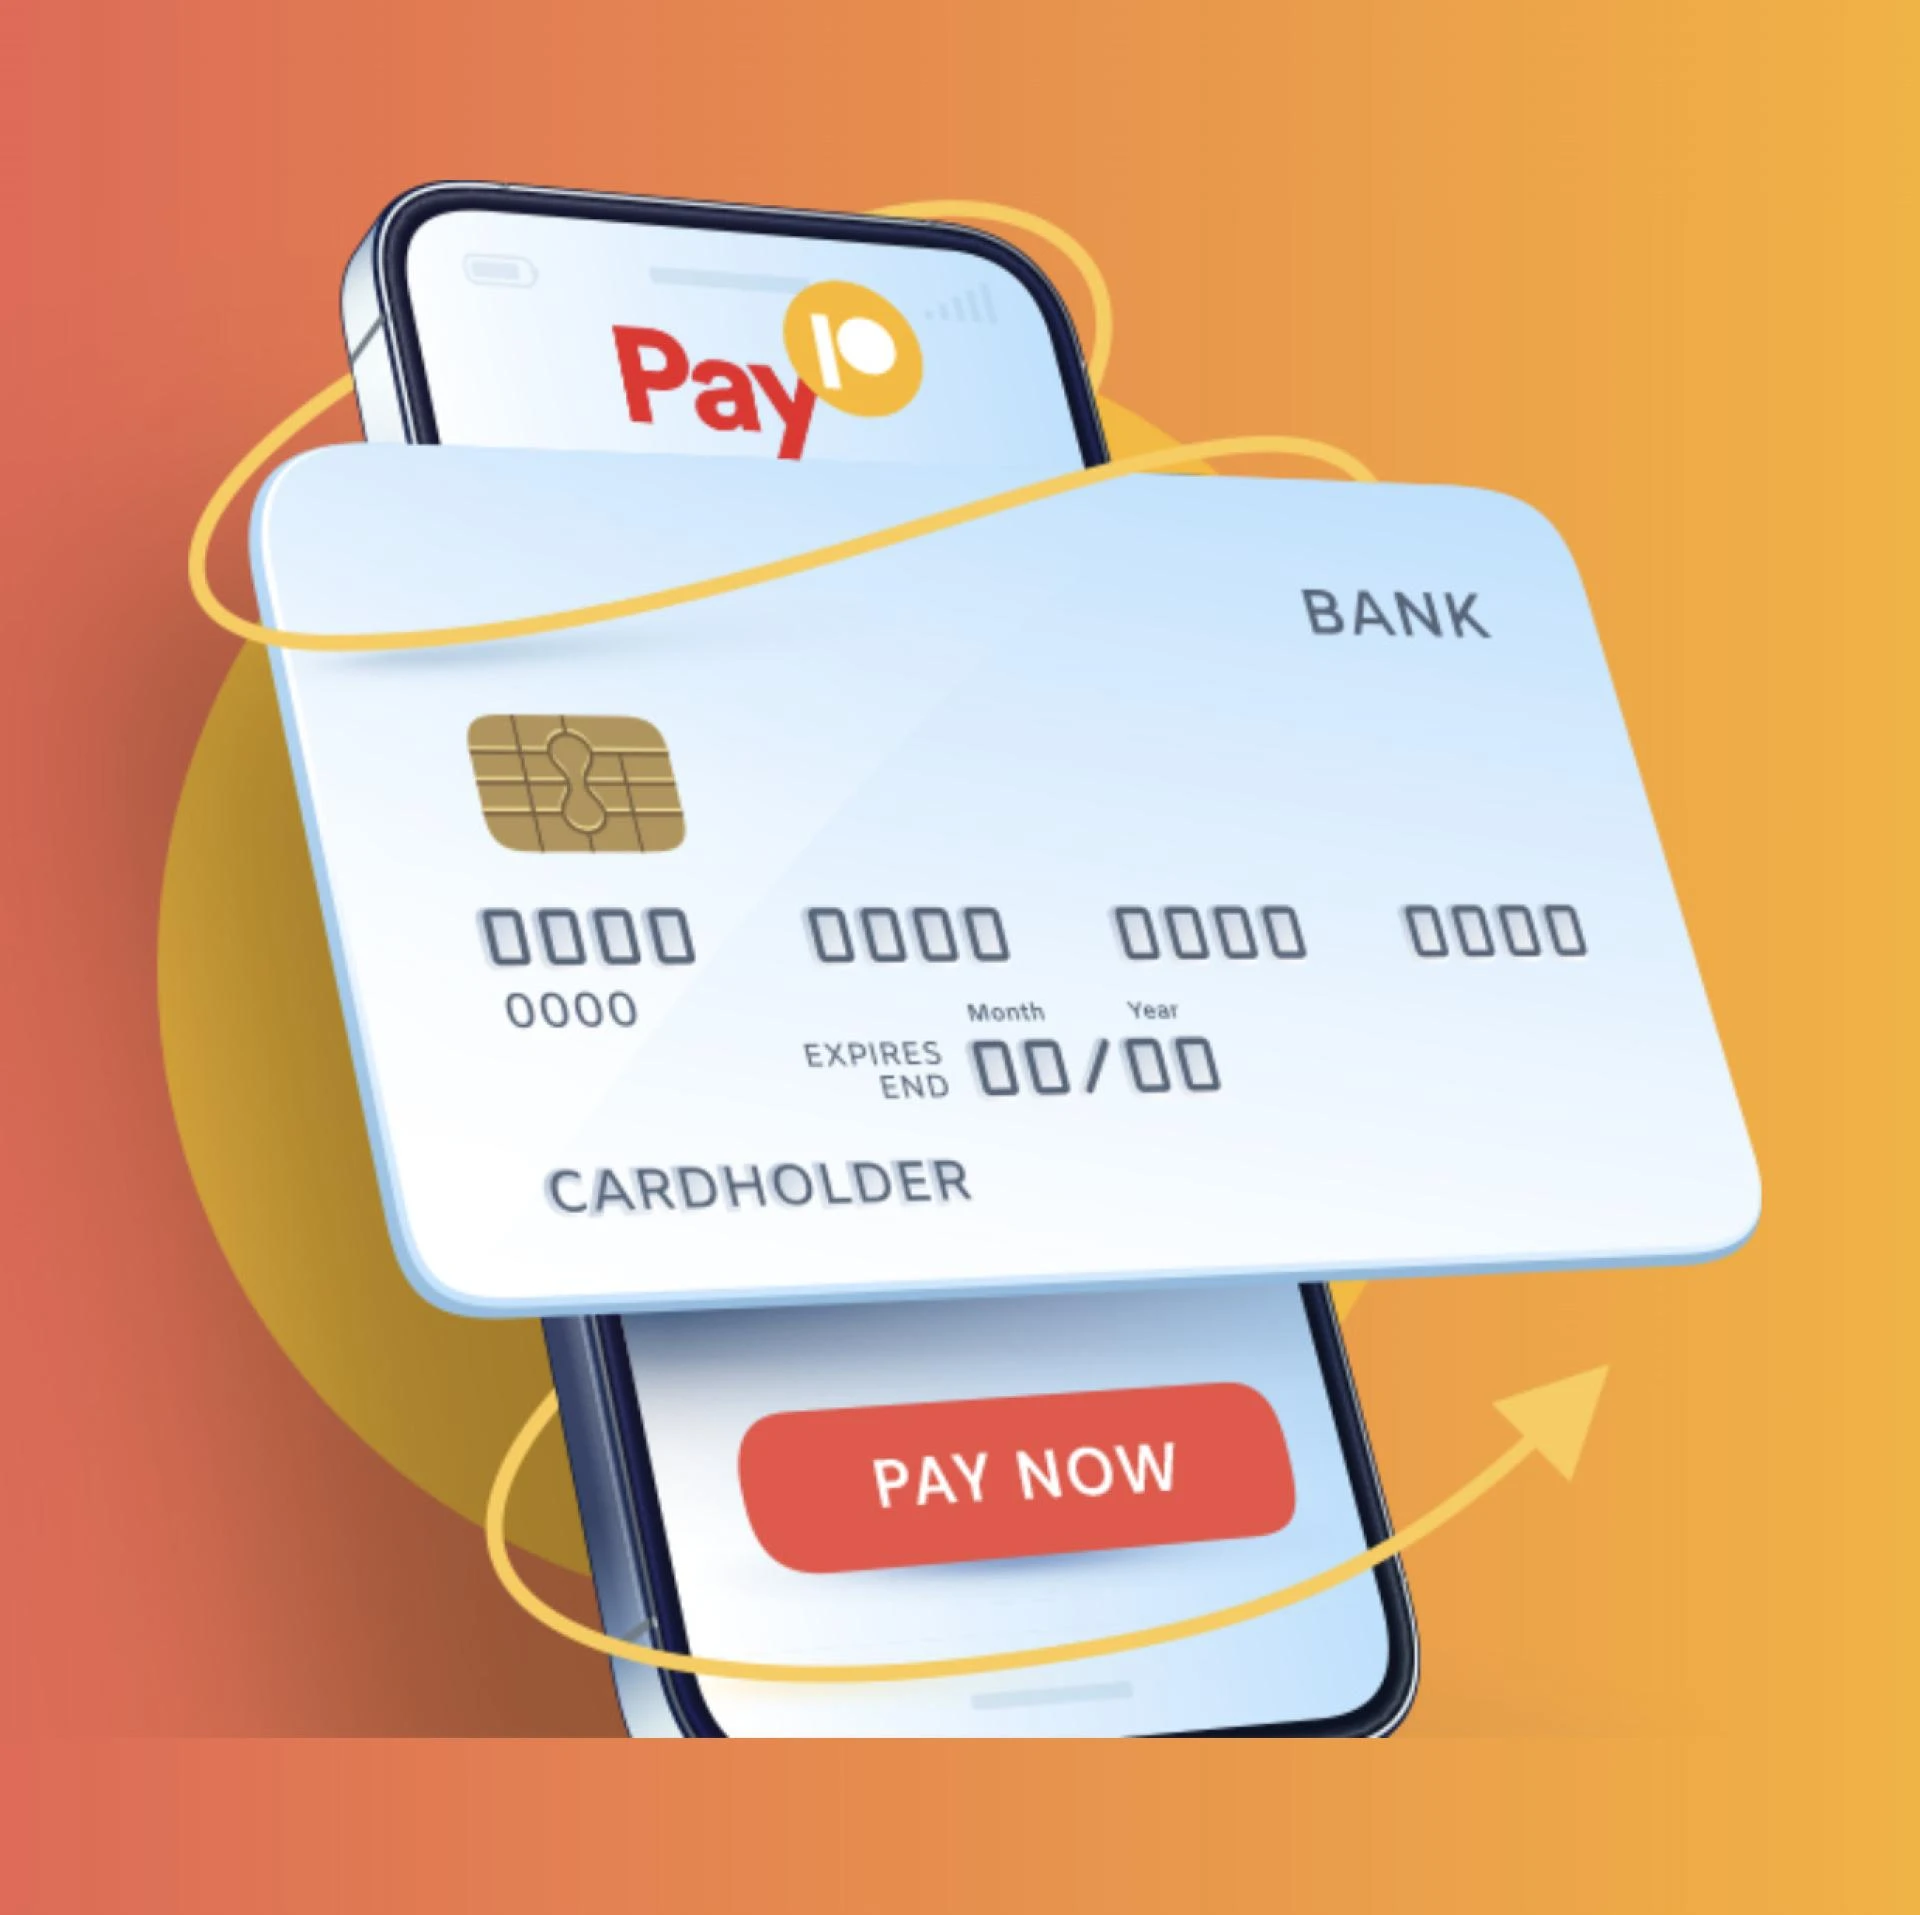
In the fast-paced world of digital payments, having a hassle-free gateway to handle transactions is crucial for businesses of all sizes. Pay10, a leading payment gateway service provider in India, has revolutionized the way companies accept payments. With support for 100+ payment modes, including UPI, all domestic cards, net banking, and wallet payments, Pay10 ensures that you can create UPI links and manage payments with ease. In this blog, we\'ll dive into the benefits of using Pay10 and guide you on how to create UPI links for seamless transactions.
Why Choose Pay10 for Your Payment Gateway Needs?
Choosing the right payment gateway is a critical decision for any business. Pay10 stands out from the crowd for several reasons:
Wide Range of Payment Options
Pay10 supports over 100 different payment modes, giving your customers the flexibility to choose their preferred method. This includes all major domestic cards, UPI, net banking, and various digital wallets.
Easy Integration
Integrating Pay10 into your business is a straightforward process. Our user-friendly interface and comprehensive documentation make it easy to set up and start accepting payments in no time.
Security and Compliance
Pay10 is committed to providing a secure payment environment. Our platform adheres to the highest security standards, ensuring that your customers\' data is protected at all times.
Real-Time Transaction Monitoring
With Pay10, you have access to real-time transaction monitoring. This feature helps you keep track of your payments and ensures that everything is running smoothly.
How to Create UPI Link with Pay10
One of the most popular payment modes in India is UPI (Unified Payments Interface). UPI allows customers to make instant payments through a simple link. Here\'s a step-by-step guide on how to create UPI links with Pay10:
Step 1: Sign Up with Pay10
The first step to create UPI link is to sign up with Pay10. Visit our website and fill out the registration form. Once you\'re registered, you\'ll receive access to our payment gateway dashboard.
Step 2: Generate UPI Link
After logging into the Pay10 dashboard, navigate to the "UPI" section. Click on "Create UPI Link" and enter the required details, such as the payment amount, description, and customer information. You can also set an expiration date for the link, if needed.
Step 3: Share the UPI Link
Once you\'ve created the UPI link, you can share it with your customers through various channels, such as email, SMS, or social media. Your customers can click on the link to make a payment using their UPI-enabled apps.
Step 4: Track Payments
With Pay10\'s real-time monitoring, you can track payments made through the UPI link. You\'ll receive instant notifications when a payment is successful, allowing you to manage orders and transactions efficiently.
Benefits of Using UPI Links
Creating UPI links offers several benefits for businesses and customers alike:
- Convenience: Customers can make payments with just a click, reducing the friction in the payment process.
- Speed: UPI payments are processed instantly, allowing for faster transactions and order fulfillment.
- Security: UPI links are secure, ensuring that customer data remains protected.
By choosing Pay10 as your payment gateway provider, you can create UPI links with confidence, knowing that you\'re using a reliable, secure, and user-friendly platform. Whether you\'re a small business or a large enterprise, Pay10 has the tools and features you need to streamline your payment processes.
Conclusion
Pay10 makes it easy to create UPI link and offers a comprehensive suite of payment options for businesses in India. With our wide range of payment modes, easy integration, and commitment to security, we\'re the ideal partner for your payment gateway needs. Sign up with Pay10 today and experience the convenience of hassle-free payments.


Sign in to leave a comment.