Granite backsplashes can add a touch of elegance to any kitchen or bathroom. However, there may come a time when you want to update your space or replace the backsplash altogether. Removing a granite backsplash may seem daunting at first, but with the right tools and techniques, it can be a relatively straightforward process. In this guide, we will walk you through the step-by-step instructions on how to easily remove a granite backsplash.
Step 1: Gather the necessary tools and materials: Before you begin the removal process, it's important to gather all the tools and materials you'll need. This includes safety goggles, gloves, a chisel or putty knife, a hammer, a pry bar, a utility knife, and a drop cloth or tarp to protect the countertop and surrounding area.
Step 2: Prepare the workspace: To protect your countertop and ensure a smooth removal process, it's crucial to prepare the workspace properly. Place a drop cloth or tarp over the countertop to prevent any damage from debris or falling tiles. You should also remove any items that may obstruct your work area.
Step 3: Start at the edges: Using a utility knife, carefully cut along the edges of the granite backsplash where it meets the wall. This will help loosen the adhesive or caulk that holds the backsplash in place.
Step 4: Loosen the backsplash: With the edges cut, gently insert a chisel or putty knife between the granite backsplash and the wall. Apply pressure and tap it lightly with a hammer to create a gap. Repeat this process along the entire length of the backsplash until it becomes loose.
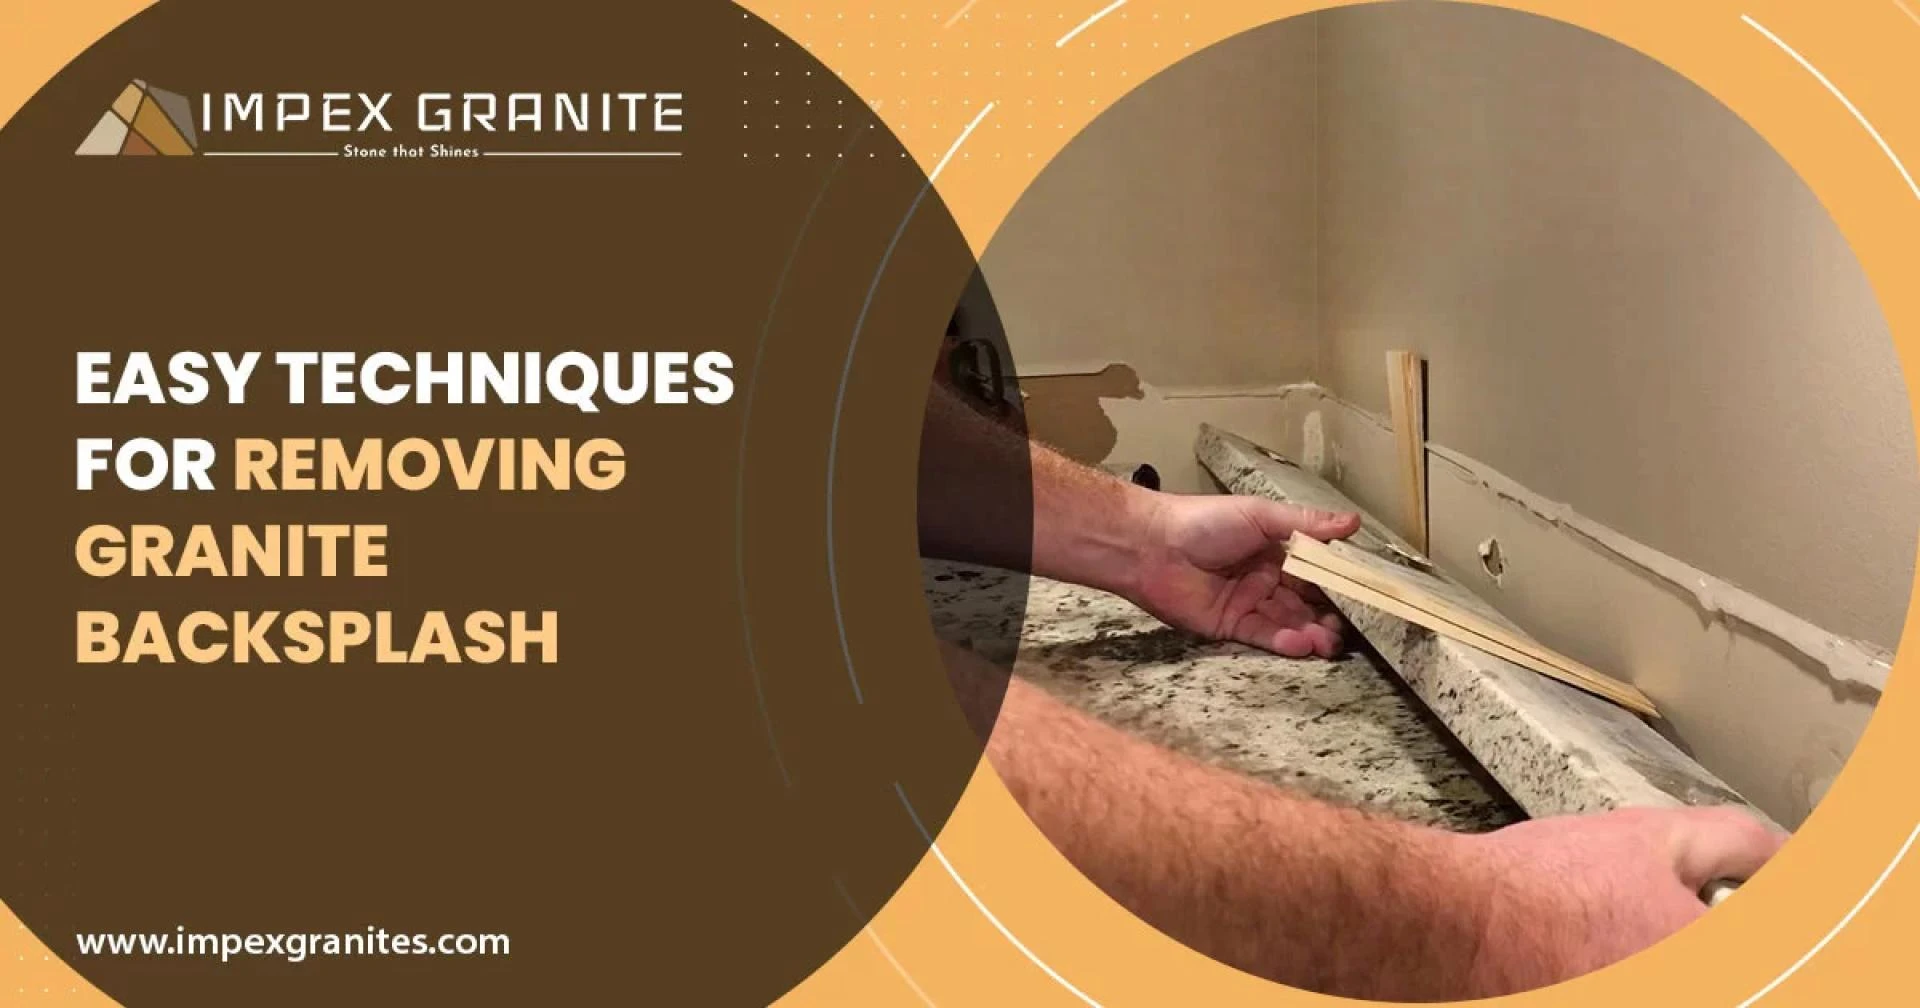
Step 5: Pry off the backsplash: Once the backsplash is sufficiently loosened, use a pry bar to carefully pry it away from the wall. Start at one end and work your way along, exerting gentle pressure to avoid damaging the wall or the countertop. If necessary, use a putty knife or chisel to help pry off any stubborn sections.
Step 6: Remove any remaining adhesive or caulk: After the granite backsplash is removed, you may find residual adhesive or caulk on the wall. Use a scraper or putty knife to carefully scrape off any remaining residue. Be cautious not to damage the wall surface during this process.
Step 7: Clean and inspect the area: Once all the adhesive and caulk are removed, thoroughly clean the area with a mild detergent and warm water. Dry it completely before inspecting the wall for any damages. If there are any holes or imperfections, patch them up with spackling compound or putty and sand them smooth.
Conclusion: Removing a granite backsplash doesn't have to be a daunting task. By following this step-by-step guide, you can easily remove your granite backsplash and prepare your space for a new design or replacement. Remember to exercise caution throughout the process, protect your countertops, and take your time to ensure a successful removal. With the right tools and techniques, you'll have a clean and ready canvas to transform your kitchen or bathroom into the space of your dreams.
Source: How To Remove Granite Backsplash


Sign in to leave a comment.