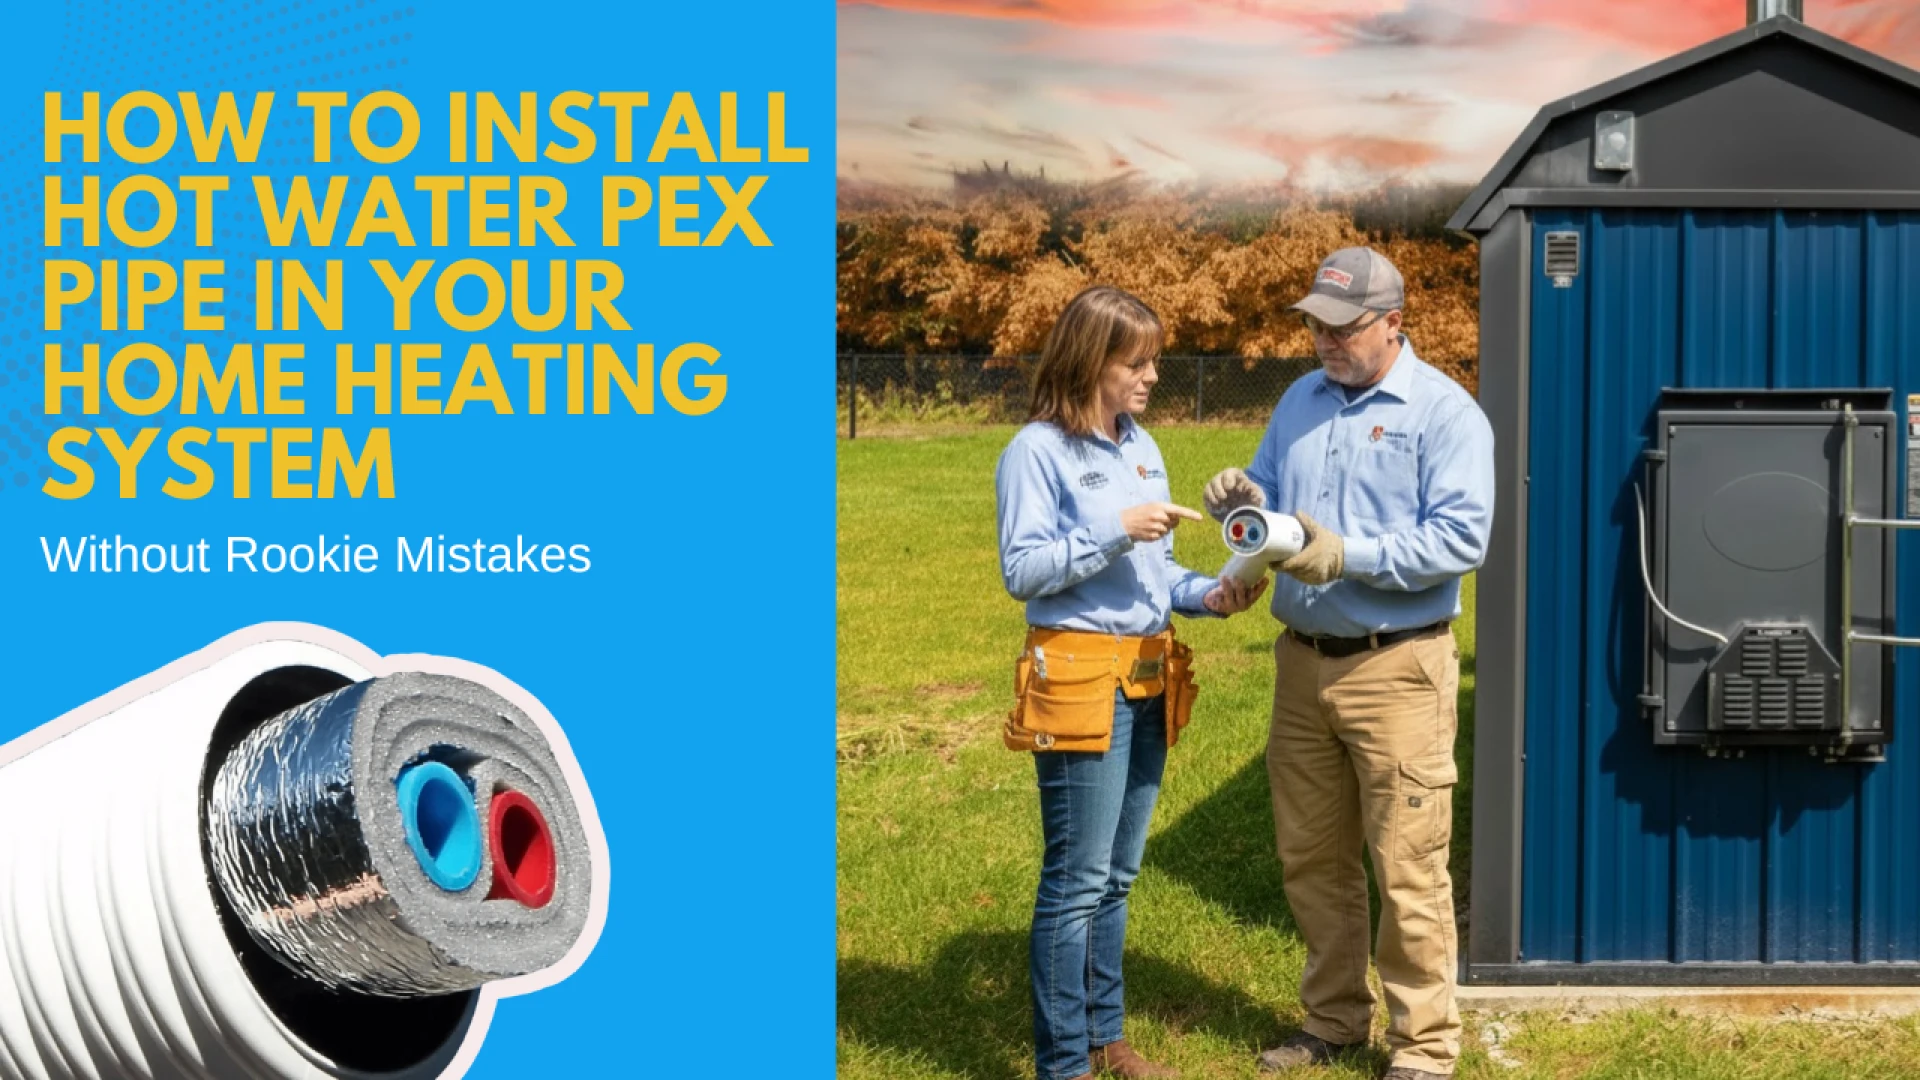
Walking barefoot on warm floors during the first freezing mornings of winter feels incredibly satisfying. Proper installation of hot water PEX pipe delivers that comfort all season long. It prevents leaks, callbacks, and frustrating cold spots that disrupt your home.
Preparation and Safety First
Safety always comes first in any plumbing project. Start by turning off the power or gas to your water heater right now. Next, turn off the main water valve to end all flow. Drain the lines fully by turning on a faucet at your home’s lowest point. It's an easy step that will save you from flooded basements, a common rookie mistake.
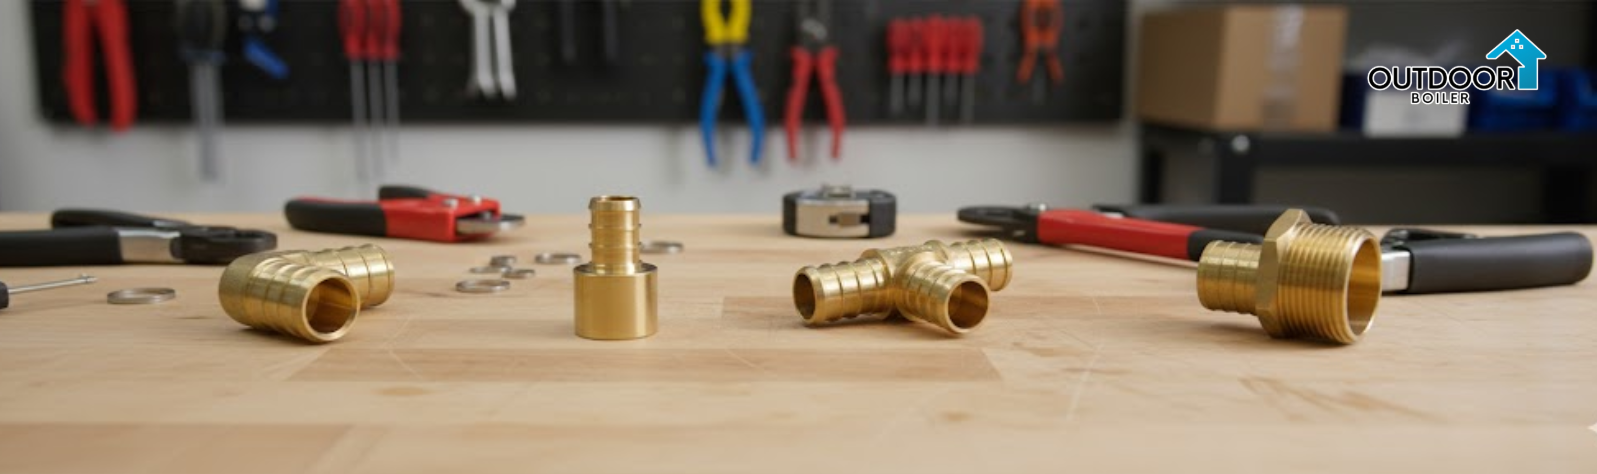
Gather all necessary tools before starting work. You will need a proper PEX cutter for clean ends. Include crimp or expansion tools based on your chosen method. A go/no-go gauge proves essential for crimp connections. Stock enough transition pipe to protect PEX from direct heat sources. Organizing everything prevents you from running the hardware store midway through a project.
The Critical Role of Transition Fittings
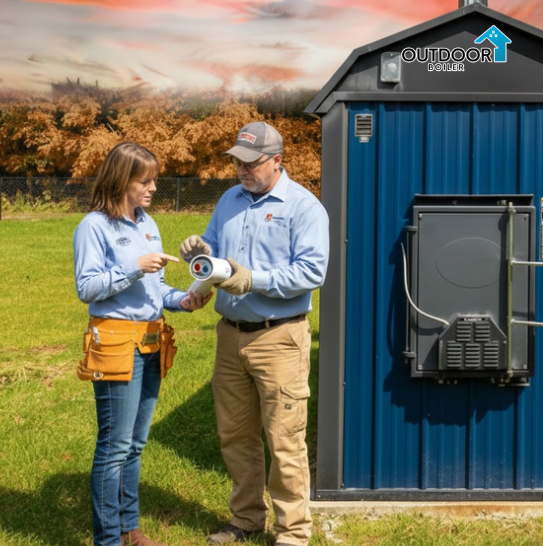
Many installations fail near the water heater due to heat exposure. PEX tubing won't hold up to the direct temp at the outlet of the water heater. Always use 18 inches of copper or stainless steel pipe between the equipment and make sure it’s a proper guard. This transition zone absorbs the highest heat levels and safeguards the PEX.
Connect the metal transition pipe securely to your heater outlet first. Then attach your PEX to the far end of that segment. This straightforward step dramatically extends system life. Failures from heat stress often appear months later, leading to costly repairs.
Achieving Clean Cuts and Secure Connections
Quality starts with precise cuts. Using a proper PEX cutter (rather than a utility knife or hack saw) is very important. Clean, square cuts are easily made for sealing you can trust. Jagged edges allow water to escape over time.
Crimp connection steps:
- Slide the copper crimp ring onto the PEX tubing, positioning it 1/8 inch from the pipe end.
- Insert the barbed fitting fully into the pipe.
- Position the ring directly over the barb.
- Compress with your crimp tool.
- Verify using a go/no-go gauge.
For PEX-A expansion connections, expand the pipe end with the tool and insert the fitting. Either method works great if performed the correct way. There is nothing wrong with consistency in your project, which makes it easier for maintenance.
Integrating with Heating Components
Extend your PEX lines to manifolds, zone valves, and fixtures using the same fitting style throughout. Mixing crimp and expansion methods creates unnecessary complexity during troubleshooting.
Radiant heating demands special care with an insulated PEX pipe. Insulation preserves heat and boosts efficiency. Protect it during installation, particularly around sharp corners and confined spaces. Damaged insulation forces your system to work harder and wastes energy.
Learn more about insulated PEX pipe for radiant heating for heating system.
Avoiding Heat Sources During Routing
Plan pipe routes to maintain at least 18 inches from non-water heat sources. Light fixtures, heating ducts, and chimneys pose risks. PEX degrades faster under prolonged exposure.
Attics and mechanical rooms often house multiple systems. Account for shared spaces in your layout. Adding a few extra feet of pipe ensures safe distances without compromising design.
Thorough Testing Prevents Future Problems
Fill the system slowly after connections. Inspect every joint for drips, wet spots, or moisture. Small leaks grow into major issues once concealed behind walls or flooring.
Pressure testing remains crucial. Professionals rarely skip this step. It reveals weaknesses before they cause damage. Drain, repair, and retest any failures. Proceed only when everything holds pressure perfectly.
Adhering to Industry Standards
Follow ASTM standards strictly for compliance and reliability. Use F1807 for metal crimp rings, F2159 for plastic clamps, F2080 for barbed fittings, and F1960 for expansion systems. These guidelines ensure code approval and long-term performance.
PEX rejects solvent cement or heat fusion entirely. Mechanical fittings provide the only approved method. Review manufacturer specs, as tool requirements vary slightly by brand.
Managing Water Quality for Longevity
Hard or chemically aggressive water accelerates corrosion in fittings and components. Install pretreatment upfront to minimize scale buildup. Quality water extends your entire heating system's lifespan by years.
Examine failed systems often reveals corroded brass fittings despite intact PEX. Proactive treatment protects vulnerable parts effectively.
Proper System Restart
Restore water supply gradually once testing passes. Monitor pressure gauges and listen for unusual noises. Perform a full heat cycle. Recheck all connections under operating temperatures, as expansion reveals hidden issues.
FAQs
Can PEX connect directly to water heater?
No. Install 18 inches of copper or stainless steel transition first.
Best PEX connection method?
Crimp or expansion fittings, following ASTM standards.
Verify crimp quality?
Always use a go/no-go gauge after crimping.
PEX near lights or ducts?
Maintain 18 inches minimum distance.
Pressure testing necessary?
Essential to detect leaks before final enclosure.
Getting It Right the First Time

Successful PEX installation demands careful route planning, proper transitions, precise connections, and rigorous testing. Avoid shortcuts for reliable performance. Visit OutdoorBoiler.com for premium components and expert guidance from seasoned installers.


Sign in to leave a comment.