
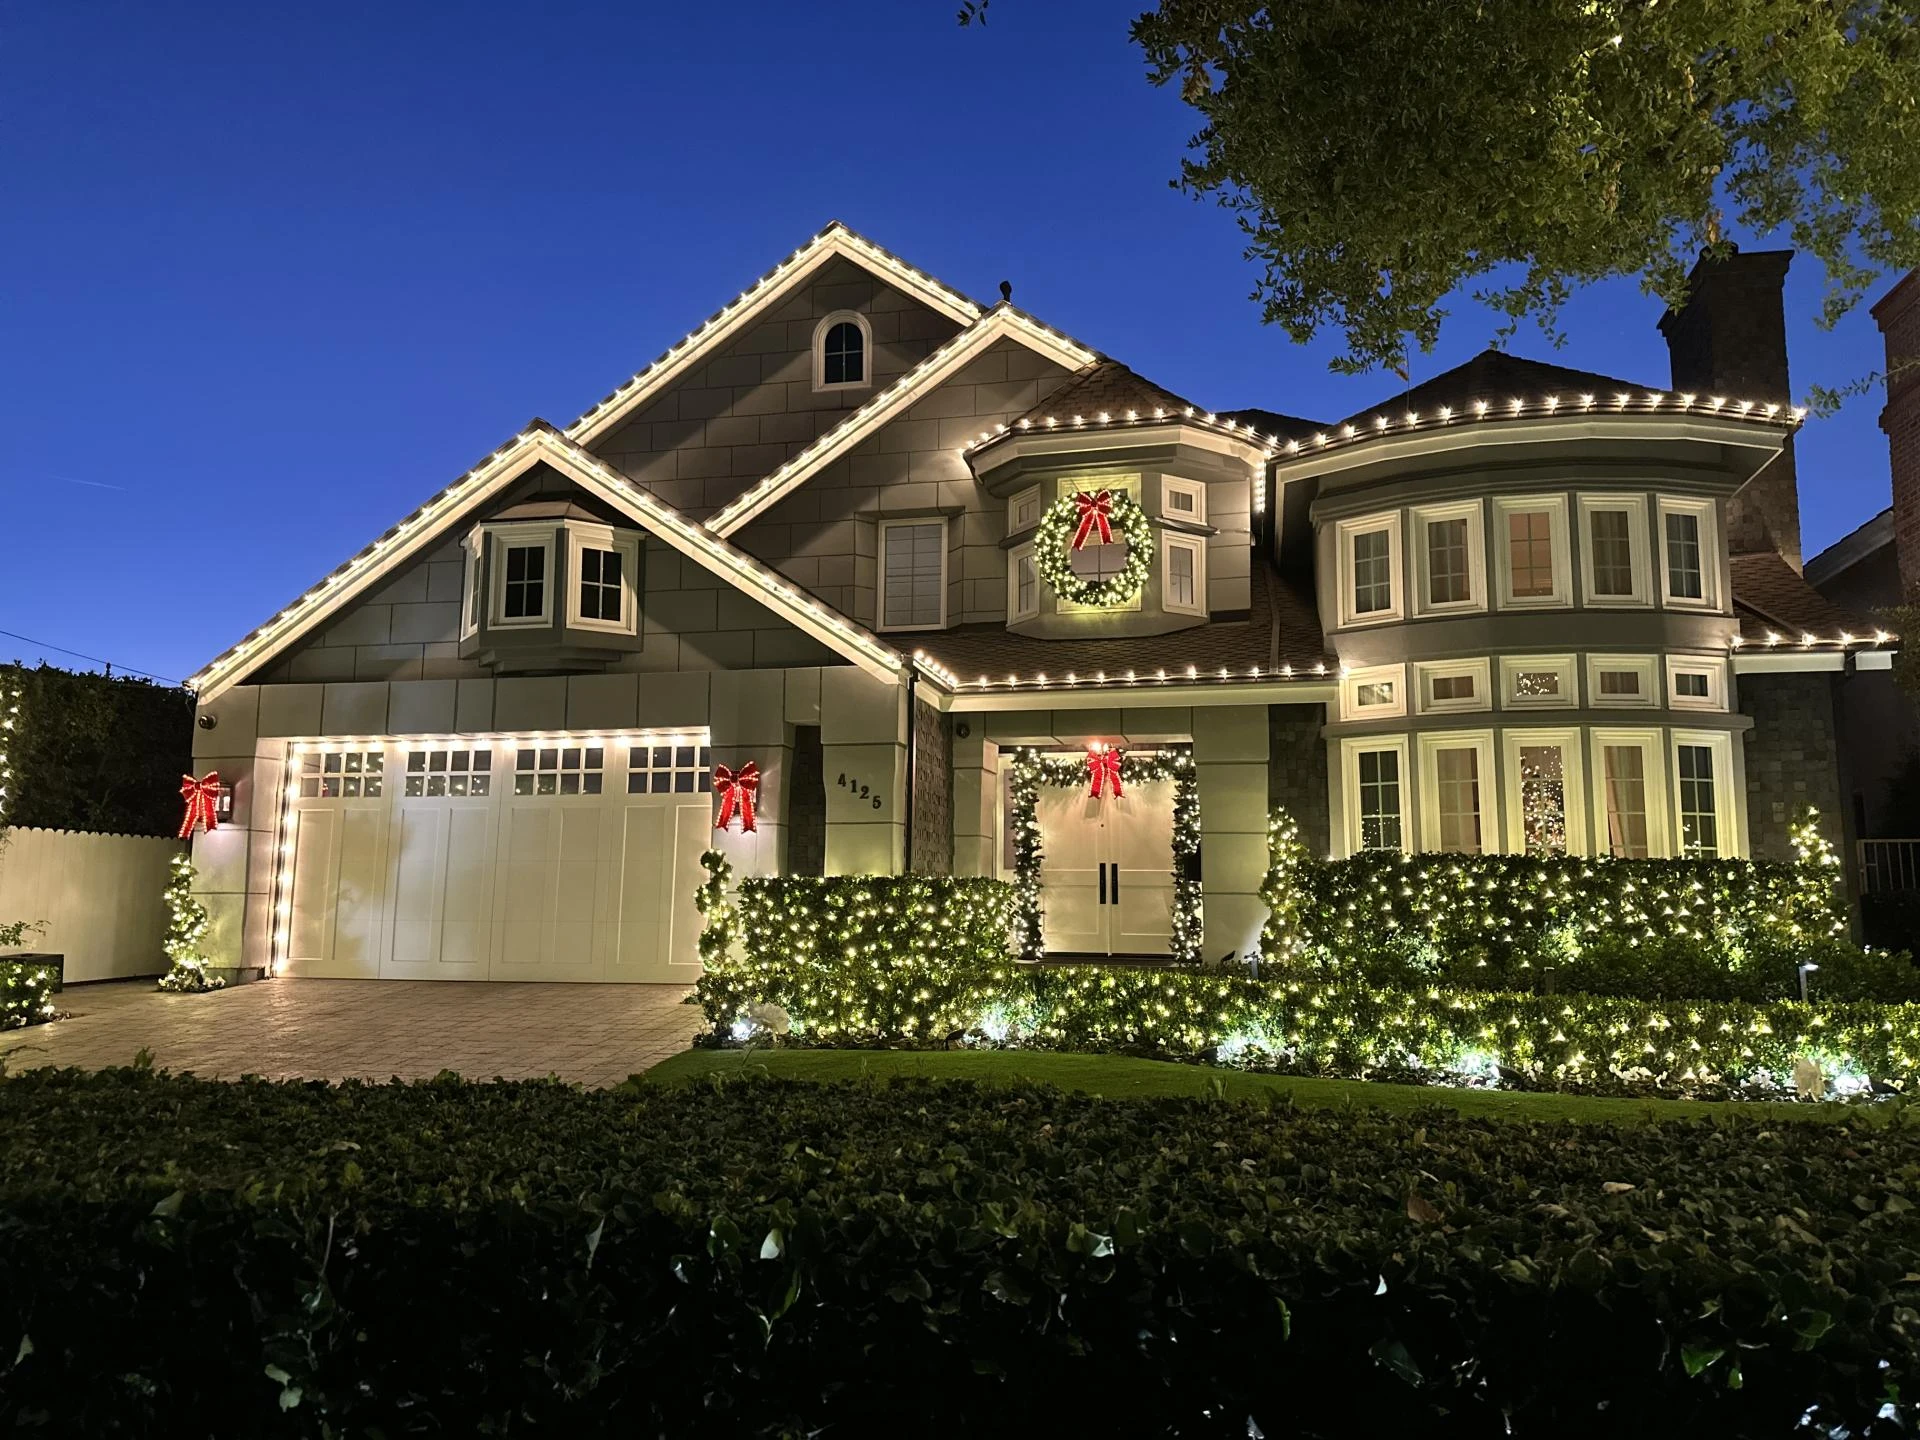
The festival of Christmas brings unparalleled warmth and cheer to cold winter evenings. Today, it is estimated that more than 150 million light sets are sold in America each year, with more than 80 million homes decorated with holiday lights.
With the entire world lit up during the festive season, how would it look when your outdoors stay plain? Nothing’s more frustrating than a house or commercial space left bare during the holidays. Installation of Christmas lights is a strategic process, and it needs precision.
Many attempt the task only to end up with drooping strands or loose bulbs. For this reason, people usually hire Christmas lighting installers to make the season truly memorable. So, looking for an answer to how to install outdoor Christmas lights? Follow along as we show you how to light up your home with ease and confidence.
How to Install Outdoor Christmas Lights?
1.Safety First with Tools and Preparation
- Select Quality Light Strands
- Before you tackle how to install outdoor Christmas lights, inspect each set for frayed wires or loose sockets. A damaged cord can spark or fail on the coldest night. Choose LED strands for energy savings and longer life.
- Gather Essential Gear
- Arrange a sturdy ladder that reaches your roofline without overextending. Get hand gloves rated for electrical work, weather-resistant clips, tape, and a ground-fault circuit interrupter. Lay out your light sets on a flat surface to untangle and test them before placement.
- Test Every Strand
- Plug each strand into a protected outlet to confirm that all bulbs glow. Label any faulty sets and swap in spares. This step saves you from wondering how to install outdoor Christmas lights and ending up with dark patches later.
2.Planning Your Display
- Measure Your Roofline and Gutters
- Use a tape measure along each edge you plan to decorate. Jot down lengths for eaves, dormers, and porch railings. Accurate figures prevent running short or having too much extra cord as you figure out on installation of Christmas lights.
- Sketch Your Layout
- Draw a simple diagram of your home outline where each strand will go. Mark outlets, junctions, and the direction each cord will run. Planning this way makes it easy to see at a glance what you need for a flawless install.
- Position Anchor Points
- Decide where to place clips or hooks at regular intervals, no more than a foot apart, to keep the lights snug against the fascia or railings. Proper spacing creates a clean line that shows off every bulb perfectly.
3.Attaching the Lights
- Clip and Snap
- Starting at the power source, attach clips to your roof edge or gutter lip and snap the light strand into each clip. Keep tension on the wire to prevent droops or tangles while you work toward the next anchor point.
- Conceal the Power Cord
- Tuck excess cord behind gutter runs or under eaves where possible. This hides unsightly bundles and keeps cords clear of foot traffic. Proper concealment makes your display look polished and professional.
- Link Strands Securely
- When joining multiple sets, hang them so plugs and sockets meet in a gutter trough or behind a downspout. Wrap the joint with weather-resistant tape. This method guards against moisture and keeps every bulb lit. This is exactly what you need when learning how to install outdoor Christmas lights.
4.Power and Protection
- Choose Sturdy Outdoor Cords
- Pick extension cords rated for outdoor use with thick insulation. A reliable cord carries power without overheating and lets you understand how to install outdoor Christmas lights without sudden outages.
- Use a Protected Outlet
- Plug into a ground fault circuit interrupter or outdoor timer to keep connections safe when moisture creeps in. This setup guards against shorts and gives you worry-free lighting all evening.
- Seal Every Connection
- Cover plugs with weather-resistant tape or plastic housings. Keeping moisture out at each joint makes a big difference once winter temperatures drop and helps your display stay bright throughout the season.
5.Testing and Final Touches
- Run an Evening Trial
- Switch on your lights after dusk to spot any dark gaps or flickers. A quick test shows you exactly where to tighten strands or swap a bulb as you perfect installing outdoor Christmas lights.
- Fine-Tune Alignment
- Step back and view each roof edge and railing from ground level. Gently shift strands so bulbs sit evenly. Even tiny tweaks bring a crisp and professional finish to your display.
- Hide Supporting Wires
- Use extra clips to tuck stray wires behind gutters or under trim boards. Concealing these lines keeps attention on the glow of your lights rather than the cords themselves.
6.Quick Maintenance Tips
- Watch for Weather Shifts
- Ice or heavy snow can tug at strands. After a storm, take a moment to check fastenings and re-clip any loose sections so your lights stay neat and snug.
- Swap Out Faulty Bulbs Fast
- Keep spare bulbs and extras of your light set on hand. Replacing a burnt-out bulb right away stops an outage from spreading across the strand.
- Tighten Loose Strands
- If a section starts to sag, pull it up and re-clip. Consistent tension prevents drooping and keeps every bulb facing forward for the brightest effect.
7.Storage and Take Down
- Plan Your Removal Day
- Having learned how to install outdoor Christmas lights, pick a dry day soon after the season ends to remove each strand. Wet weather makes plugs stiff and bulbs brittle.
- Clean and Untangle
- Lay each light set flat and gently unwind any knots. Wipe bulbs and cords with a soft cloth to remove dirt before packing.
- Organize for Next Year
- Coil strands loosely around a spool or sturdy cardboard. Store in labeled bins away from extreme heat or cold so your display goes up smoothly when next season comes.
Conclusion
Wrapping up your lighting project, remember that careful planning of attachment points, thorough strand testing, and smart storage will keep your bulbs glowing from first dusk to the final snowfall. With clear steps on ladder placement, bulb testing, and storage, you now know how to install outdoor Christmas lights without guesswork or stress.
If a tricky roofline or a tight deadline feels out of reach, a Christmas lighting installation company can step in with skilled crews and specialized tools. With their support and your knowledge of how to hang Christmas lights, you can add wreaths and accents without overstretching cords or second-guessing placements.
Next season, simply unpack your labeled bins, reattach clips, and plug in for an instant festive scene. You’ll have no drooping wires or dark spots, only a bright, cheerful display that brings joy to everyone passing by.


Sign in to leave a comment.