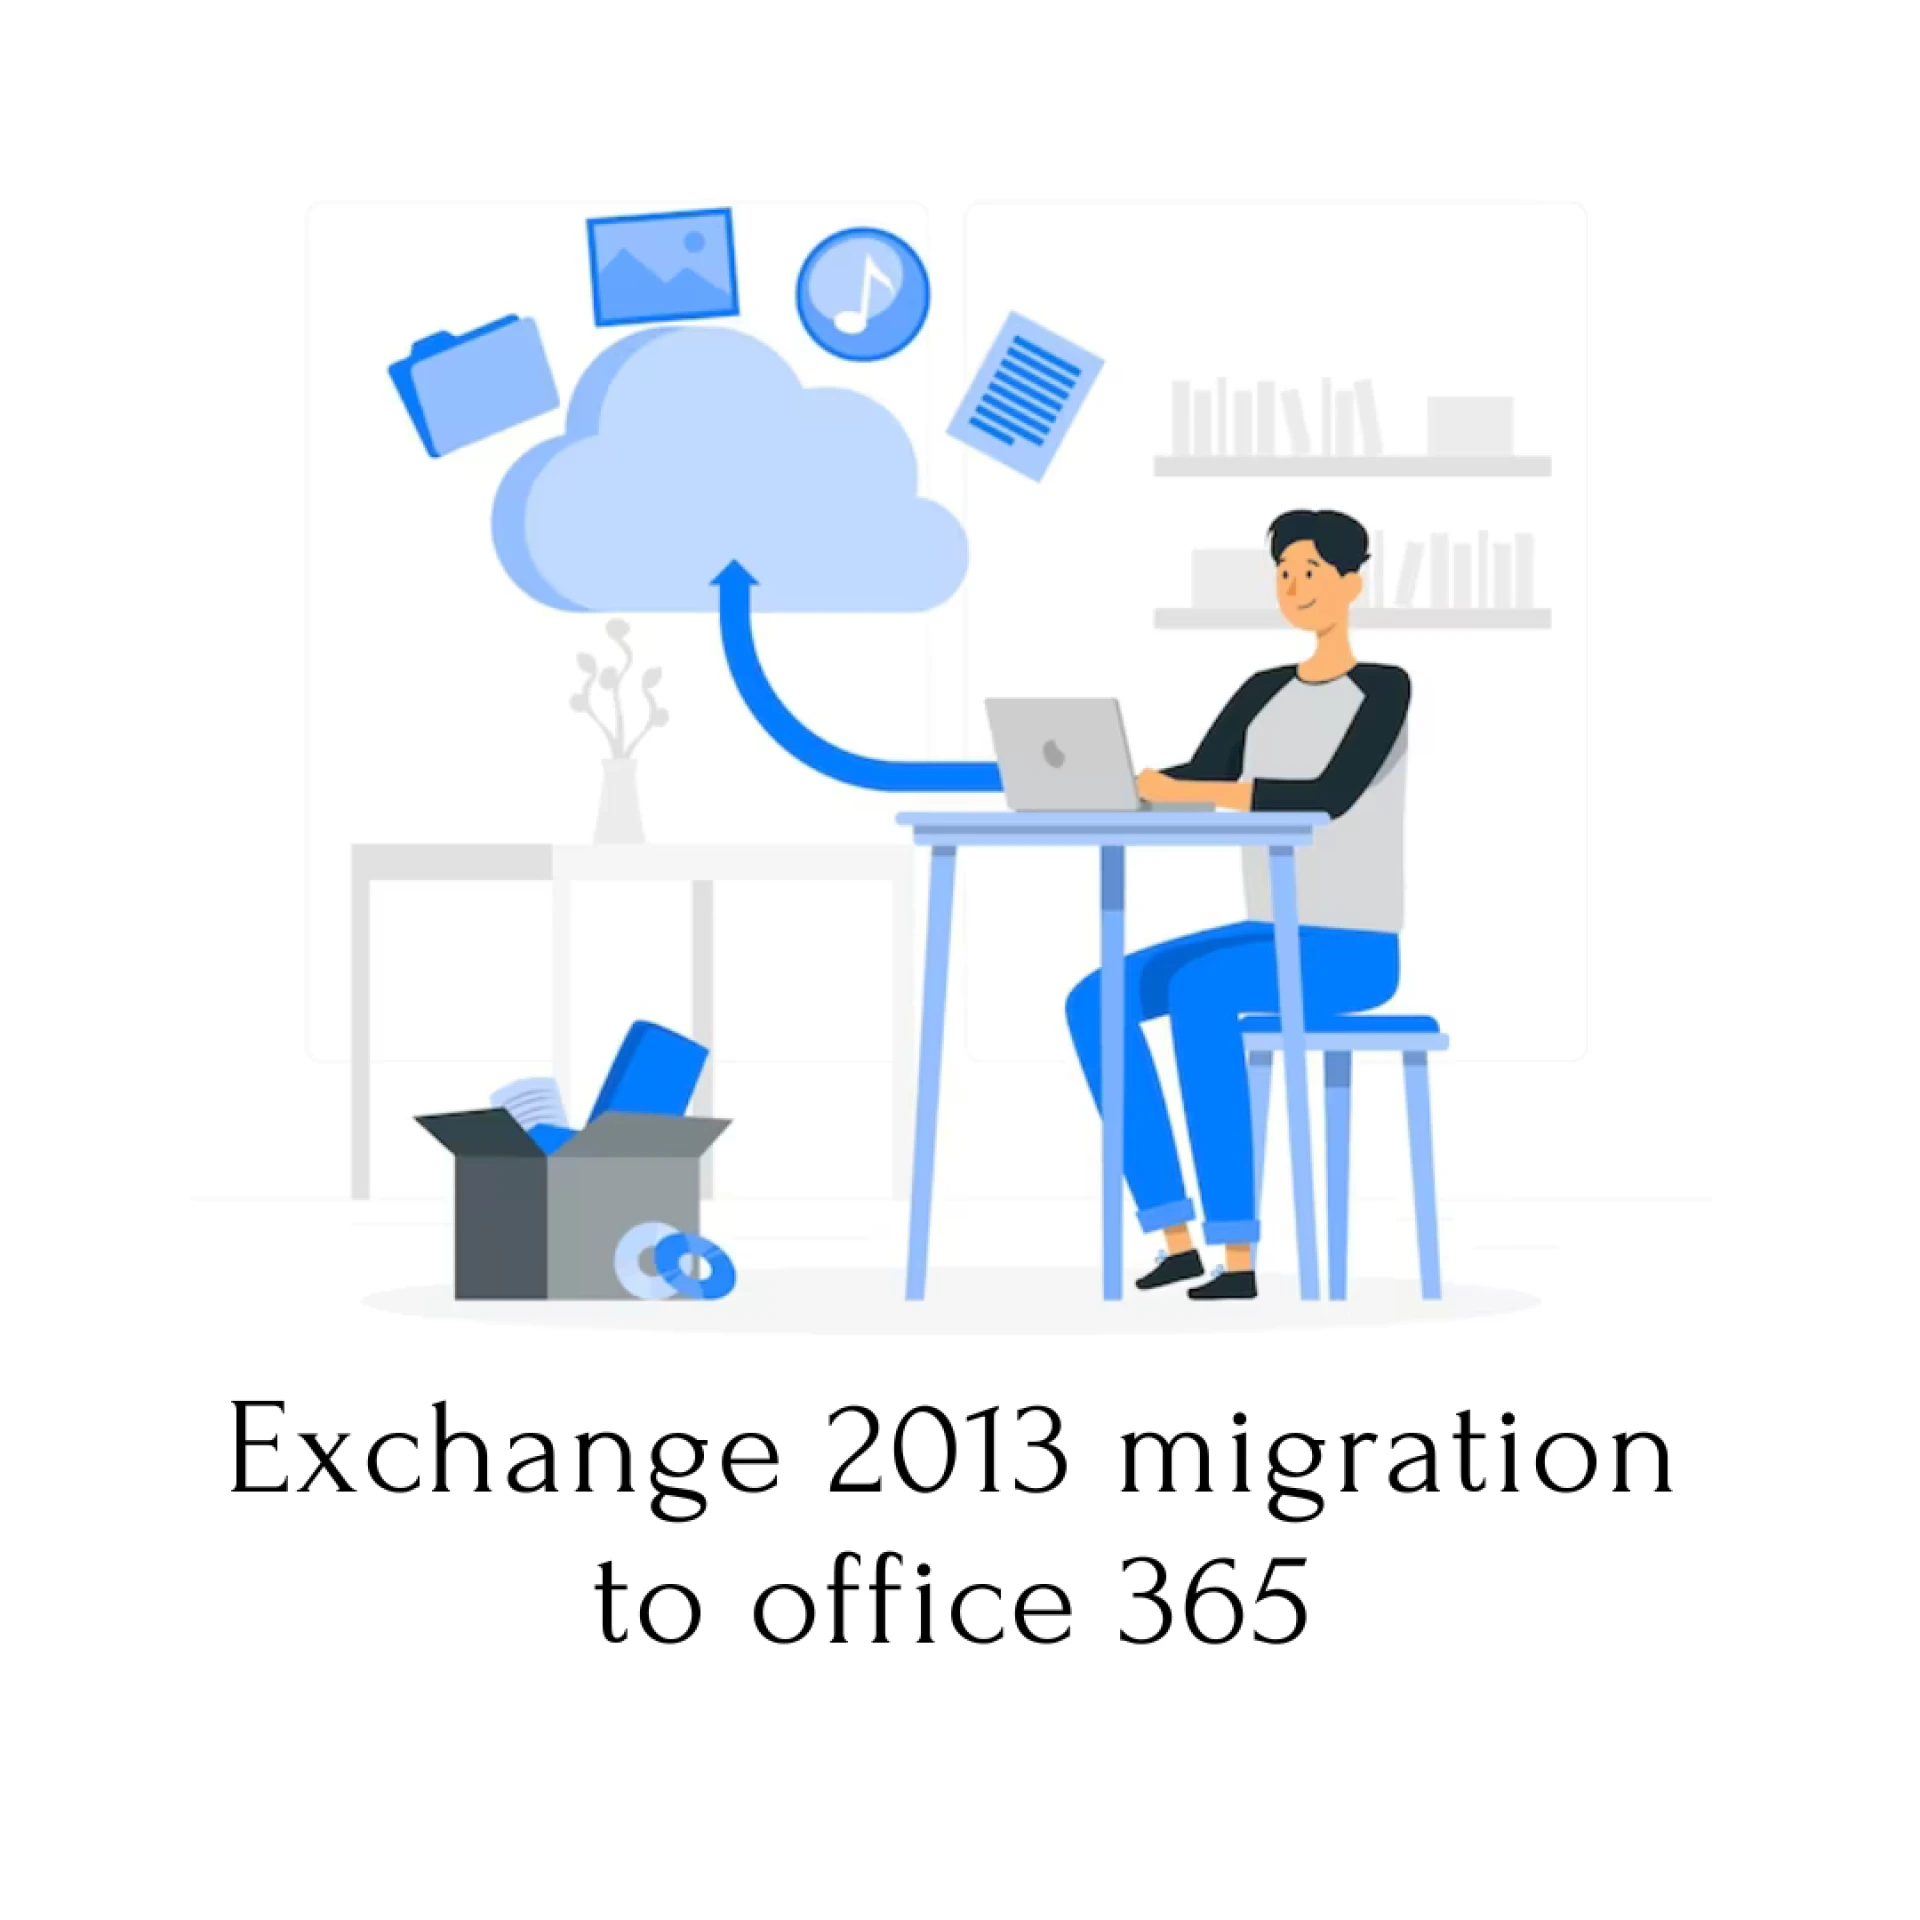
Office 365 is one of the top-rated cloud-based mailing platforms. However, since Microsoft ended the technical support for Exchange 2013, users are switching from Exchange 2013. That is why users want to know the Exchange 2013 to Office 365 migration task procedure. Office 365 has various features to make the users’ work easy and quick. Moreover, users can easily access their Office 365 data from any location.
The user-oriented GUI of Office 365 allows every user to access it effectively. Users will get different methods in this blog to complete the Exchange to Office 365 migration task. We will elaborate on a manual method, along with an automated third-party tool. So, read this blog till the end and understand the stepwise procedure of the solutions.
Techniques to switch from Exchange 2013 to Office 365
Users can use multiple approaches to process the Exchange 2013 to Office 365 migration task. However, going through all the methods could be lengthy and time-consuming. So, we will elaborate on two methods in this blog to move the Exchange 2013 data to Office 365. We will discuss a manual method and a professional third-party tool to migrate Exchange 2013 to Office 365 mailboxes. Let us begin the detailed discussion on the working of both solutions to do this task.
1 Exchange 2013 migration to Office 365 using the EAC
Here, we will learn how users can use the Exchange Admin Center (EAC) for the Exchange 2013 to Office 365 migration task. Let us learn all the steps to do this migration process.
First, open the Exchange Admin Center and hit the Office 365. Then, click the Add, move to the Recipients, Migration, and select the Migrate to Exchange Online option.After that, choose the Remote move migration in the select migration type. Then, move forward with the Next button.Now, press the Add button to choose On-premises users. Select the users to migrate and hit the Next button to continue.You will be promoted to the Enter the Windows user account credential page. Fill out your On-premises Exchange username and password. Then, click the Next button.Verify that your Exchange domain is listed in the FQDN (Fully Qualified Domain Name) while confirming the migration endpoint. Then, hit the Next button.Then, the Move Configuration page will open. Kindly create a migration batch by providing the migration batch name, target and other required details. Then, click the Next button.Now, opt for a user to receive the complete batch report. Finally, check the Automatically Start the batch, Automatically complete the migration batch options, and tap the New button.That is how users can use the EAC trick for the Exchange 2013 to Office 365 migration task. However, this method can be challenging if you are a new user or do not understand the technicalities well. Apart from these, users can face many limitations in manually moving the data from the Exchange account to Office 365.
Hence, users must use a professional automated solution to migrate Exchange 2013 to Office 365 mailboxes. Users may struggle to find a trustworthy tool to perform this migration process. That is why we have come up with this blog to provide you with a simple and effective method to do this migration process.
2 Exchange 2013 migration using third-party software
There is a risk of data loss if users use the manual method to complete this task. So, avoiding the manual solution and trying a professional method to do this task would be better. The Shoviv Exchange Migration Tool (Exchange to Office 365 Migration tool) is one of the top-notch ways, which is too easy to handle. This software can easily transfer numerous mailboxes at once from their Exchange account to Office 365. To know how this software works for the Exchange 2013 to Office 365 migration task, users can follow the below steps.
Open the software in your system.Make a Source (Exchange 2013) Connection by clicking the Source Connection tab. To connect the Source, you need to provide some required details and hit the OK button.After that, tap the Target Connection, then the (+) button, and create a new target (Office 365) after giving the needed details.Then, click the Migration Job tab and hit the (+) button to create a new one.Now, give a name to the migration job and add the Source and the target. Then, select the mailboxes to move and continue with the Next button.After that, map the Source mailbox to the target and click the Next button.Apply the filter using the date and folder-wise criteria to add or remove items and move forward with the Next.Make the other changes on the Settings page, as per the accordance and hit the Next button. (You can also use the scheduler option to schedule the migration job)Verify all the migration settings and hit the Finish button. Or, if you want to make any changes, tap the Back button.Final words
We hope you understand both the methods in this blog to move the Exchange 2013 data to the Office 365 account. We advise users to use the Shoviv professional solution for the Exchange 2013 to Office 365 migration task. This software is a quick and smooth way to transfer the data between these platforms. Users can use its free trial version if they want to explore other features of this professional tool.


Sign in to leave a comment.