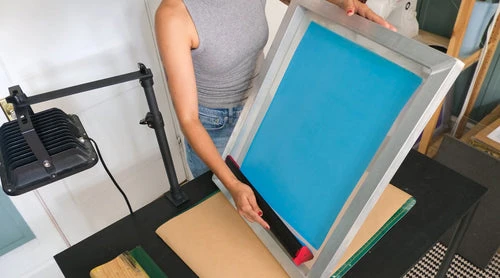
Producing straight and centered designs on your t-shirts can be frustrating. The right placement can mean the difference between success and failure! T-shirts don't look good if the design is too high, too low, or crooked. We have a tool to help eliminate this frustration for every size print. Our T-shirt Alignment Rulers are the best centering tools for all t-shirt sizes. Screen Print Directs T-shirt Alignment Ruler pack includes adult scoop neck, adult V-neck, youth, and infant alignment rulers. Below we will walk you through how to utilize these rulers. We have included a video for demonstration purposes as well.
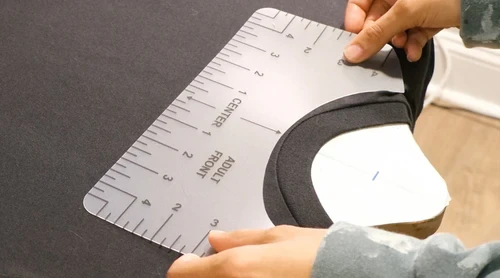
To use the t-shirt alignment tool, simply:
- Fold the t-shirt in half lengthwise to create a crease down the middle, unfold the t-shirt once you have identified the center
- Place the center of the alignment tool on the crease, under the neck seam, not on top.
- Make sure the design is centered and the correct distance from the neckline
- At the bottom of the alignment tool is where the top of the design should begin
- Your shirt is aligned and ready to print
It’s as simple as that!
Follow these instructions for any size T-shirt Alignment Ruler you are working with to create the perfect adult, child, and infant garments. If you need further assistance, please comment below. We would love to help.
This post was originally published on this website: https://screenprintdirect.com/blogs/screen_printing_101/how-to-position-designs-on-t-shirts-with-an-alignment-tool


Sign in to leave a comment.