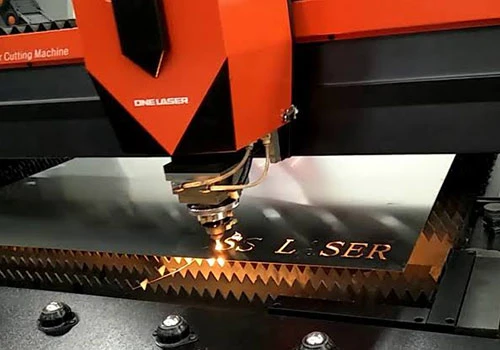
Perfect Precision Laser cutting is a precise and versatile method widely used in various industries, from manufacturing to art. Whether you're a professional designer or a hobbyist, preparing your designs correctly is crucial for achieving high-quality results. This step-by-step guide will help you get the most out of laser cutting services meerut.
Step 1: Choose the Right Software
Selecting the appropriate design software is the first step. Popular choices include Adobe Illustrator, CorelDRAW, AutoCAD, and Inkscape. These programs offer the tools needed to create vector files, which are essential for laser cutting.
Step 2: Create a Vector File
Laser cutters read vector files, which use paths instead of pixels to define shapes. When creating your design, use lines and curves to outline the areas you want to cut or engrave. Ensure that your design is in a vector format such as .AI, .EPS, .SVG, or .DXF.
Step 3: Set the Correct Dimensions
Precision is key in laser cutting. Define the exact dimensions of your design to match the material size you will be using. Most laser cutting services provide templates or guidelines for different materials, so be sure to check their specifications.
Step 4: Define Cut and Engrave Lines
Use different colors or layers to distinguish between cut lines and engrave lines. Typically, red is used for cutting and black for engraving. Check with your laser cutting service for their preferred color coding system.
Step 5: Optimize Your Design
To ensure efficient and clean cuts, optimize your design by:
Minimizing intricate details: Simplify complex shapes to avoid overly delicate cuts.Avoiding overlapping lines: Overlapping paths can cause repeated cuts, leading to burning or unnecessary wear on the material.Considering kerf: Kerf is the material removed by the laser beam. Adjust your design to account for this, especially for parts that need to fit together precisely.Step 6: Select the Right Material
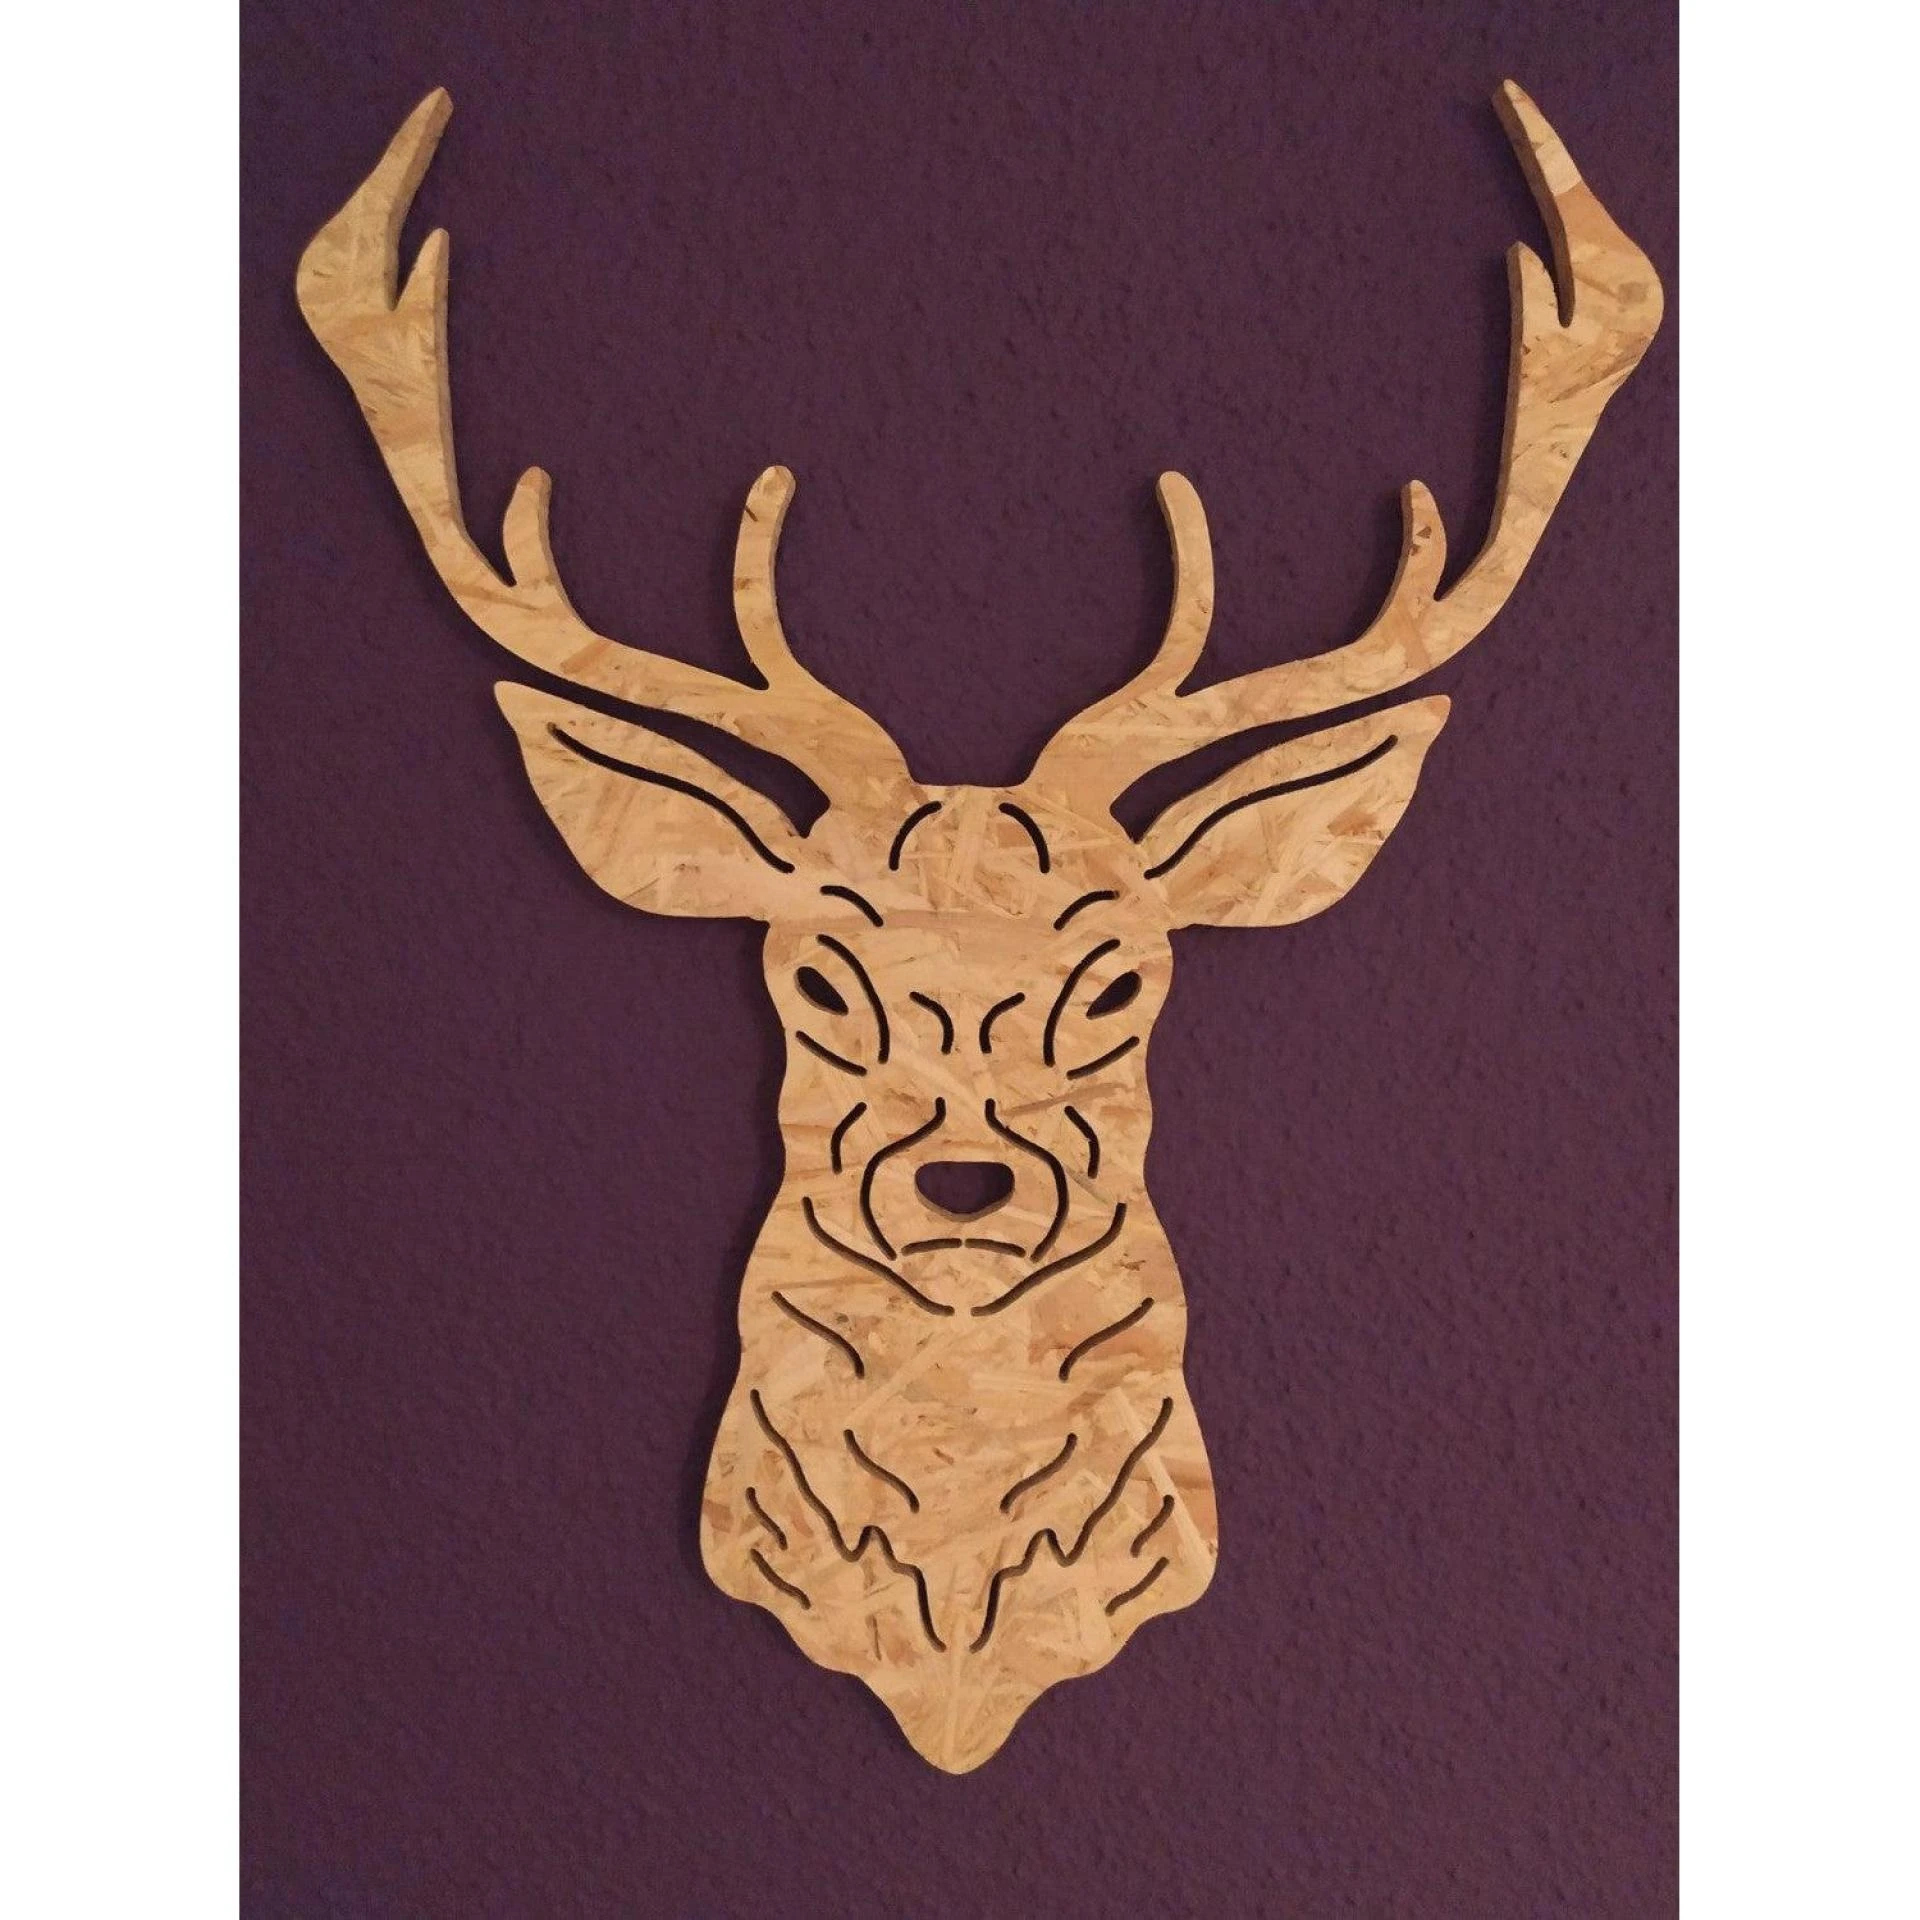
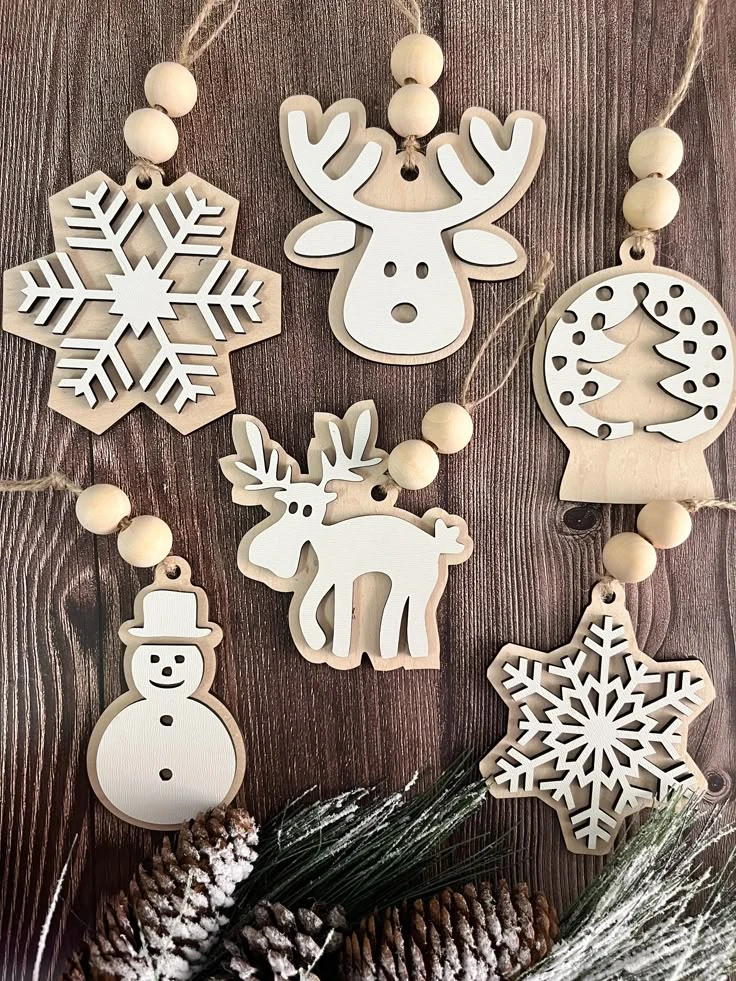
Choosing the appropriate material is crucial for the success of your project. Laser cutting services typically offer a range of materials, including wood, acrylic, metal, and paper. Each material has its own properties, so consider factors like thickness, flexibility, and finish.
Step 7: Prepare Your File for Submission
Before submitting your file to the laser cutting service, ensure that:
All text is converted to outlines or curves to prevent font issues.Your file is in the correct format specified by the service.You have included a clear description of your requirements, including material, thickness, and any special instructions.Step 8: Communicate with Your Laser Cutting Service
Effective communication with your laser cutting service can significantly improve the final result. Provide detailed instructions and ask for a proof or sample cut if possible. This helps to verify that your design is correctly interpreted and executed.
Step 9: Review the Sample Cut
If you receive a sample cut, review it carefully to ensure all details are accurate. Check for any issues such as incomplete cuts, incorrect dimensions, or material burns. Make any necessary adjustments to your design and resubmit if needed.
Step 10: Finalize and Order
Once you are satisfied with the sample, finalize your design and place your order. Make sure to double-check all details to avoid any mistakes. Your laser cutting service will then produce the final cut based on your approved design.
Conclusion
Preparing your designs for laser cutting can seem daunting, but following these steps will help you achieve professional results. By choosing the right software, creating accurate vector files, and working closely with your laser cutting service, you can bring your ideas to life with precision and quality. Whether you are creating intricate art pieces or functional components, laser cutting services offer a powerful tool to turn your designs into reality.
Sign in to leave a comment.