If you’ve worn extensions for a while, you may wonder how to remove hair extension glue without harming your natural strands. Many people try pulling or scrubbing too hard, and this often leads to breakage. However, there are gentle techniques that work quickly and keep your hair smooth. In this guide, you’ll learn safe, simple, and effective methods that anyone can follow at home. Plus, you’ll discover when it’s better to ask a professional for help and how to care for your hair afterward.
Understanding Hair Extension Glue and Why Removal Matters
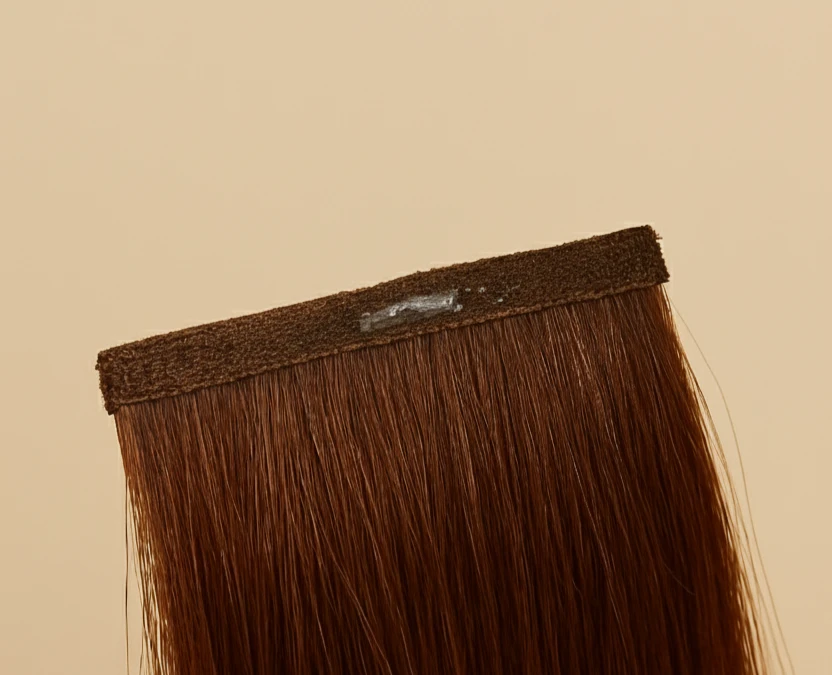
Hair extension glue is designed to hold strongly. Because of that, it doesn’t release easily with water alone. When glue stays too long, it can create tangles, leave residue, and stress the roots. Therefore, knowing the right way to loosen it helps protect your hair from damage.
Moreover, proper removal supports healthier regrowth and keeps your scalp comfortable. Many stylists, including professionals featured on Hair by Russians, remind clients that the removal process is just as important as the installation.
How to Remove Hair Extension Glue Step-by-Step
Below is a simple method you can follow at home. These steps use everyday products and gentle motions. Always take your time, because slow removal dramatically reduces breakage.
Step 1 — Prep Your Hair Properly
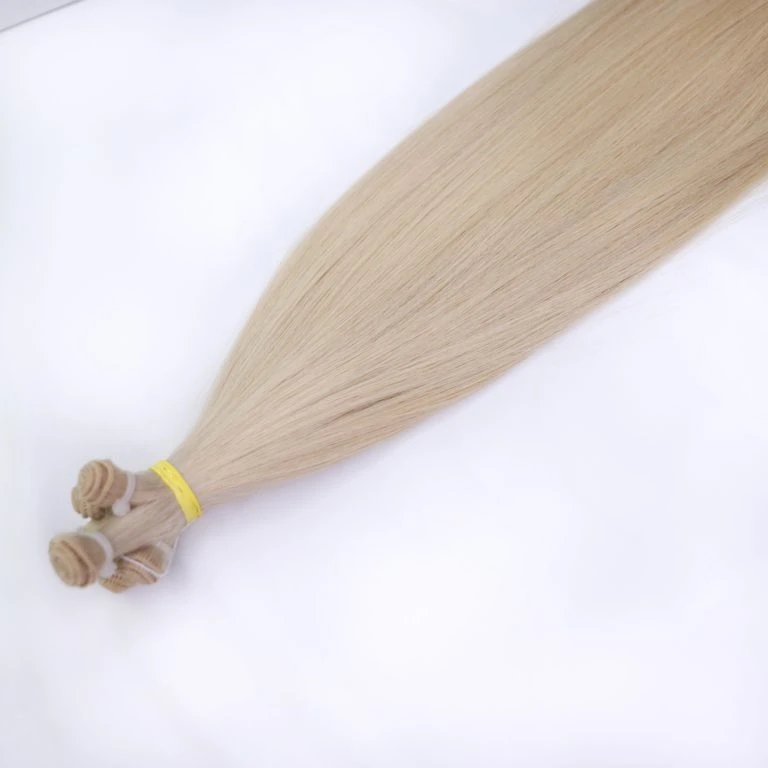
Before you begin, brush your hair lightly to remove knots. This makes it easier for the glue to release. After that, separate your extensions into small sections so you can work more accurately.
Step 2 — Apply an Oil or Glue Remover
To loosen the adhesive, coat the glued area with oil or a glue-removal solution.
Recommended options include:
- Coconut oil
- Olive oil
- Argan oil
- A salon-grade remover
Massage the oil gently using your fingertips. As the product soaks in, you’ll feel the glue soften. This usually takes a few minutes.
Step 3 — Break Down the Glue
Once the glue softens, use a fine-tooth comb or your nails to nudge it apart. Move slowly from the top to the ends. Also, avoid pulling hard because this can tug at your natural strands.
If the glue feels stiff, simply add more oil. Reapplying the product is safer than forcing it. Many extension specialists, like those at Hair by Russians, recommend using oils in layers until the glue fully releases.
Step 4 — Rinse and Shampoo Thoroughly
After the glue slides off, rinse your hair with warm water. Then shampoo twice to remove leftover residue. Choose a sulfate-free shampoo to keep your natural hair hydrated.
Because glue can cling tightly, you may still feel some tackiness. In that case, apply a final layer of conditioner and rinse again.
Step 5 — Deep Condition for Extra Protection
Following removal, your hair may feel slightly dry. Therefore, use a deep-conditioning mask to restore moisture. Leave it on for at least ten minutes for the best results.
This step supports softness and reduces frizz. It also prepares your hair for either a fresh install or a break from extensions.
Common Mistakes to Avoid When Removing Hair Extension Glue
Although the steps above are simple, many people take shortcuts that lead to damage. By avoiding these mistakes, you’ll keep your natural hair strong and healthy. Here are common mistakes you should avoid:
- Pulling or yanking the extensions
- Skipping the oil or remover and trying to remove the glue dry
- Using harsh chemical products not meant for hair
- Rinsing too soon before the glue breaks down
- Rushing the process instead of working in sections
When You Should Seek Professional Help
Although you can remove glue at home, some situations require a stylist. For instance, if the glue becomes tangled near the roots or you feel strong tension on your scalp, a professional can clear it safely.
Additionally, professionals have access to specialized removers that release glue faster. This is especially helpful if your extensions have been in for several months.
Visiting a stylist also gives you a chance to ask about proper aftercare or even choose new extensions that suit your style goals.
How to Care for Your Hair After Removing Glue
Taking care of your hair after removal is just as important as the removal process itself. Fortunately, these steps keep your hair in great shape:
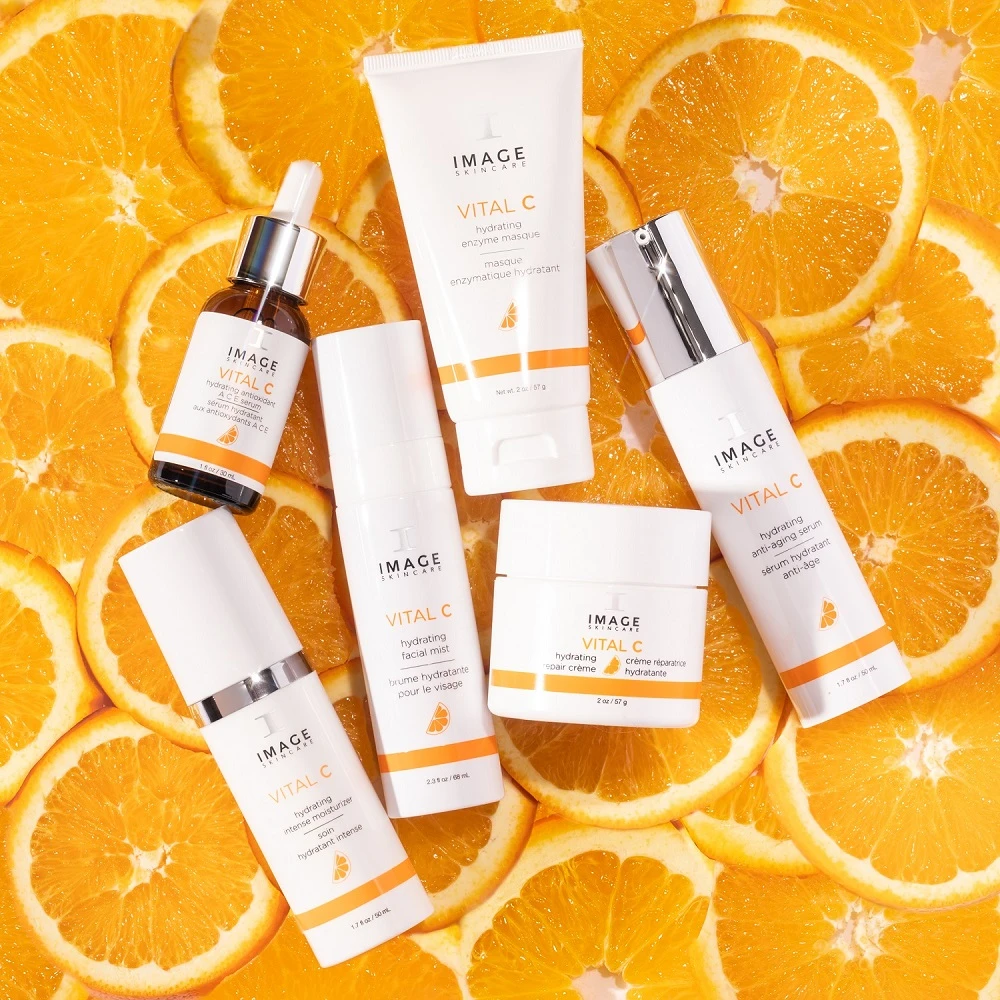
Use Nourishing Oils
Light oils, such as argan or jojoba, help restore shine and softness. Apply a small amount to your ends every two or three days.
Give Your Scalp a Break
Your scalp may feel sensitive after glue removal. Because of this, avoid tight ponytails or heavy products for a few days.
Trim Dry Ends
If you notice dryness, a tiny trim can refresh your look and prevent split ends.
Benefits of Safe Glue Removal
When you use the right method, you enjoy several advantages:
- Less breakage
- A healthier scalp
- Softer and smoother natural hair
- Easier reinstalling of extensions
- Less residue and buildup
Conclusion
Learning how to remove hair extension glue safely helps protect your strands and keeps your scalp healthy. With the right steps, you can loosen the glue, reduce residue, and prevent damage. Always take your time, use plenty of oil, and care for your hair afterward.
If you’re ready for new extensions or want expert advice, visit Hair By Russians for high-quality options that blend naturally and last longer.


Sign in to leave a comment.