
Changing a shower head is an effortless task that anyone may perform to improve the appearance of their bathroom or to remedy a dripping shower head problem. You may Replace a Shower Head in a matter of minutes with a few tools and a few simple procedures.
Preparing the Workspace
1. Collect all essential supplies. To repair your shower head properly, will require a blanket or tarp, an adjustable wrench, slip-joint pliers, and a new shower head. Teflon tape is also useful. You may get these supplies from a home improvement store.
2. Make sure the shower is totally off. Ensure that the shower taps have been completely turned off and securely fastened. This will prevent water from spilling out as you labor on swapping the shower head.
Don't bother turning off the water supply; it would be inconvenient.3. Lay down a blanket or tarp. Place a blanket or tarp in the tub or on the shower floor to keep shower head parts from dropping down the shower drain and save the tub or shower floor surface from dropping equipment or materials.
If you want to be extra cautious, you may cover the drain with tape to prevent anything which falls around the blanket or tarp from falling down the drain.Replacing the Showerhead
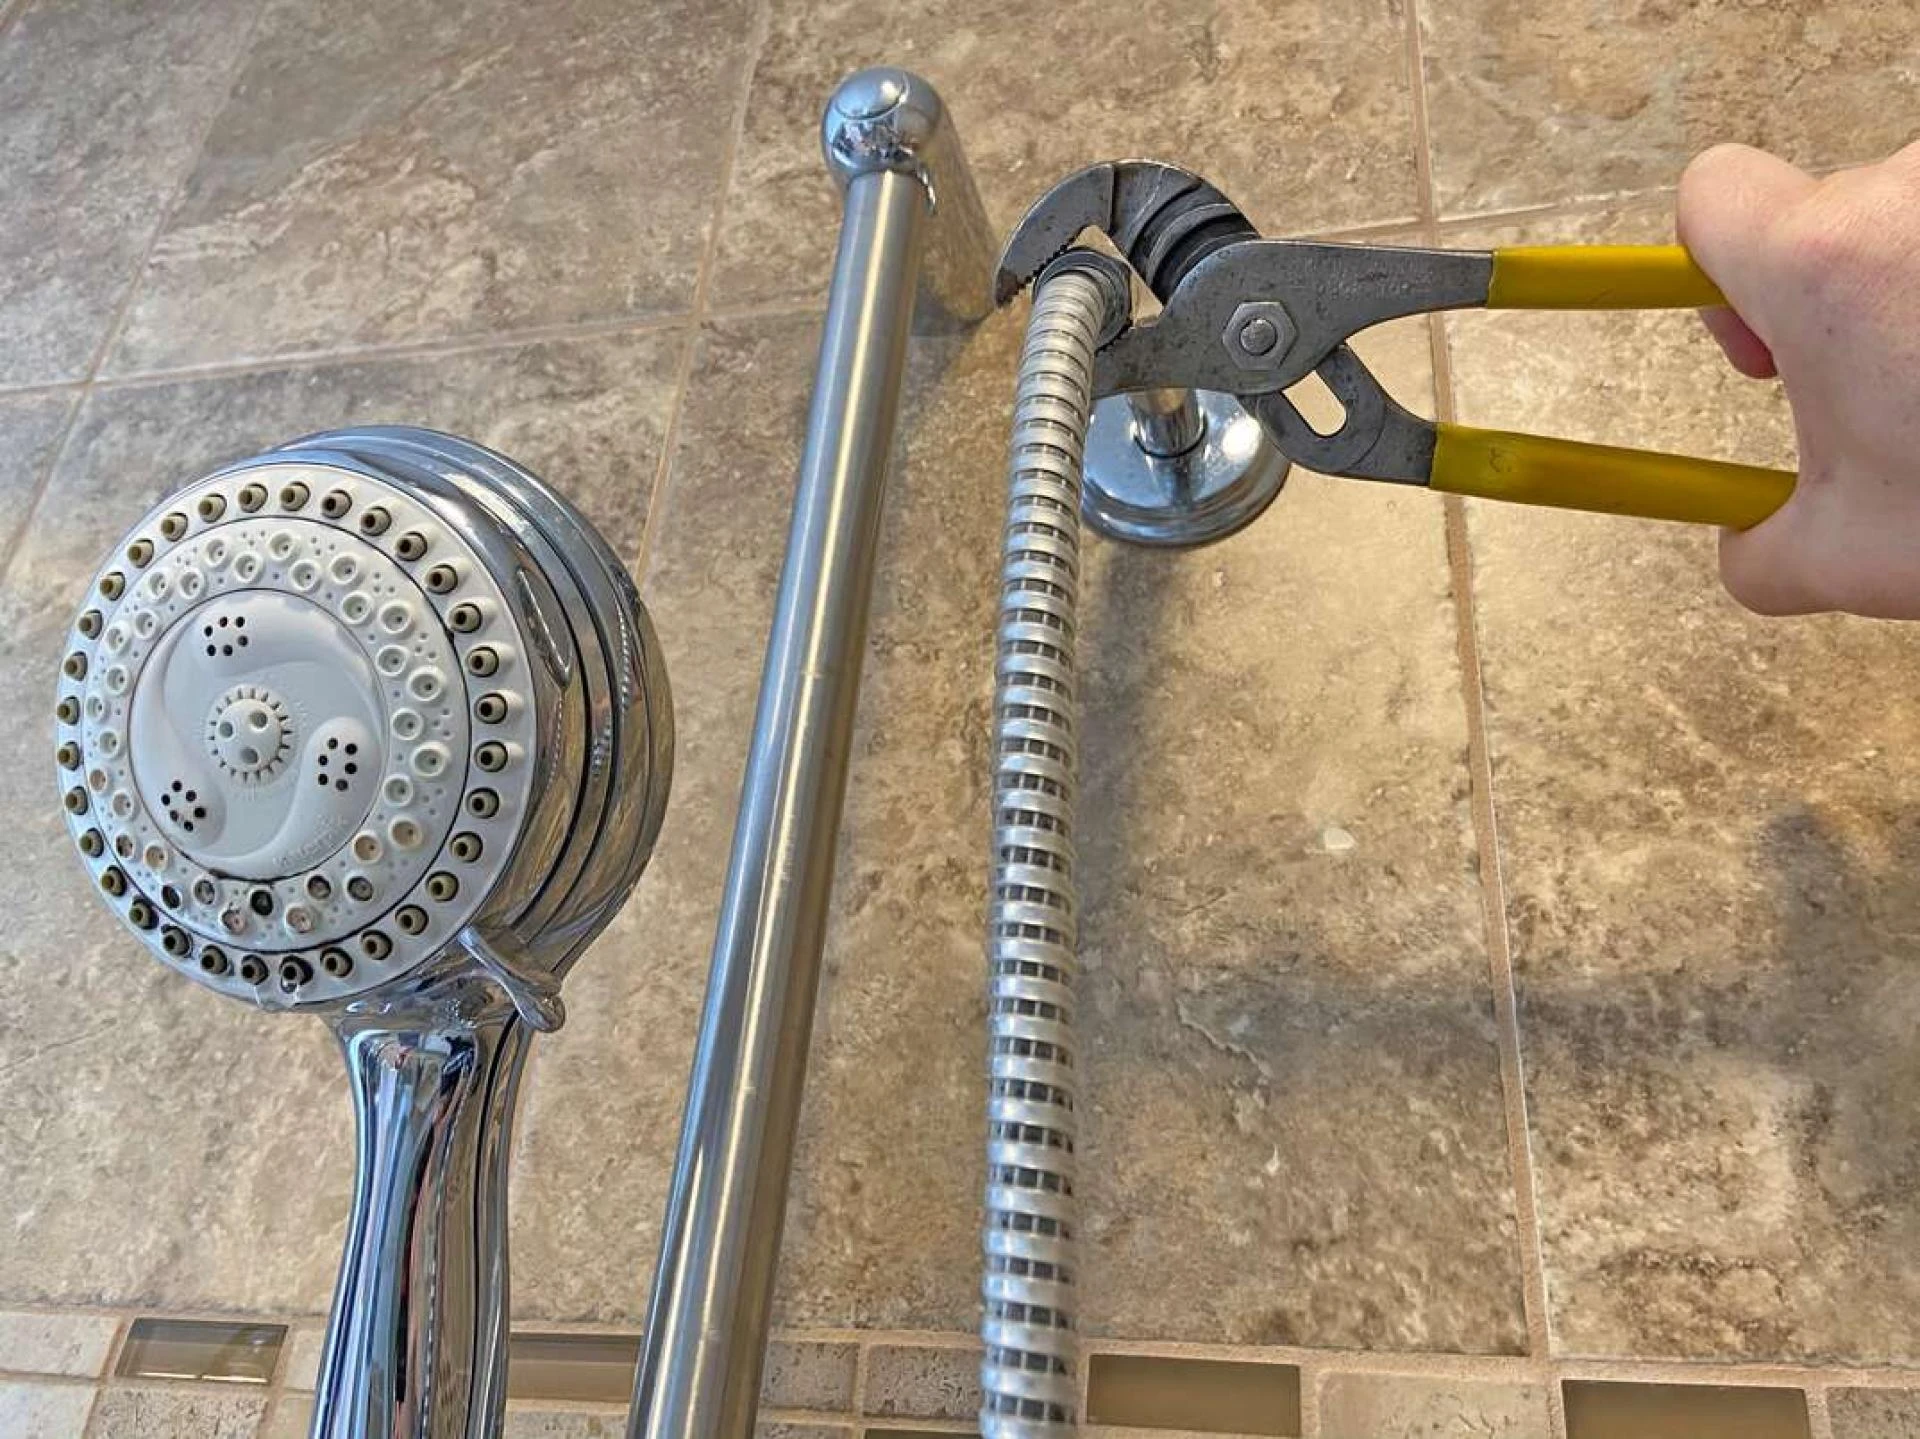
1. Remove the present showerhead. Wrap a towel around the shower arm's base. Open a set of channel locks and clamp them to the cloth and shower arm to keep it tight while you screw off the shower head. Then, put a towel around the shower head and tighten down with an adjustable wrench. To completely detach the shower head from the shower arm, turn it counter clockwise.
Some shower heads are loosely fastened on and may be removed by rotating them counterclockwise with your hands. You can try removing the shower head with your hands first, but if you can't get it loose, use the tools and cloths.2. Clean the threads on the shower arm. To clean the shower arm's screw threads, use a clean cloth. You may additionally utilize an old toothbrush to remove any built-up filth and rust from between the threads.
Remove any remaining Teflon tape from the shower arm's threads.3. Tape the threads on the shower arm. Apply 2-3 wraps of Teflon tape to the shower arm's threads, wrapping it securely in a clockwise manner and ensuring that it is properly embedded. Wrap the tape clockwise so that when you install on the new shower head, the sealing Teflon tape does not come undone.
Make sure to push the tape into the thread grooves.4. Attach the new showerhead. Place the new shower head on the shower arm and manually twist it clockwise to secure it. Once the shower head is in place, tighten it with the towels, pliers, and adjustable wrench. Wrap a towel around the shower head and shower arm bases. Use the pliers to grab the material and keep the shower arm base in place. Clamp the adjustable wrench on the cloth and crank the shower head as far clockwise as it will go.
The same process is used to attach any new shower head, including fixed mount and hand-held shower heads. The sole distinction is that a hand-held shower head has a diverter between the shower head and the shower arm. When you buy a hand-held shower head, you will most likely receive additional installation instructions.5. Turn on the water. Reconnect the water supply, turning on the shower, and look for any drips coming from the showerhead. If you detect any leaks, turn off the water, replace the Teflon tape, and tighten it slightly more.
Avoid overtightening the shower head.


Sign in to leave a comment.